“To the ocean I go to lose my mind and find my soul.”
-Unknown
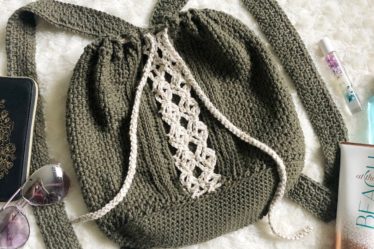
Any project that reminds me of the ocean is a good project!
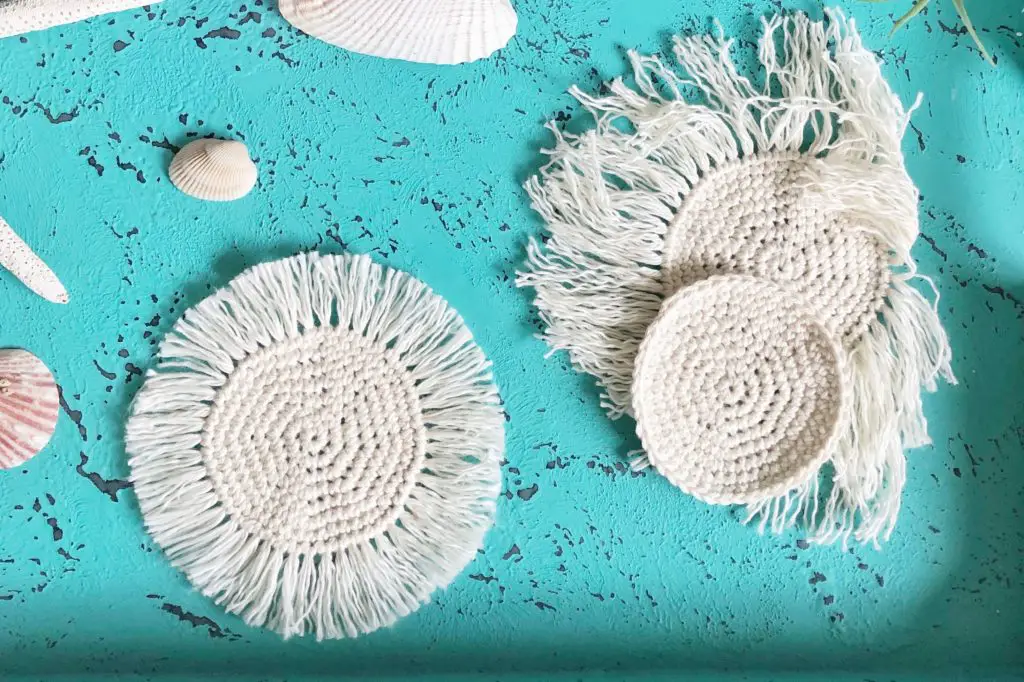
These boho crochet coasters gave me so many ocean vibes … or could that be because I’ve been longing for a trip to the ocean?
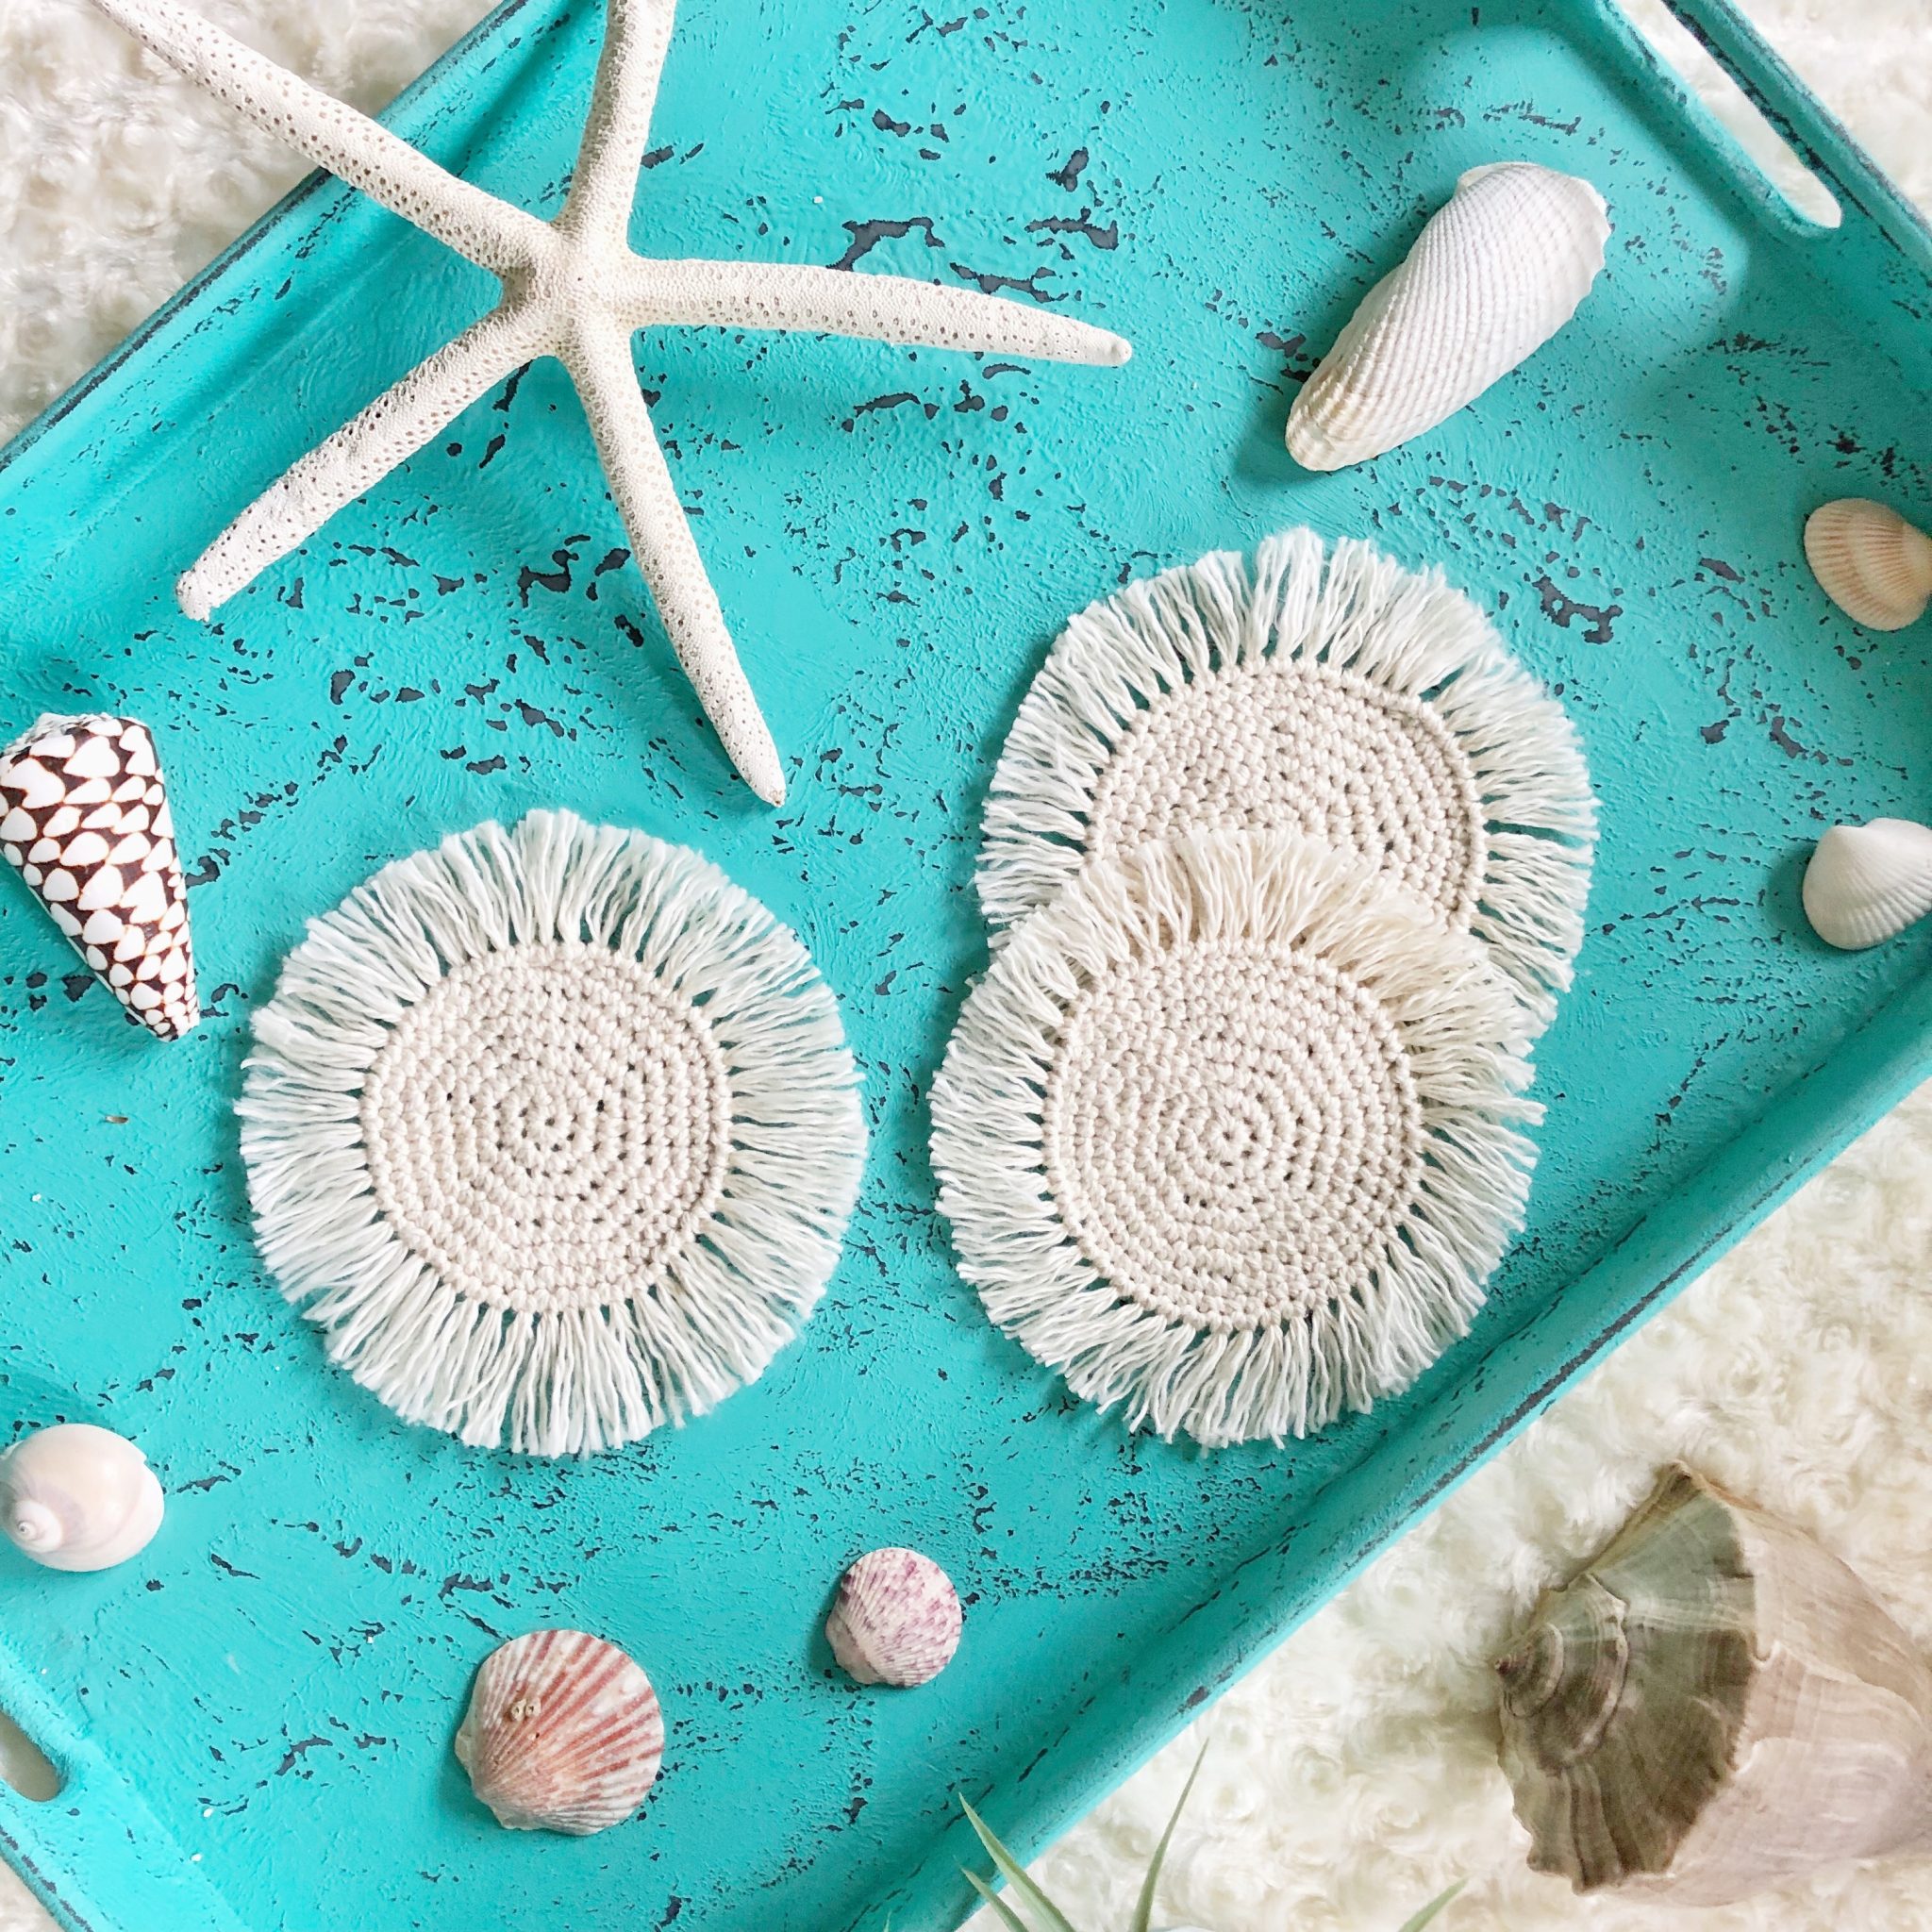
I received a custom order request for these macrame boho coasters from a friend of mine. The coasters looked beautiful, and I was excited to try them out. The only problem was I didn’t have cotton cord on hand not to mention I have zero macrame experience. From the video tutorial, it looked easy enough to figure out but also extremely time consuming. I knew that I could achieve the same look in a fraction of the time with a crochet version! I couldn’t be happier with the end result, and my friend loved them too, so I decided share with you how I made these beautiful crochet coasters!
If you would rather purchase finished boho coasters, you can find them in my Etsy shop! For makers, these are perfect for market prep or for gifts as they work up fairly quickly. The fringe is a bit time-consuming, but it is quite enjoyable to make while binge watching your favorite TV show as it is a pretty mindless process! Plus, as an added bonus, they will definitely give you…
…all the ocean feels!
Skill Level – Beginner
Disclaimer: This post contains affiliate links to the products used in this project. If you make a purchase through any of these links, we will get a small commission at no additional cost to you.
Materials
- Worsted (4) weight cotton yarn
- US 7/4.50mm crochet hook
- Scissors
- Tapestry needle
- Stitch markers
- Cardboard 3″ wide (optional)
- Small comb or pick
Abbreviations
- SC – Single crochet
- SL ST – Slip stitch
Notes
- Gauge is not essential for this project.
- Finished measurements are 4″ in diameter without fringe and 6.5″ in diameter with fringe.
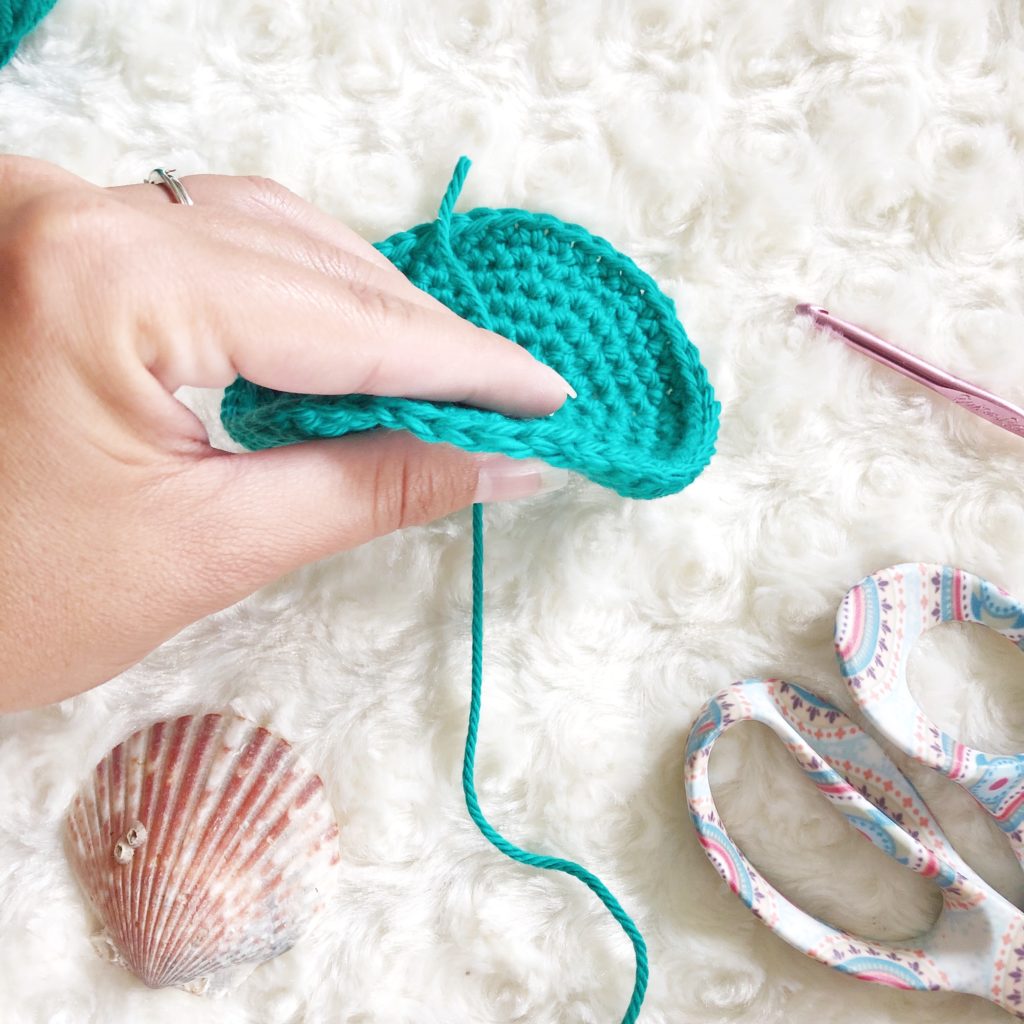
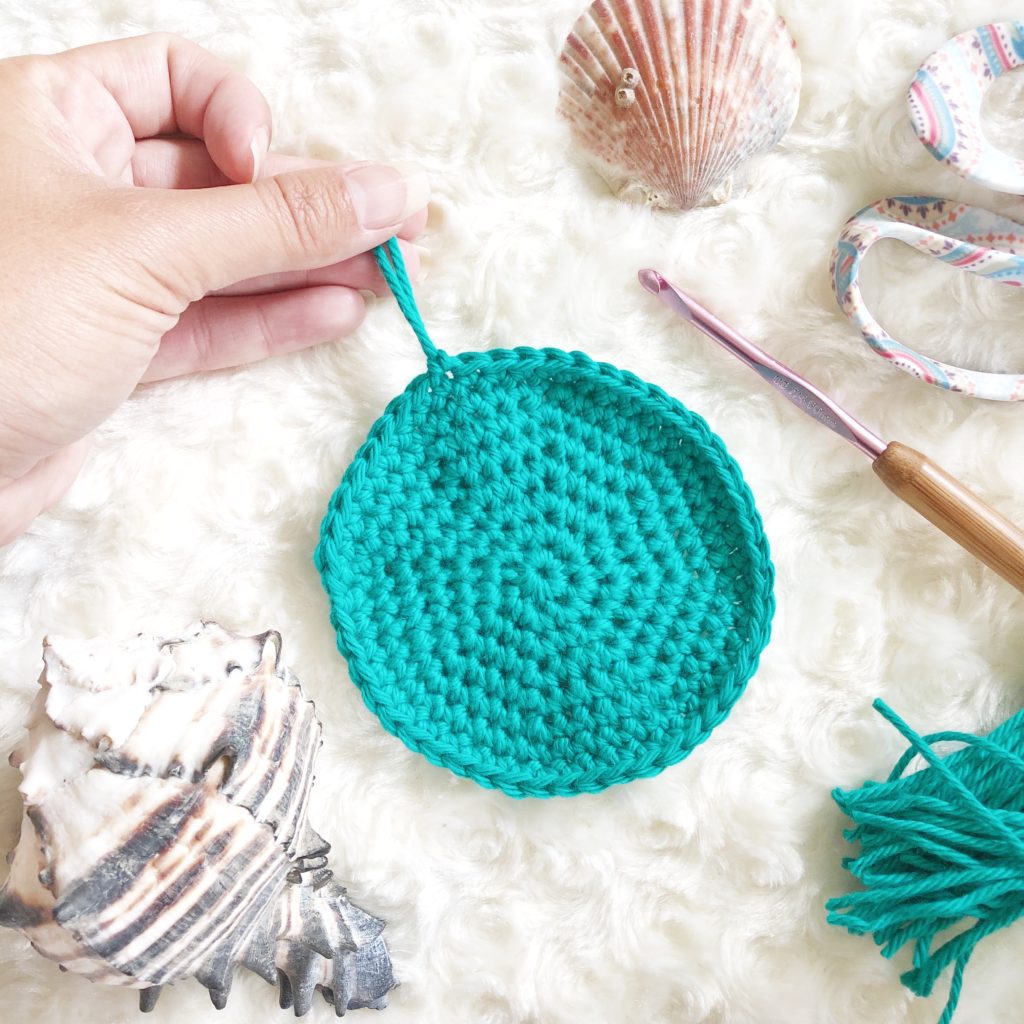
- These crochet coasters are worked by starting with a magic circle and then crocheting continuously in the round using a stitch marker to indicate the beginning and end of rounds.
Pattern
Row 1: Begin with a magic circle, CH 1, 8 SC in the circle. (8)
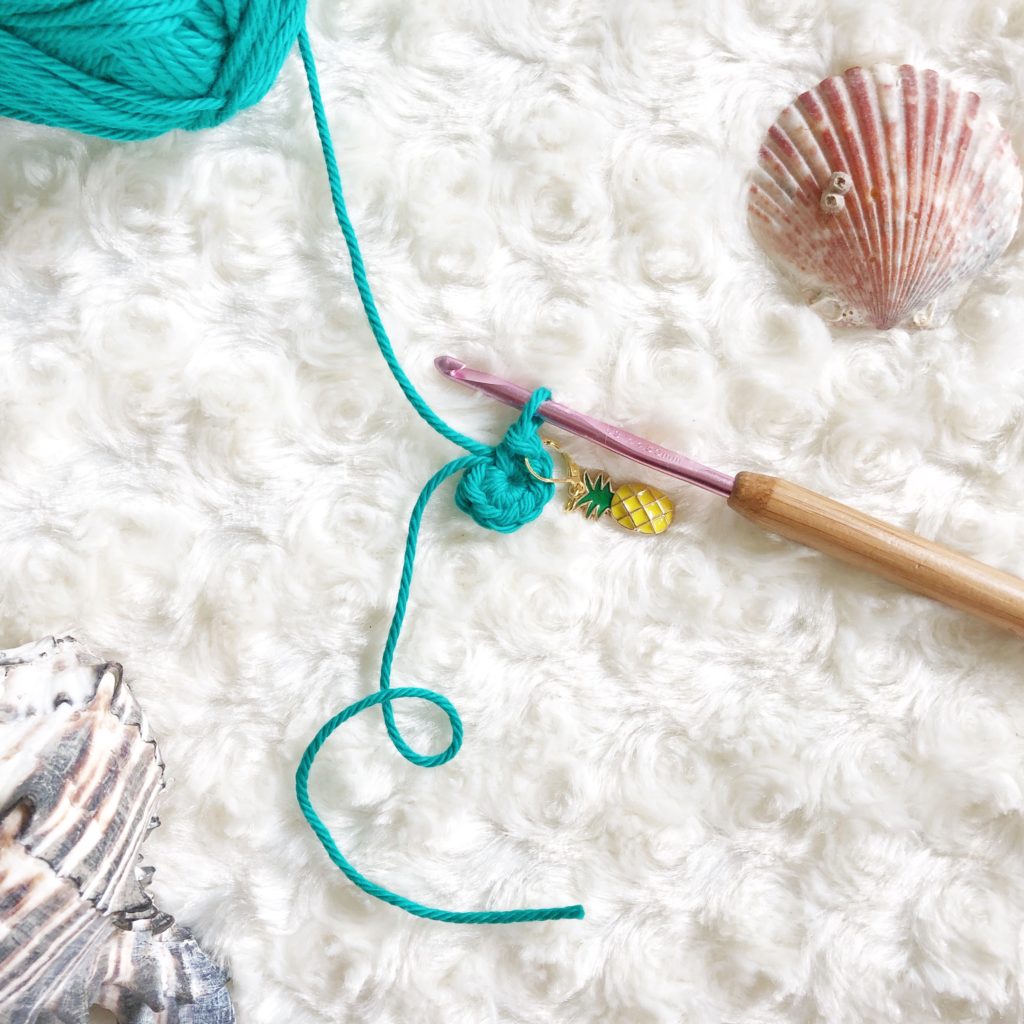
Pull magic circle tight. Place stitch marker to indicate the end of Row 1.
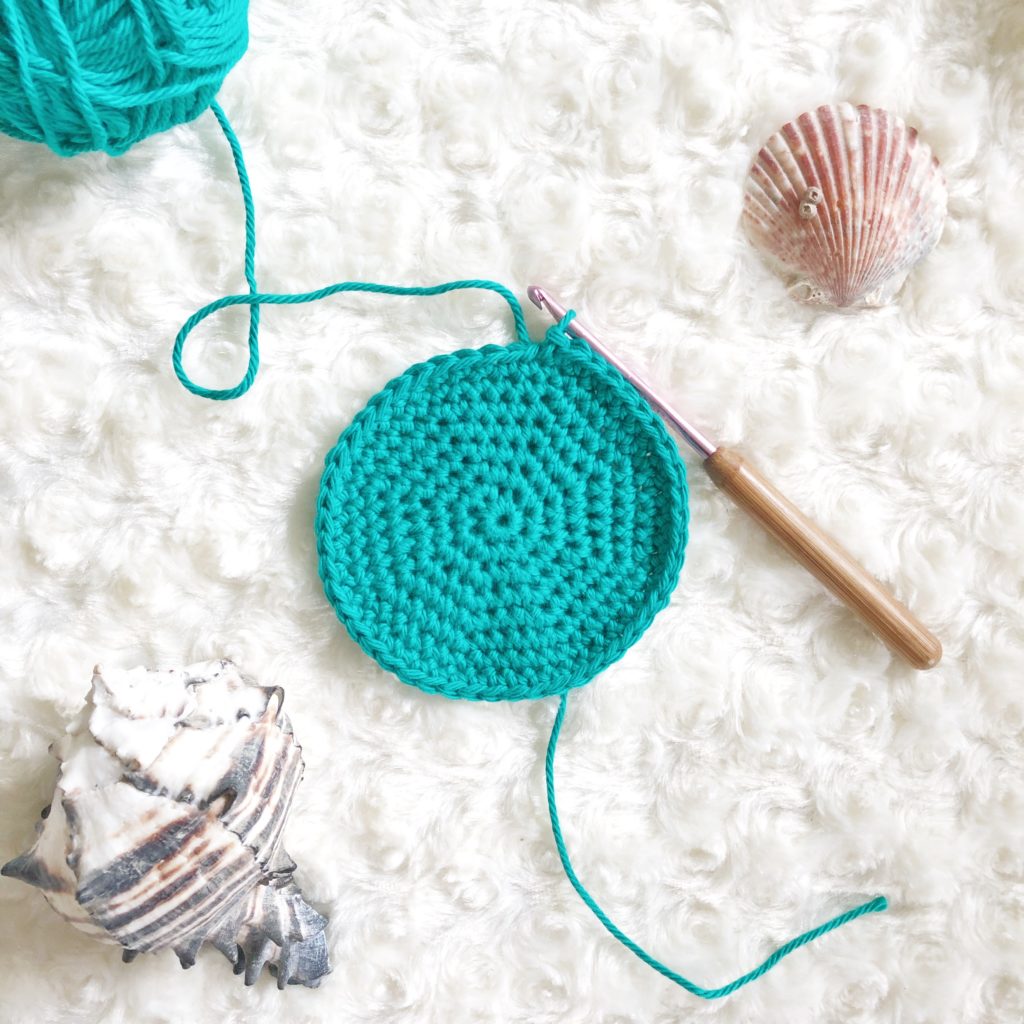
Row 2: 2 SC in every stitch around. (16)
Row 3: *1 SC in next stitch, 2 SC in next stitch,* repeat from * to * around. (24)
Row 4: *1 SC in next 2 stitches, 2 SC in next stitch,* repeat from * to * around. (32)
Row 5: *1 SC in next 3 stitches, 2 SC in next stitch,* repeat from * to * around. (40)
Row 6: *1 SC in next 4 stitches, 2 SC in next stitch,* repeat from * to * around. (48)
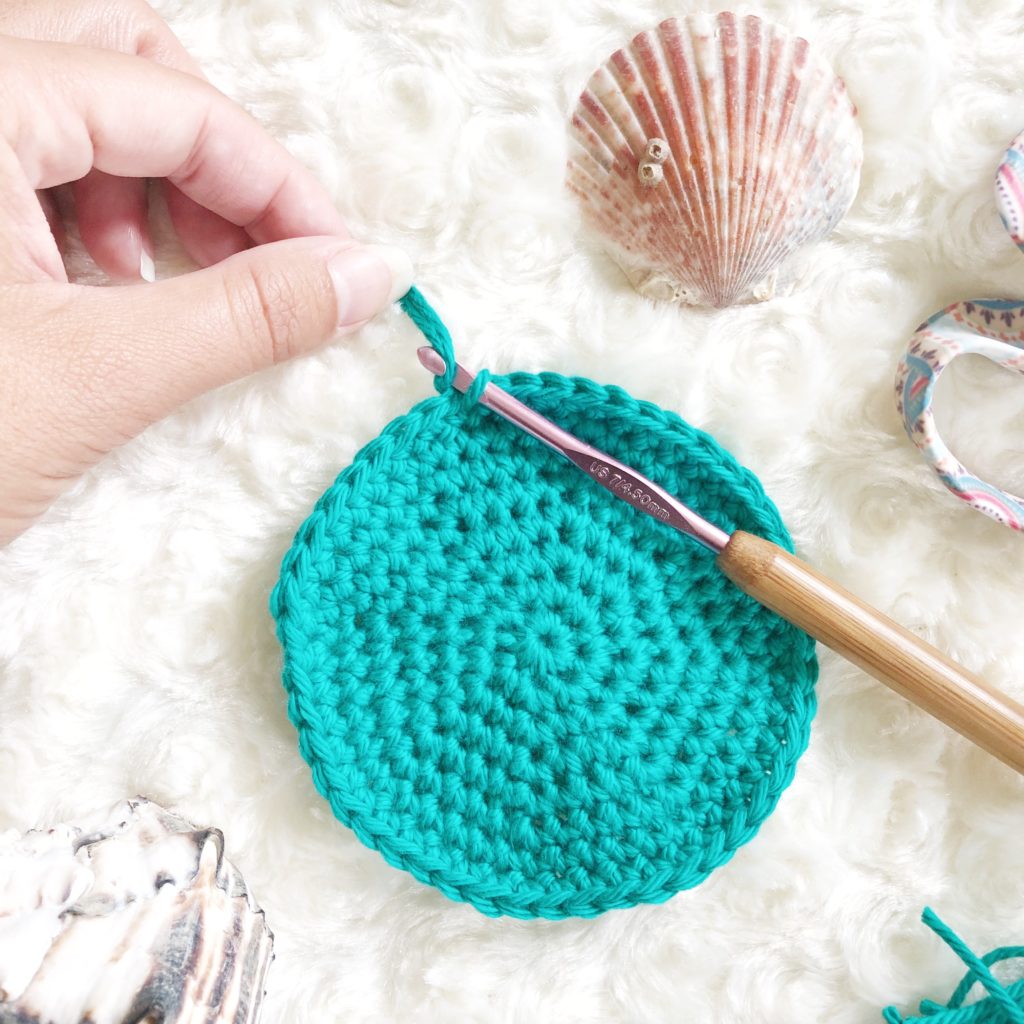
Row 7: 1 SC in every stitch around. (48)
Row 8: 1 SC in every stitch around. (48)
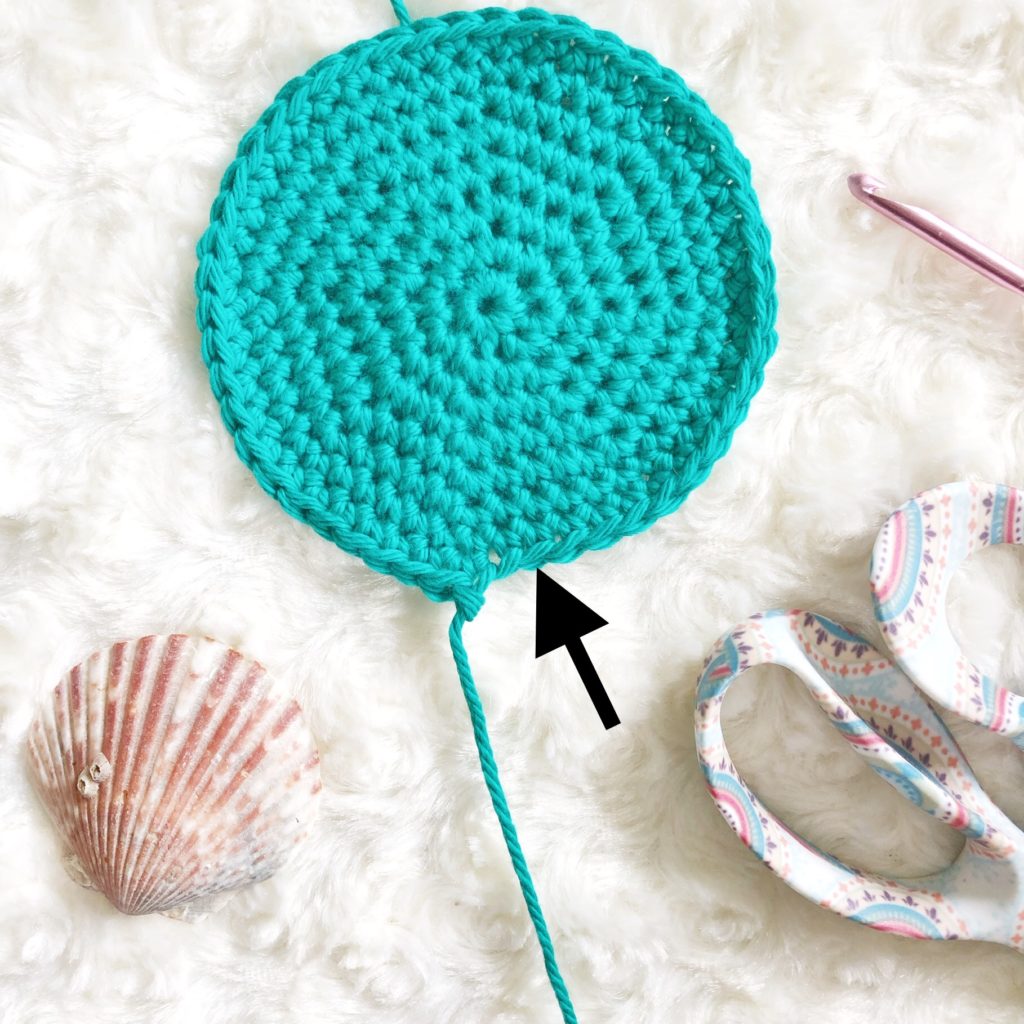
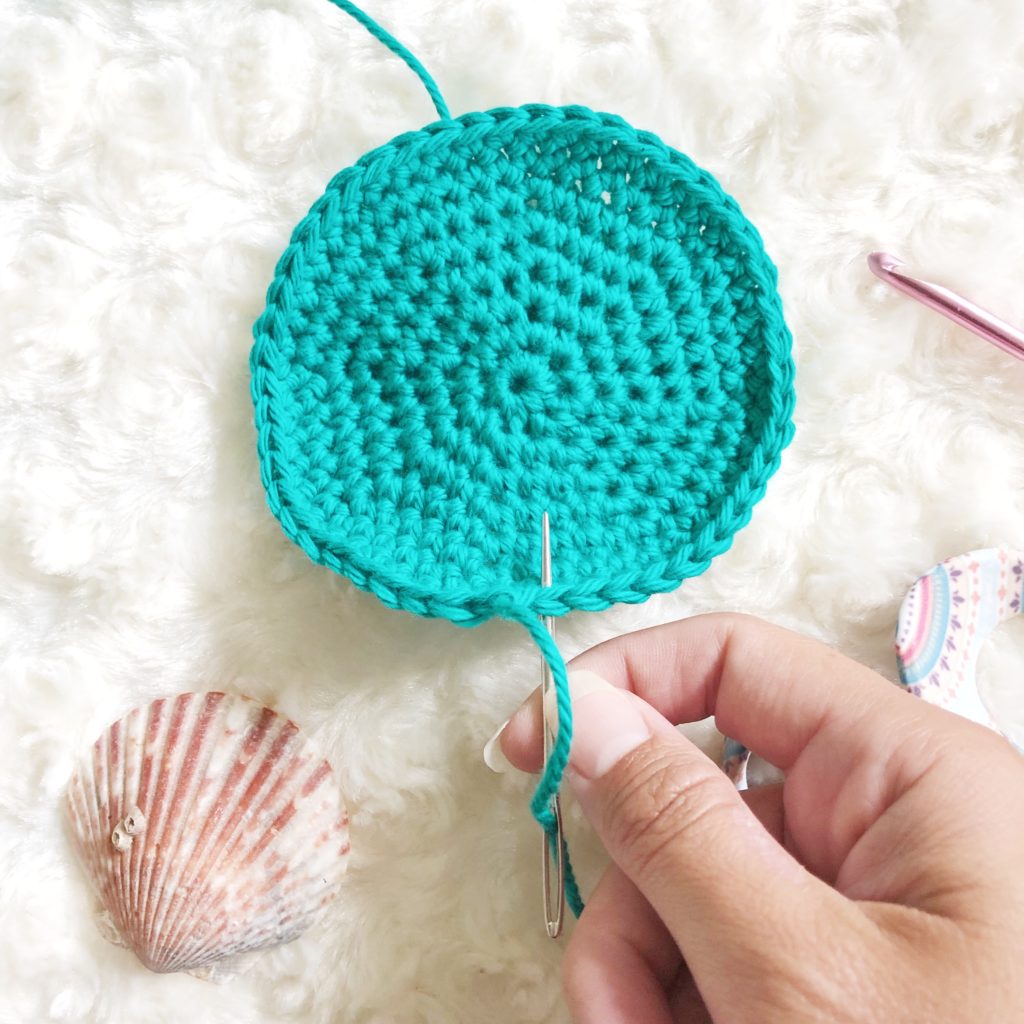
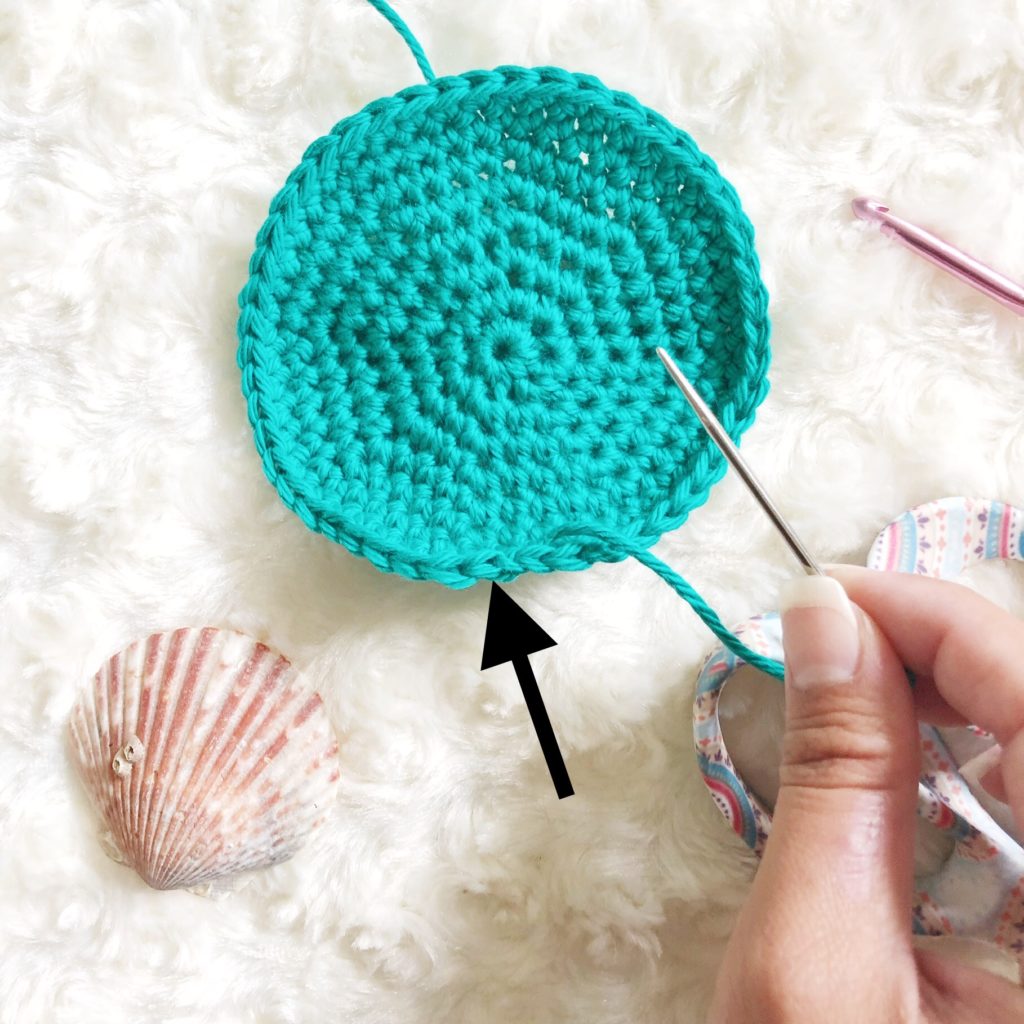
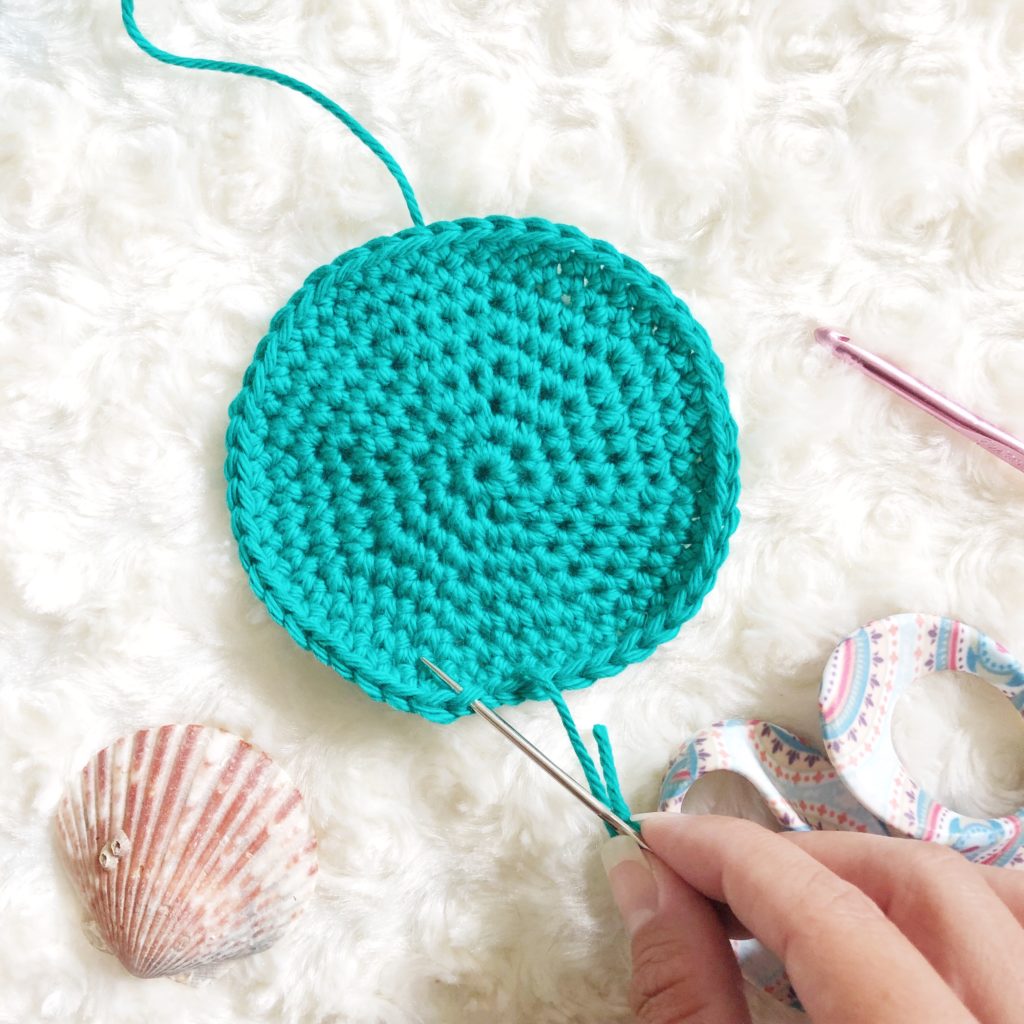
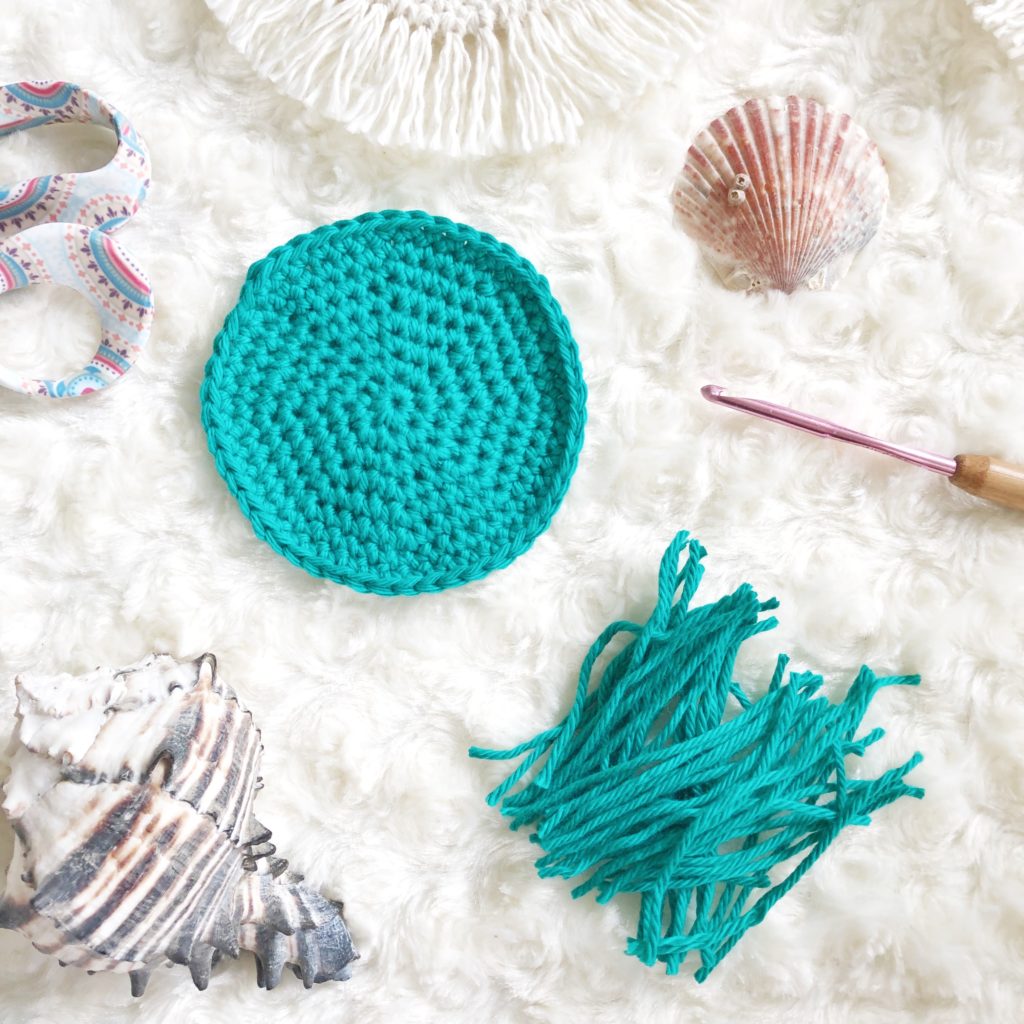
SL ST to next stitch. Finish off with an invisible join. Weave in ends.

Cut yarn after SL ST Insert needle under both loops of the 1st SC Pull through Insert needle between loops of the last SC Pull through Join is invisible

Fringe
Step 1: Cut 48 strands of yarn each 3″ long. I did this by winding my yarn 24 times around a piece of cardboard that was 3″ wide and then trimming the yarn at both sides of the cardboard.
Wind yarn Cut loops

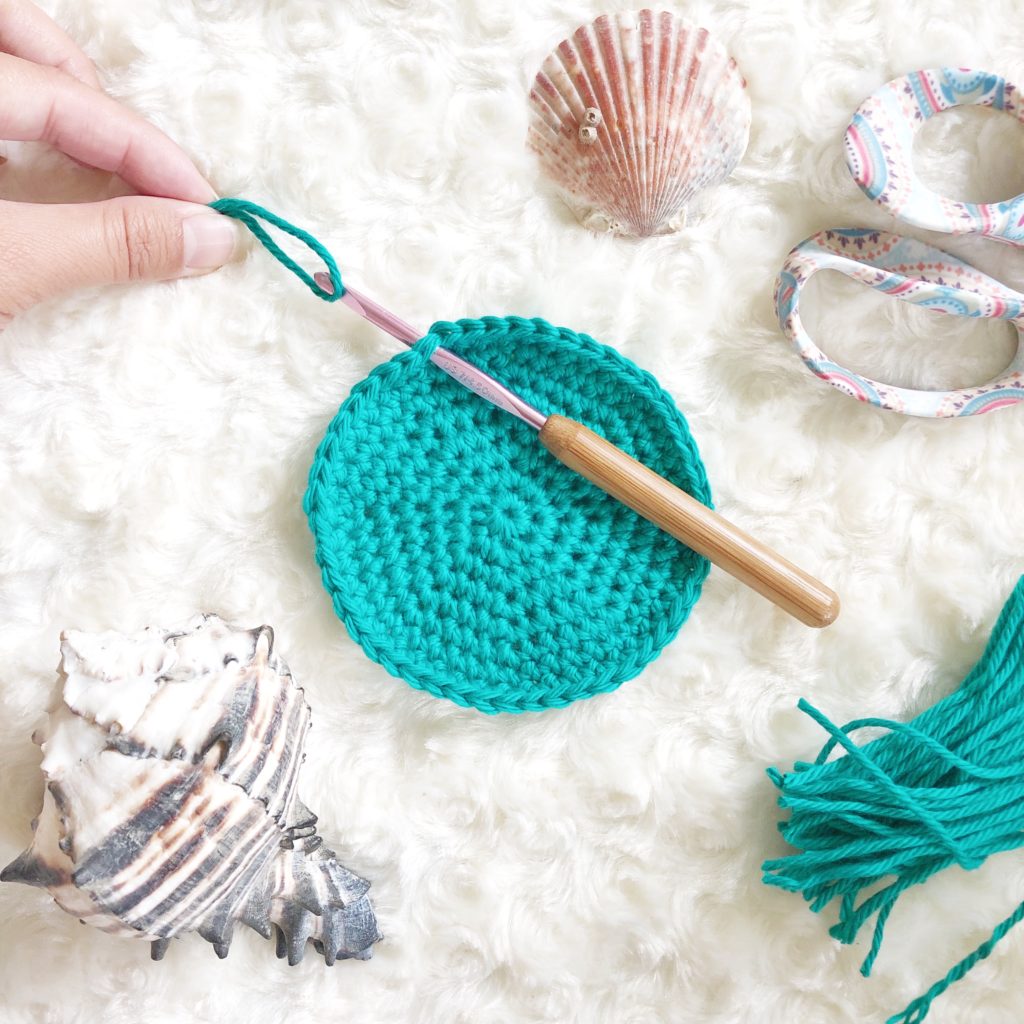
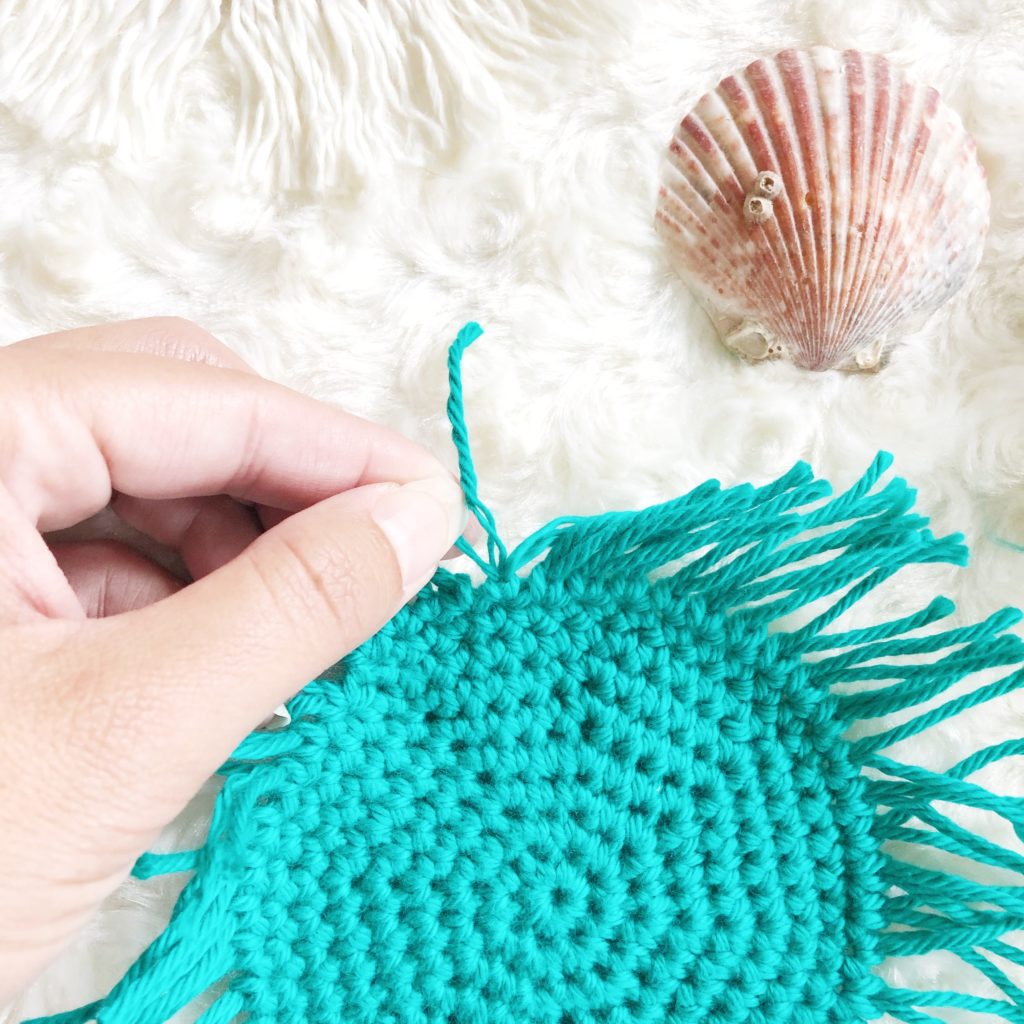
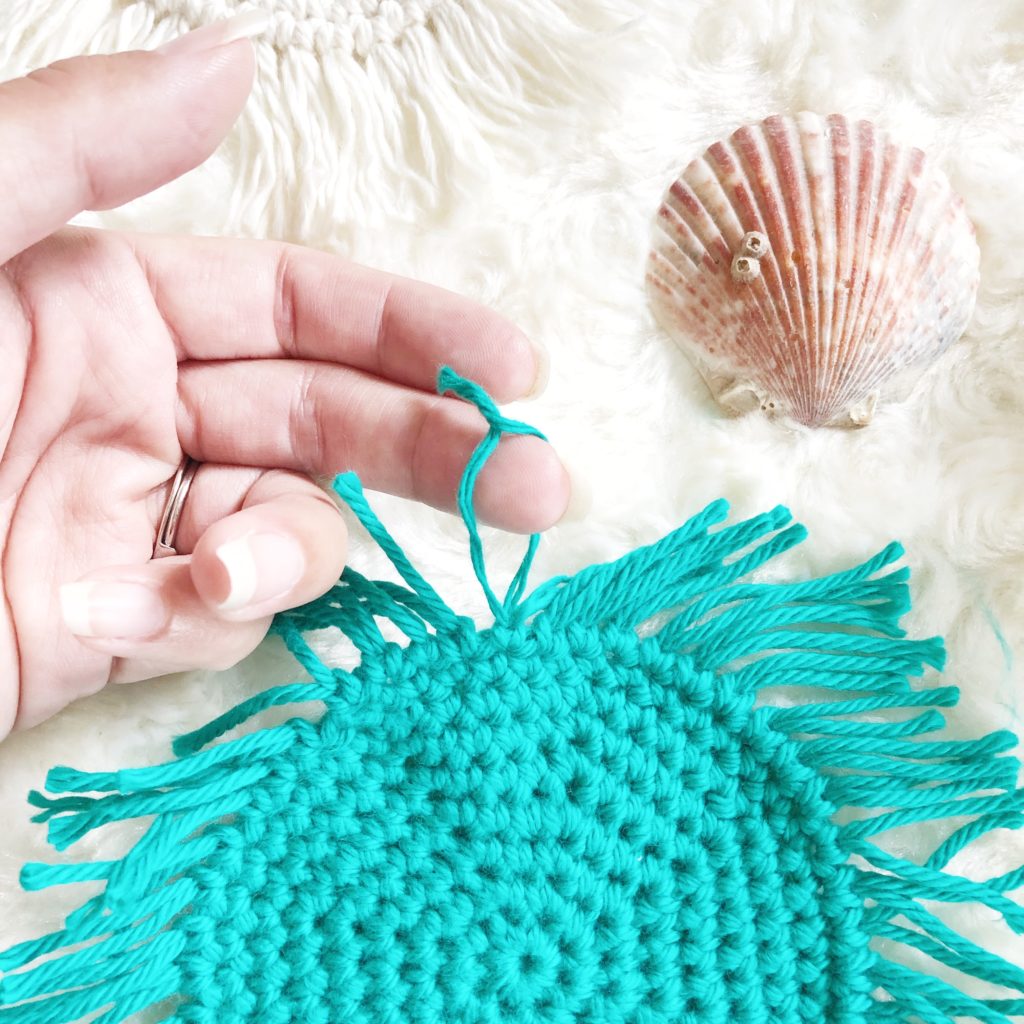
Step 2: Insert your hook into a stitch. Fold one of the strands of yarn in half and place it on the hook. Pull the yarn up through the stitch. Grab the tails of the yarn strand and pull them through the loop. Pull the knot to secure.
Grab folded strand Pull loop through the stitch Grab tails and pull through the loop Pull tight

Step 3: Repeat this process all the way around the coaster until all the stitches have a strand of yarn attached.
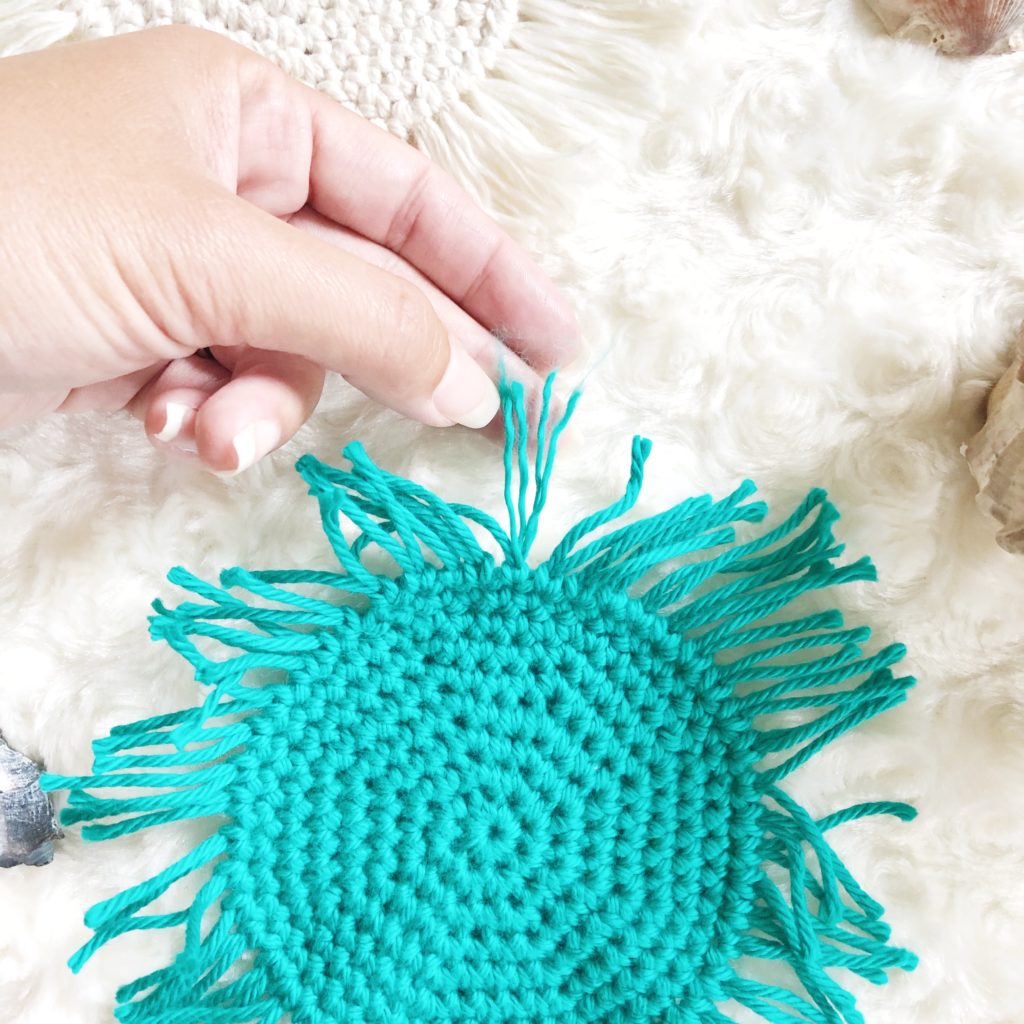
Step 4: Take one of the tails and pull apart each individual ply. Begin close to the knot and separate the strands while you work towards the end of the tail. Repeat on all strands.
Start at the base of the tail Separate the strands One tail fully separated
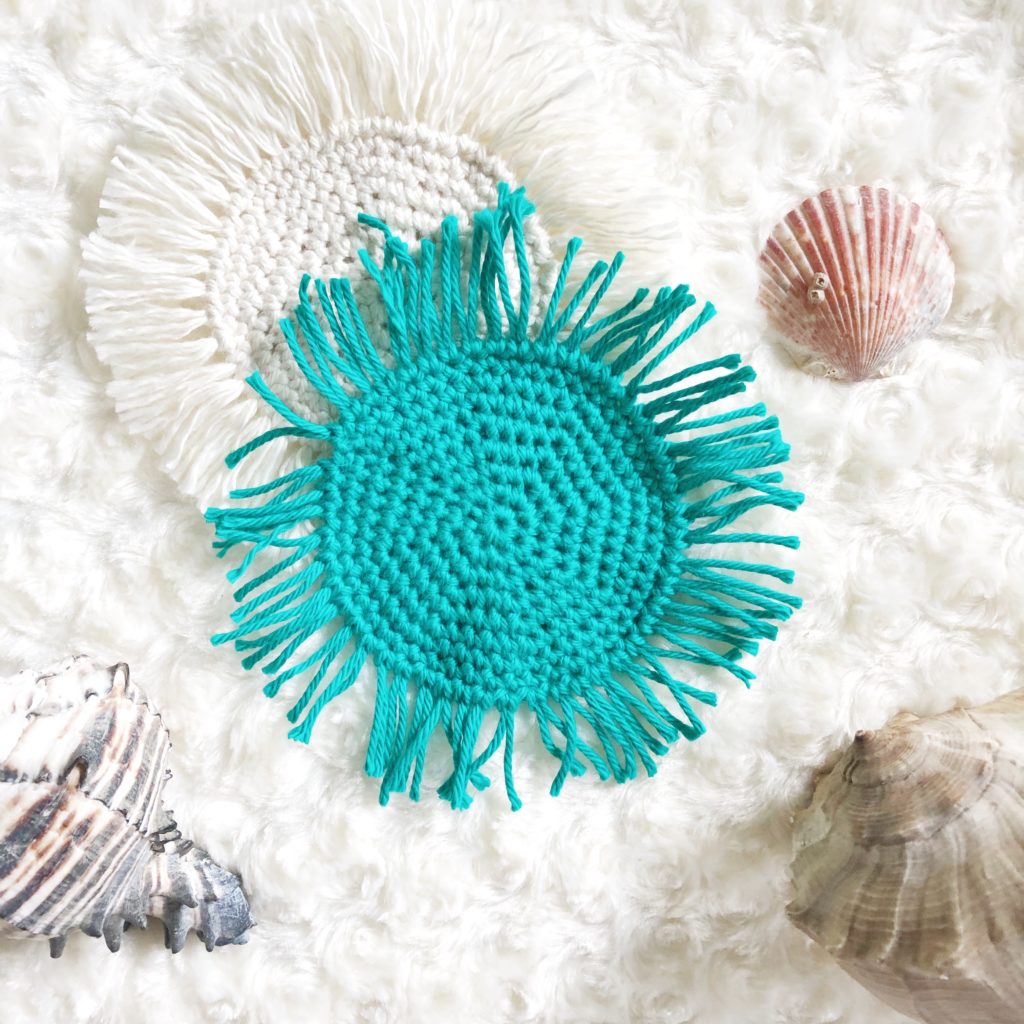
Step 5: Take the small comb or pick and lightly brush the strands out all the way around the coaster.
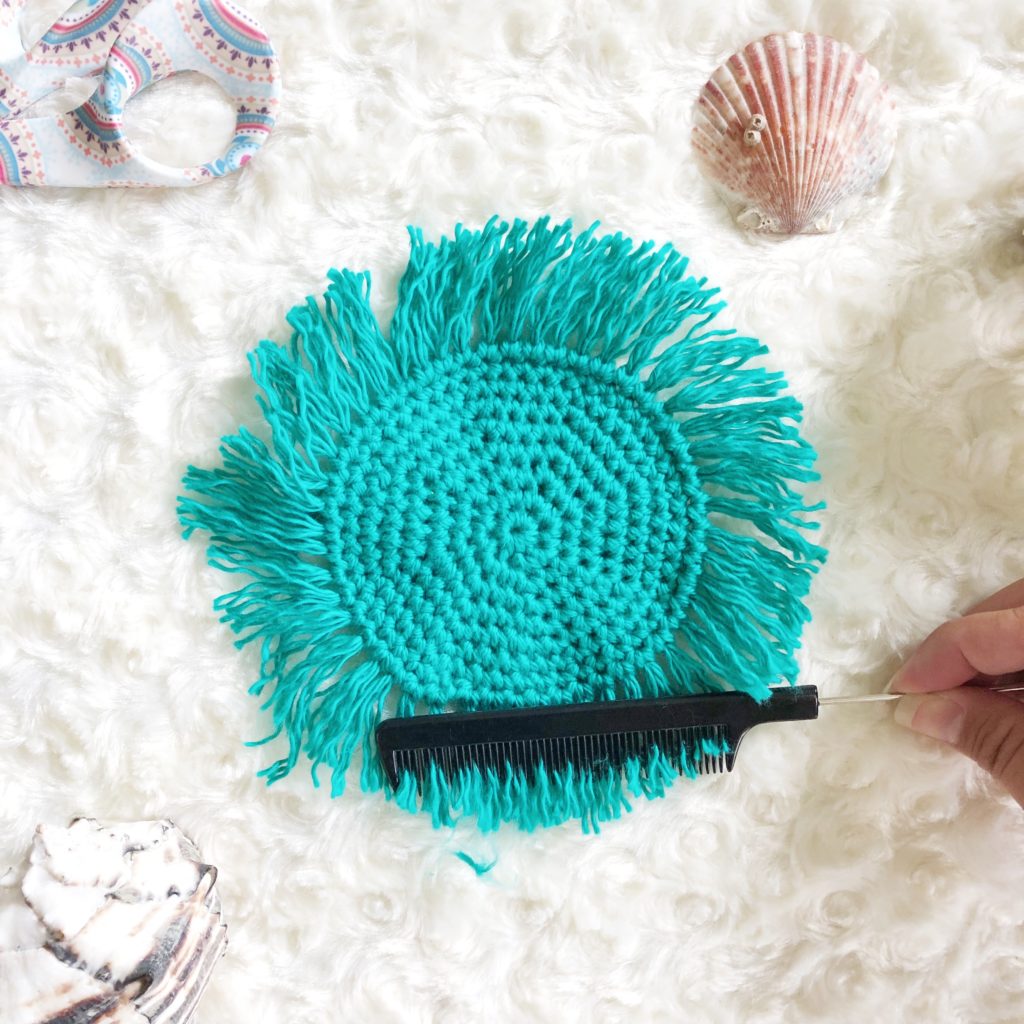
Step 6: Trim the strands to approx 1″ in length. Trim a little at a time and in small sections working your way around the circle until you achieve the desired shape and length.

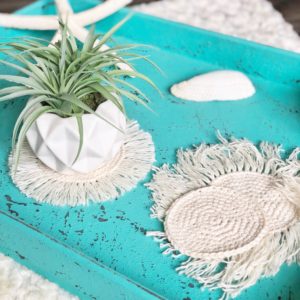
Your coasters are done! Now you can sit back and relax with your favorite drink resting on them and dream of the ocean.


For more fun projects try this tassel tutorial or this pom-pom candy corn decoration!
If you make these coasters, please share it! I would love to see your work! You can tag me on Instagram and Facebook @theplushpineapple. Use the tags #theplushpineapple and #crochetbohocoasters.
“Much love, sunshine, and pineapples”
Sarah
The photographs and pattern contained in this document are the property of A Plush Pineapple. Unauthorized reproduction, in whole or in part, or distribution of this pattern or content is prohibited. ALL FINISHED PRODUCTS created using this pattern may be sold locally or online. If selling finished products online, please give my blog credit for the pattern by posting a link to my website.