
“Still round the corner, there may wait, a new road or a secret gate.”
J. R. R. Tolkien
There’s something magical about C2C. Watching a design take shape in a diagonal fashion before your eyes creates so much anticipation that it’s hard to put the project down!
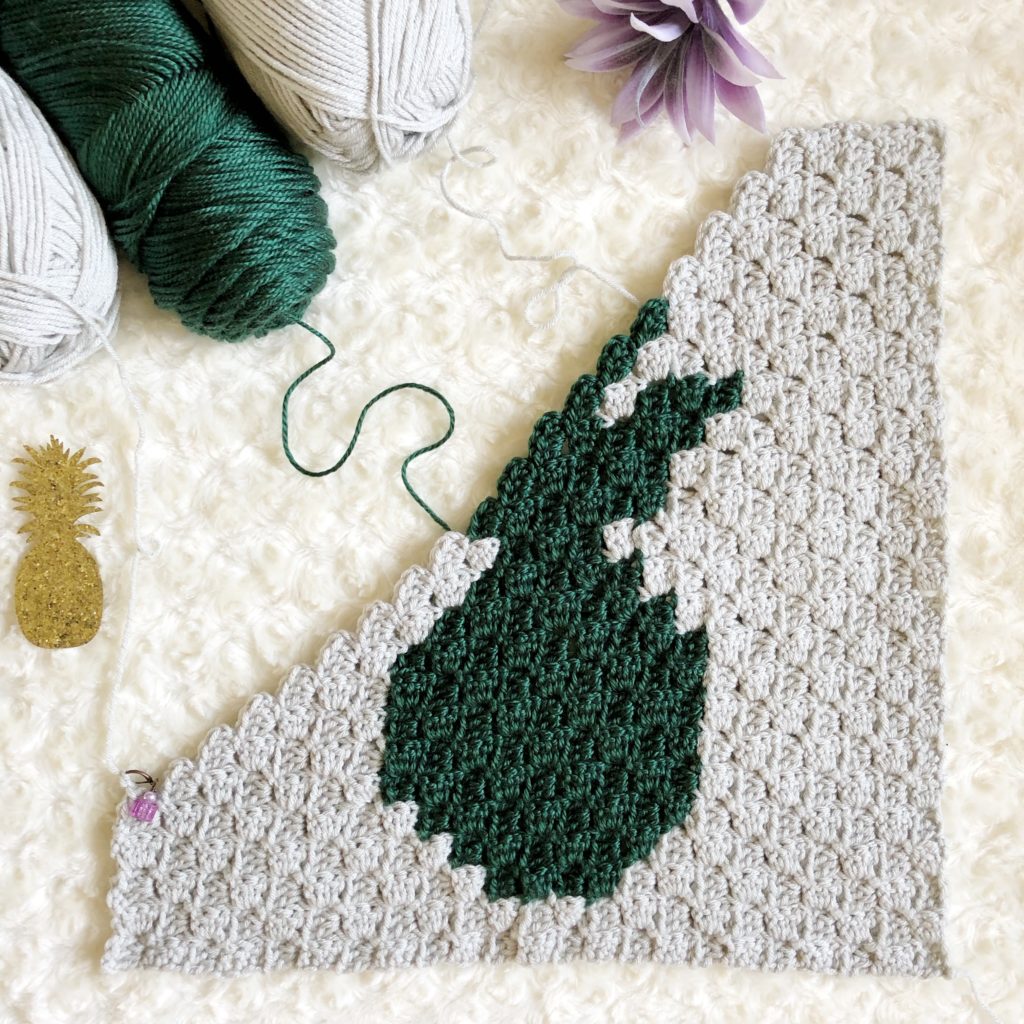

Have you seen C2C crochet projects and thought that there was no way you could tackle them? C2C crochet can be a bit daunting at first, but my hope is that with this step-by-step picture tutorial, you’ll be able to make alll the C2C things!
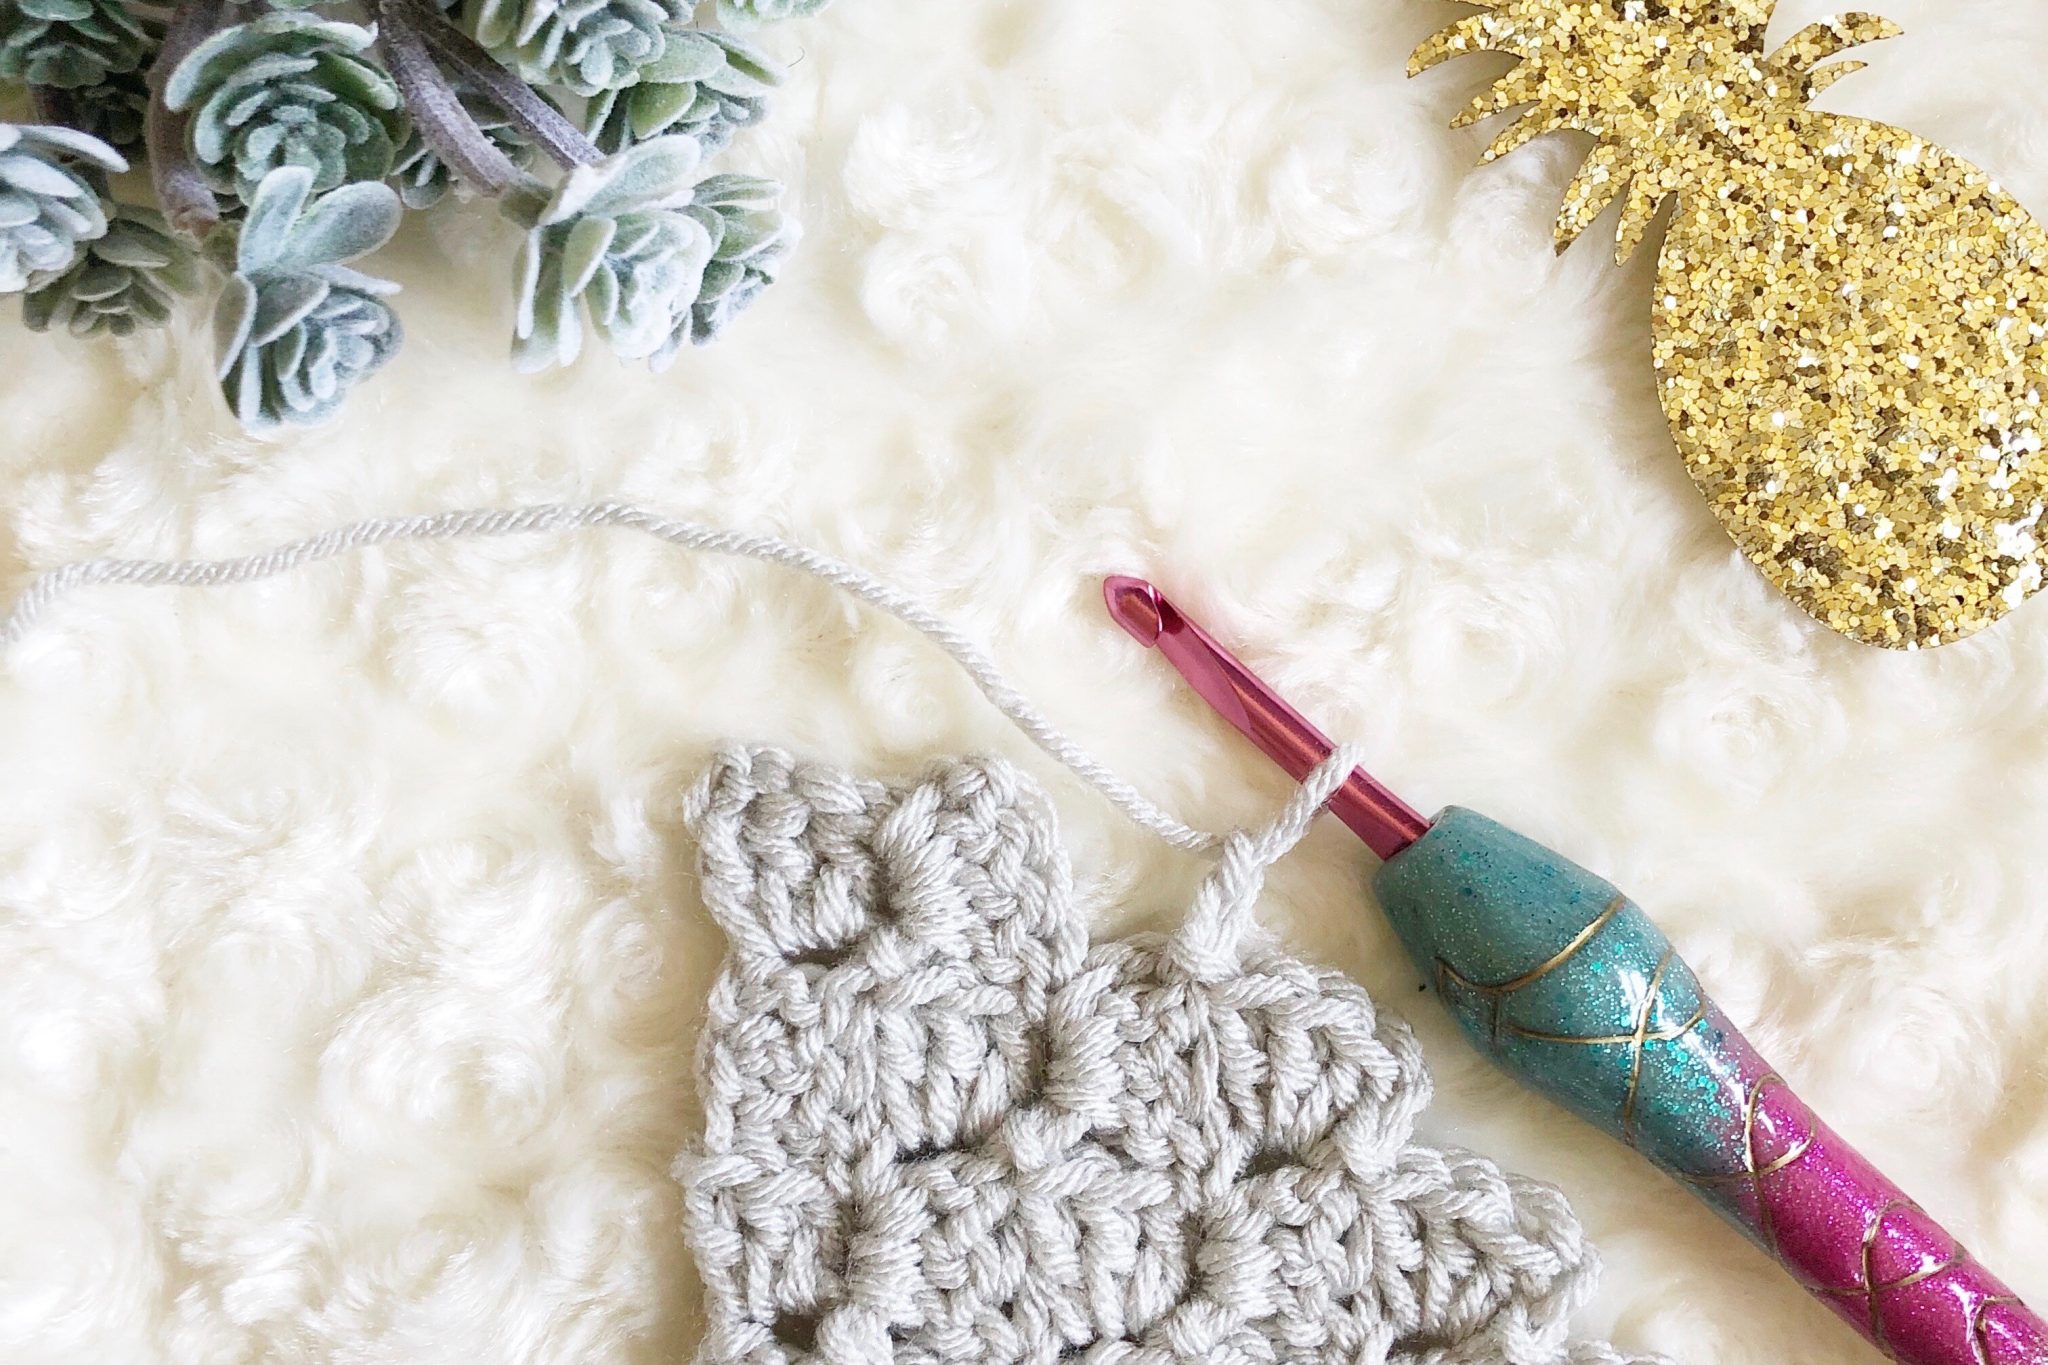
C2C or corner-to-corner crochet is exactly what it sounds like — crocheting a piece from one corner to the opposite corner. It is composed of miniature blocks, each block consisting of 3 DC. You begin with one block, then you increase to two blocks, then to three, and so on. You continue to increase until you reach the desired length, and then you begin to decrease a block per row until you are back down to one block. This tutorial will take you step-by-step through the process of beginning with one block, increasing, and decreasing back down to the last block. Once you have the basic concept down, color changing can be incorporated to create designs ranging from simple solid color objects to objects so detailed they look…
…like a photograph!

Skill Level – Intermediate
Materials
- Yarn (preferably worsted weight)
- US I9/5.50mm crochet hook (or preferred hook size)
- Tapestry needle
- Scissors
- Yarn Bobbins (optional)
Abbreviations
- CH – Chain
- DC – Double crochet
- Sl St – Slip stitch
- YO – Yarn over
- WS – Wrong side
- RS – Right side
Notes
- This c2c crochet version uses a CH 5 for each new tile rather than a CH 6. This is my preferred method of c2c because it provides tighter spaces in between blocks. If you would like your project to be a bit more open and airy, you may opt to use a CH 6 instead.
- There can be multiple color changes in a c2c crochet project, therefore, bobbins can be useful in managing the yarn. Wind the approximate yardage for each color on to your bobbins. When joining a new color into your project, complete the first 2 DC of the previous tile. Begin the 3rd DC, but before completing the stitch, pull the new color through after the last YO. Then SL ST to the next tile with the new color on the hook. Pulling the new color through after the last YO of the previous tile ensures that the new tile will be all one color.
- If one side will not be visible, then you may choose to carry the yarn over on many of the color changes to reduce the amount of ends to be woven in. If the yarn would be carried across more than one tile, I recommend clipping the end before joining the new color rather than carry the yarn.
- When clipping ends and joining new colors, be sure to keep the yarn ends or working yarn to the WS of the work.
C2C Tutorial – Rows 1-3 Increasing
Row 1
Beginning with a slip knot on hook, CH 5, DC in the third CH from hook, DC in the next two CH. This is the first tile created and counts as Row 1.

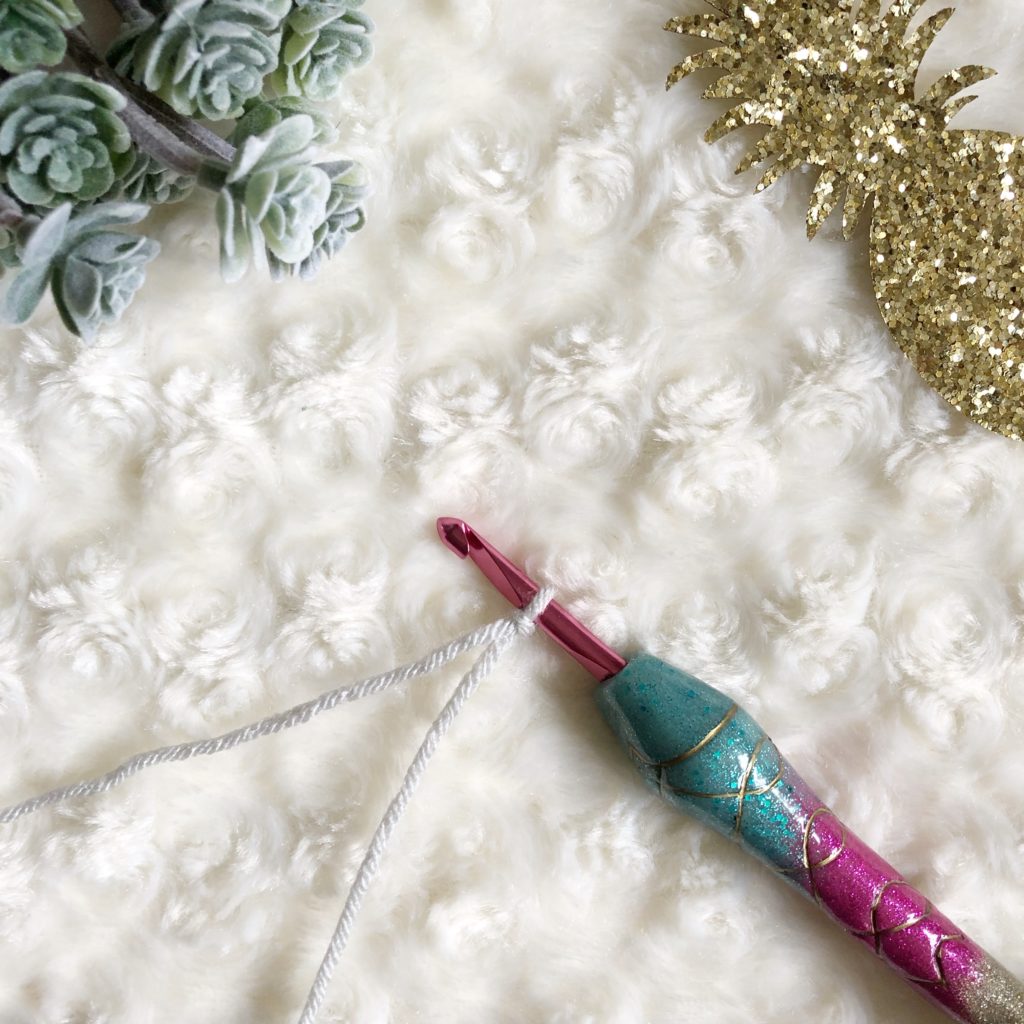
Slip Knot 
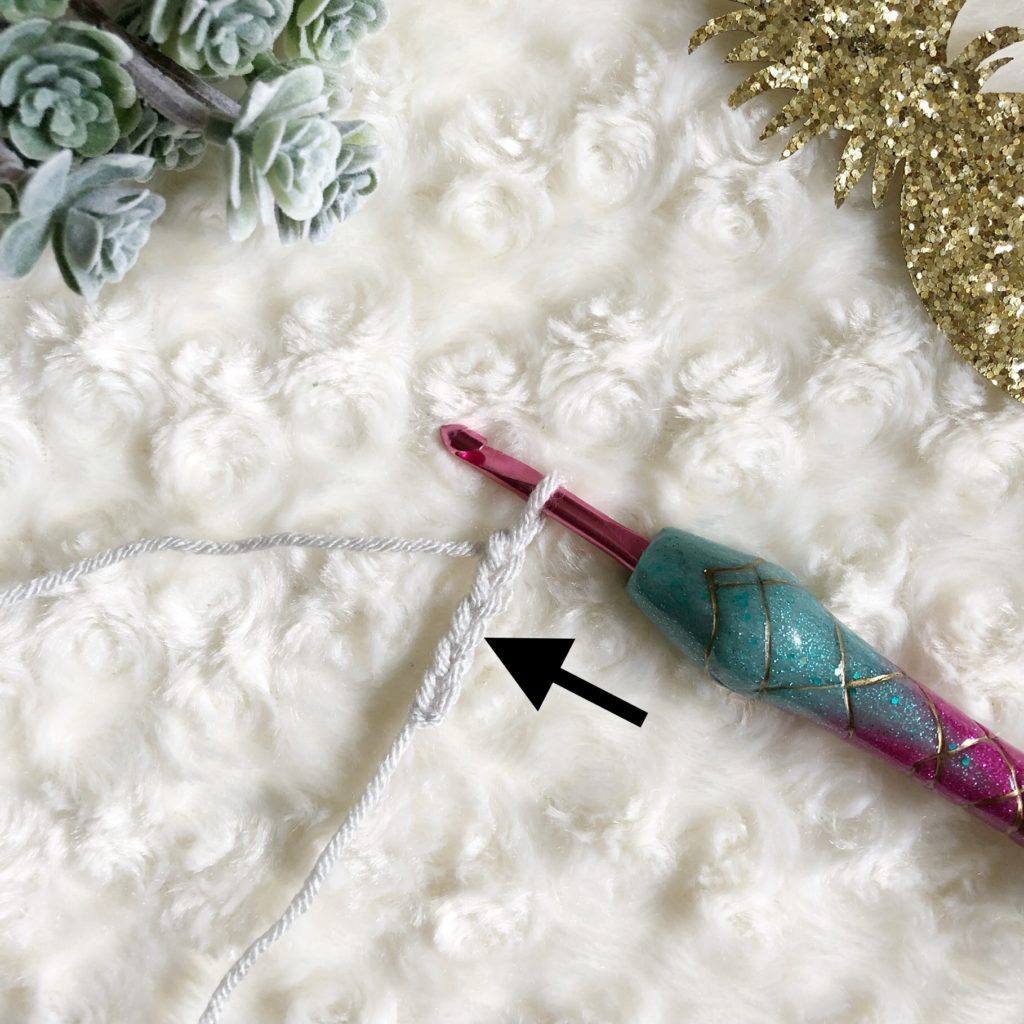
DC in 3rd CH space 
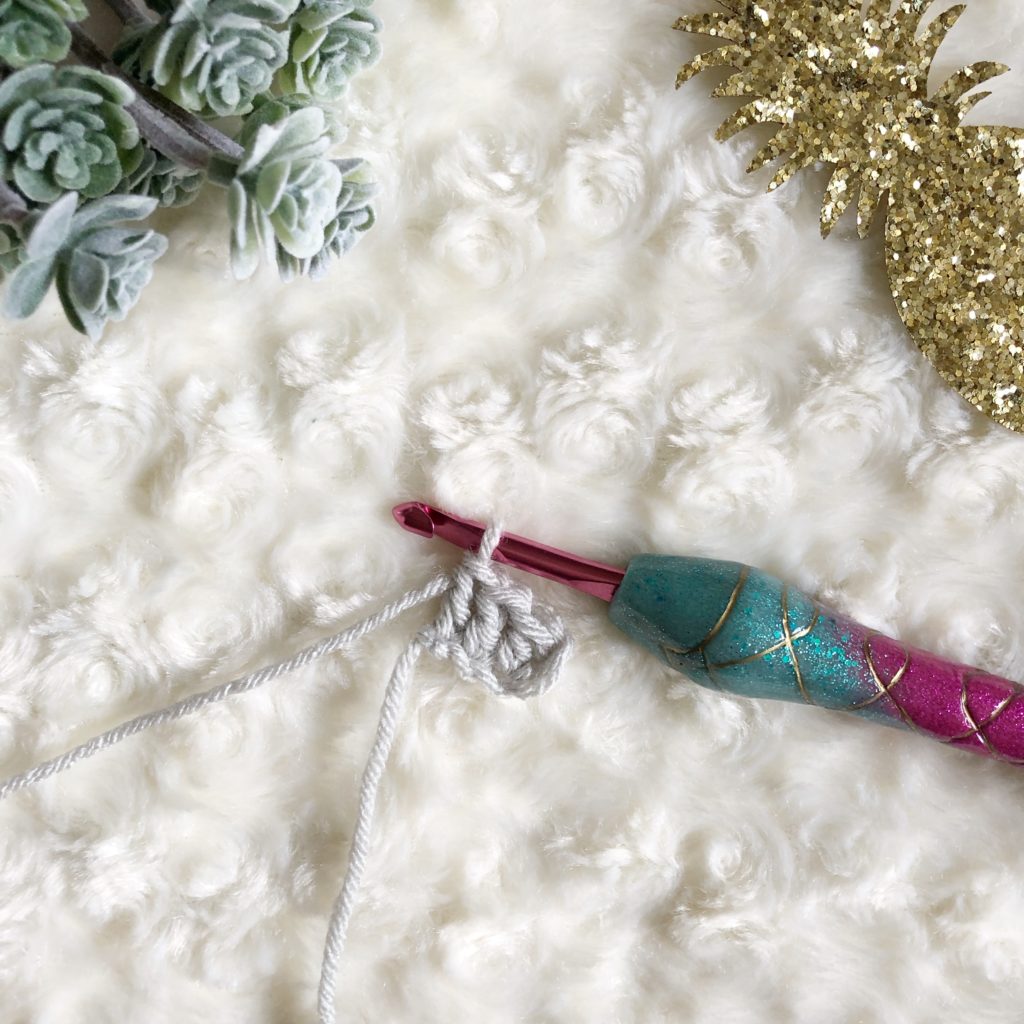
3 DC created=1st tile
Row 2
CH 5, DC in the third CH from hook, DC in the next two CH. Rotate the first tile so that the first tile is WS up. SL ST to the CH 2 space of the first tile. CH 2, 3 DC in the CH 2 space. (2 tiles)

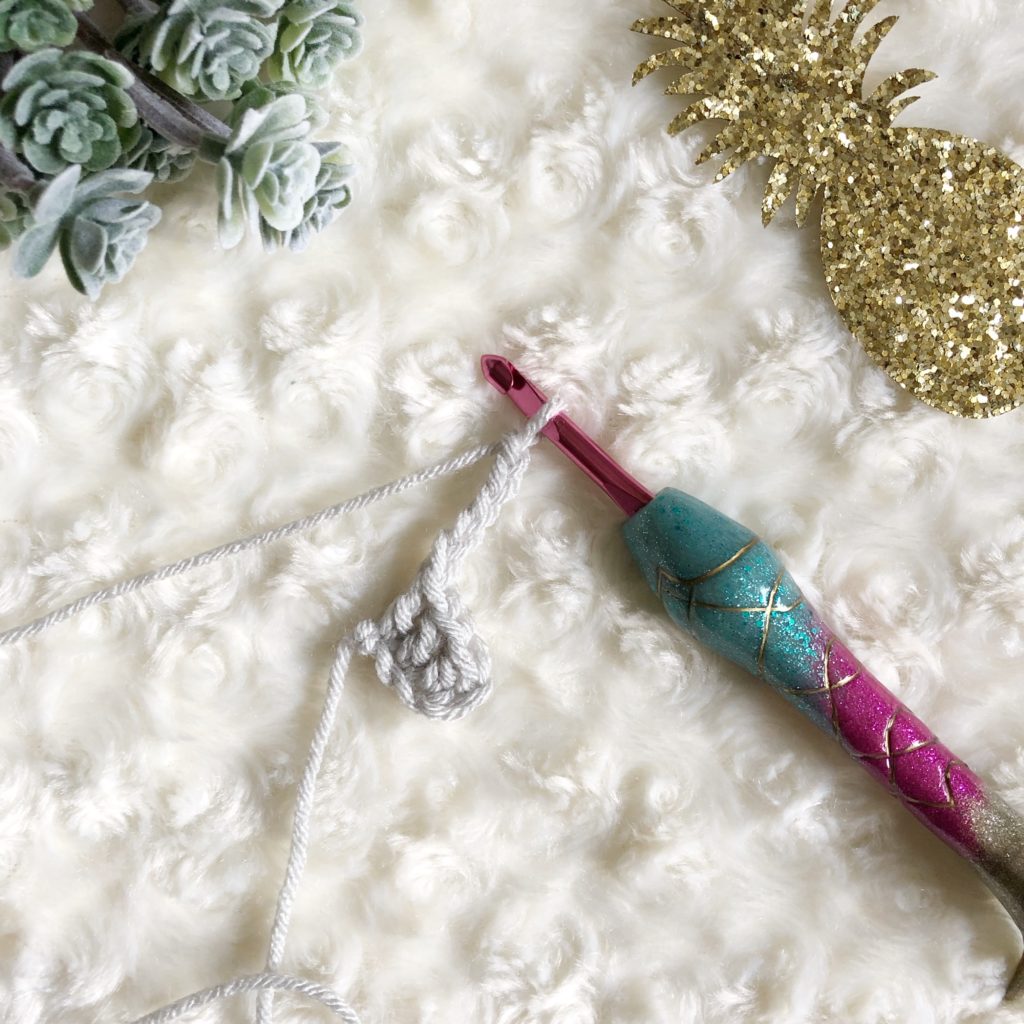
Chain 5 
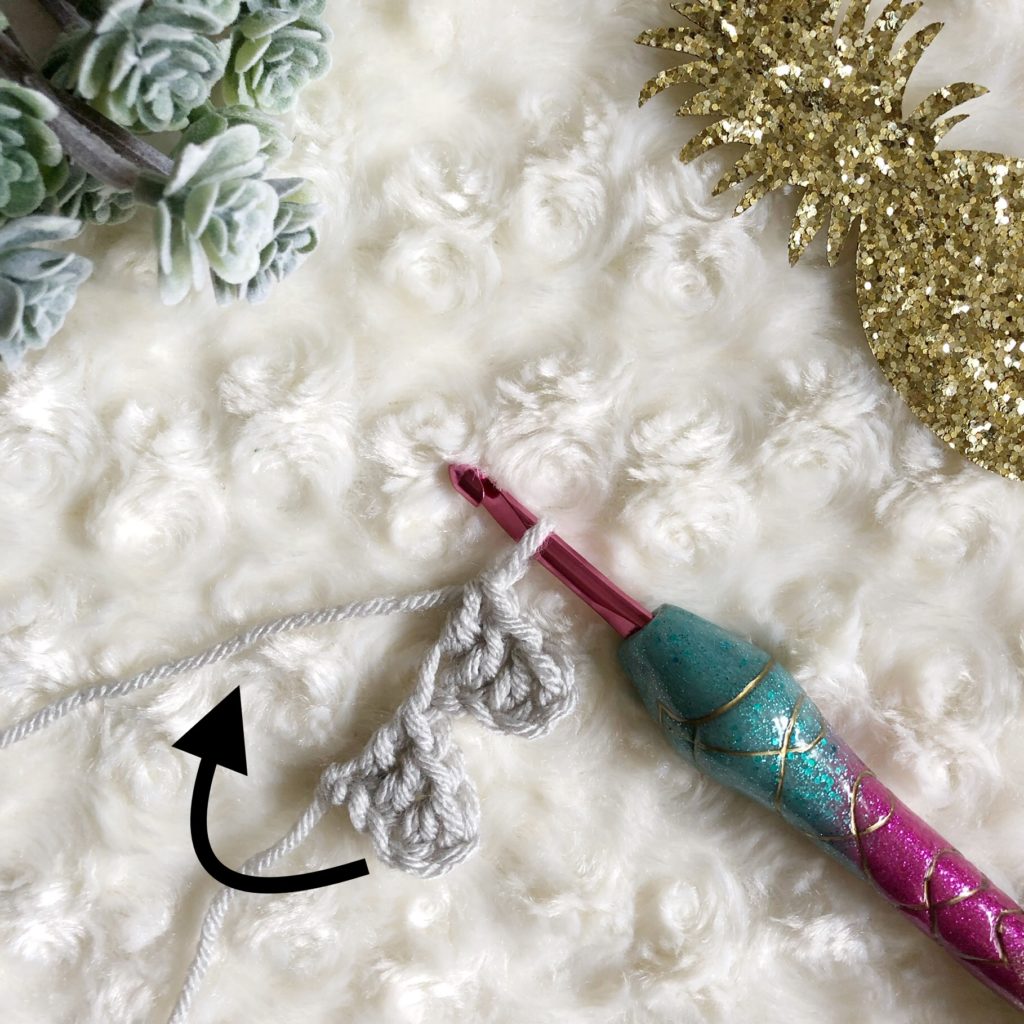
Rotate 1st tile 
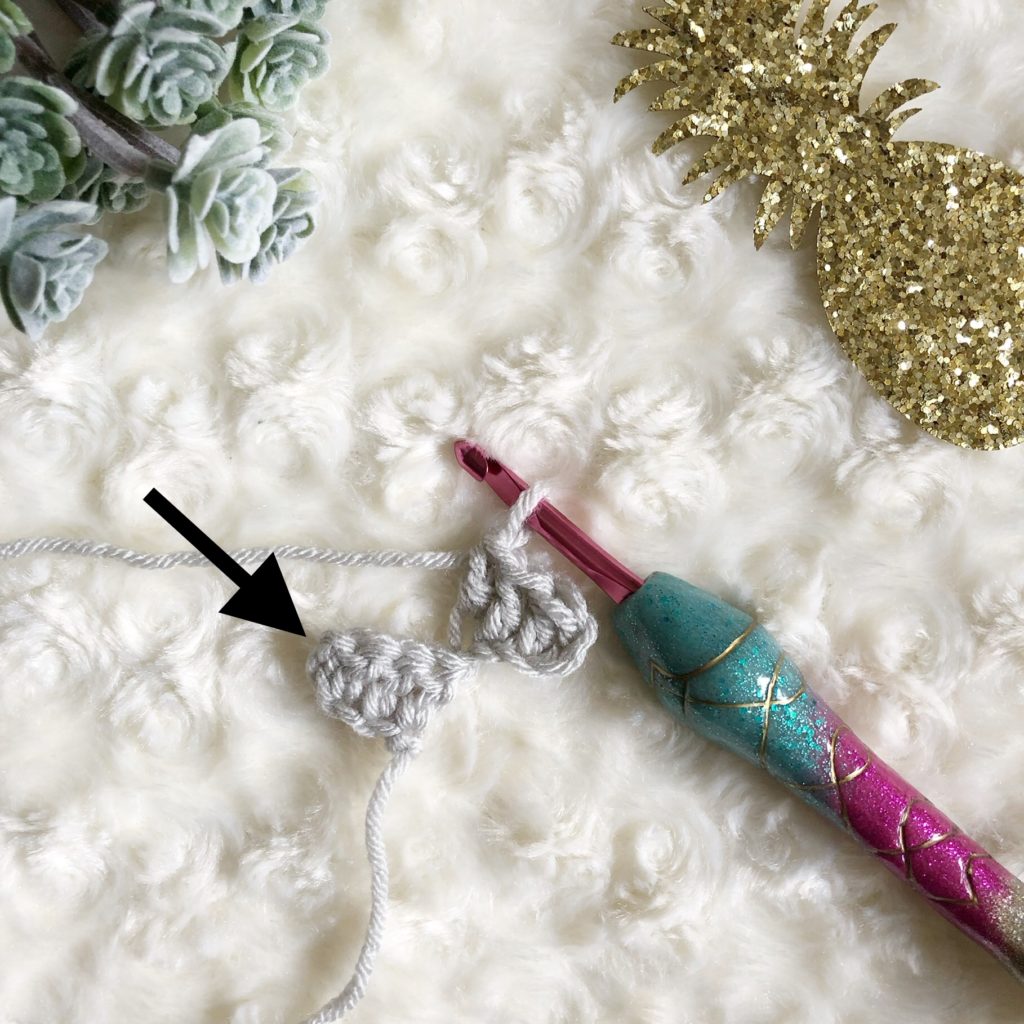
SL ST to CH 2 space 
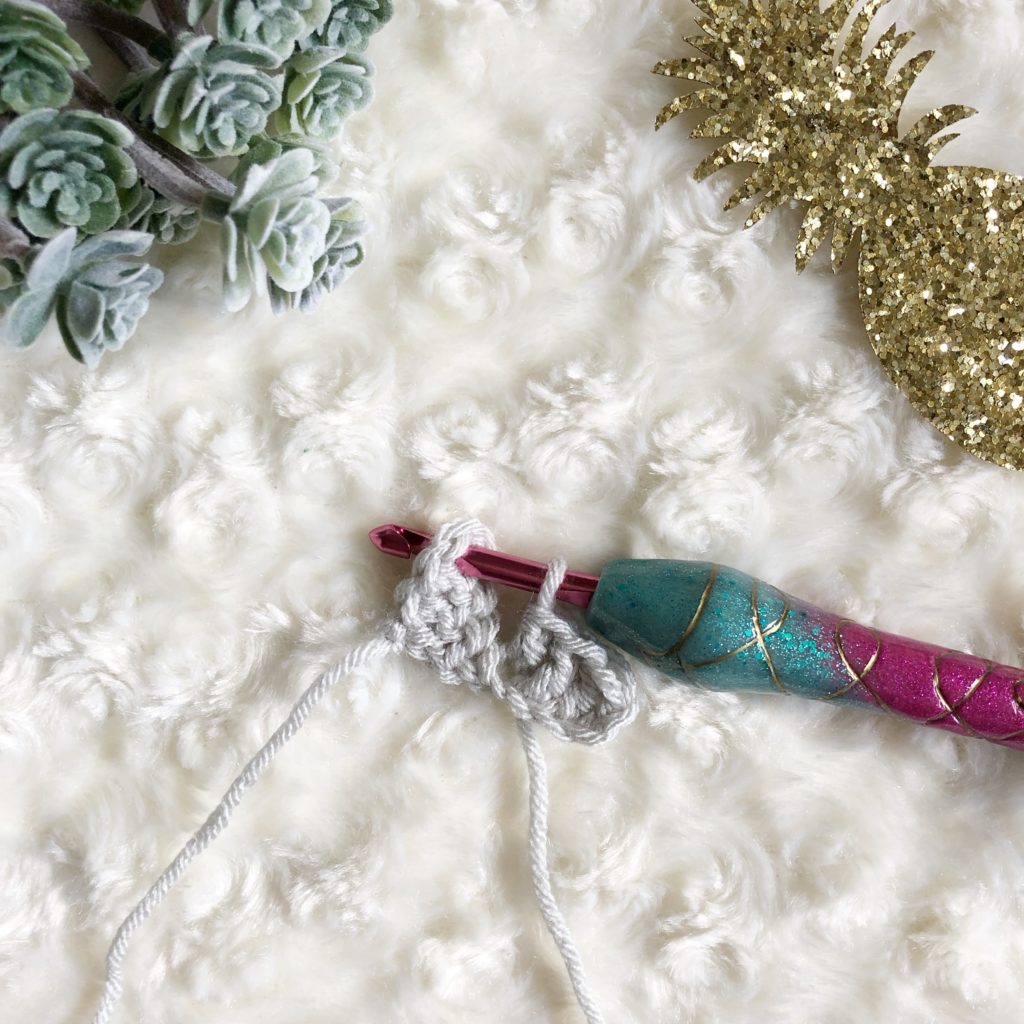
Insert hook in CH 2 space 
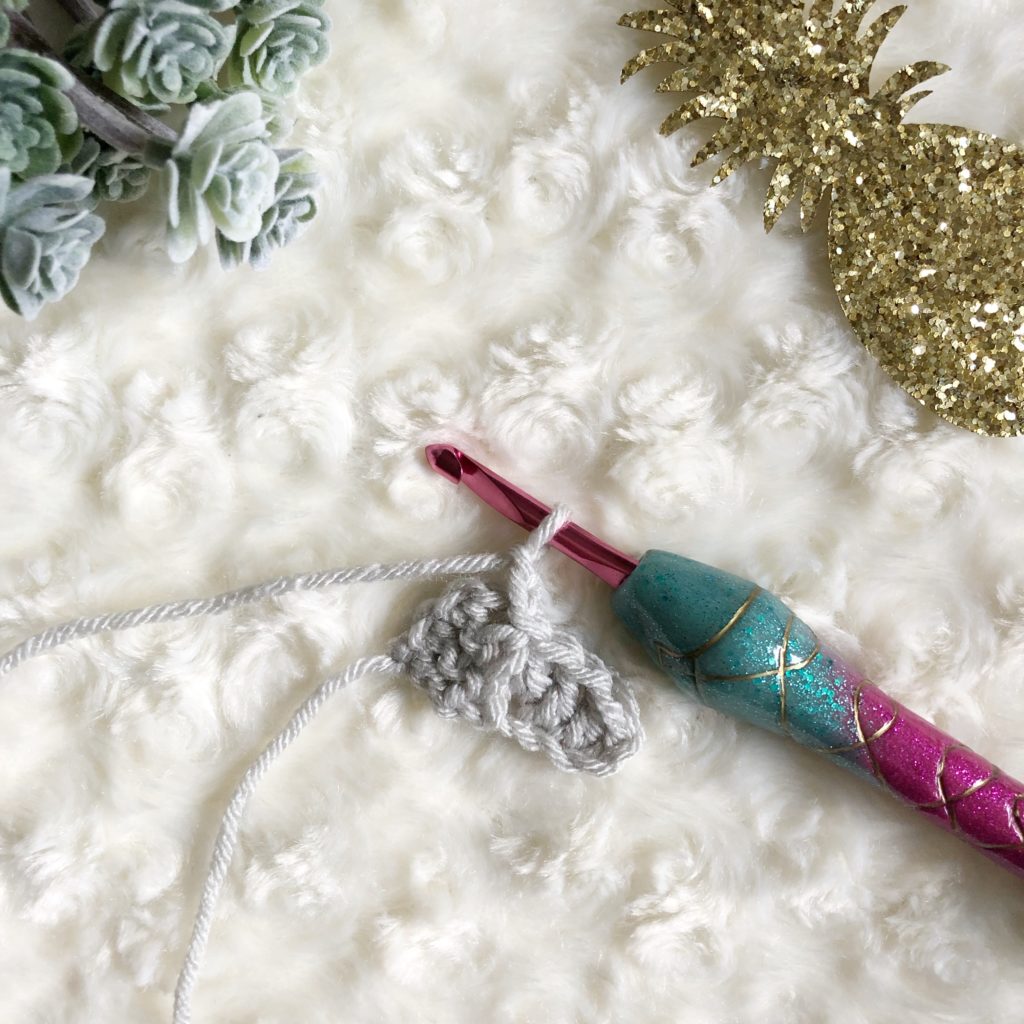
SL ST, Chain 2 
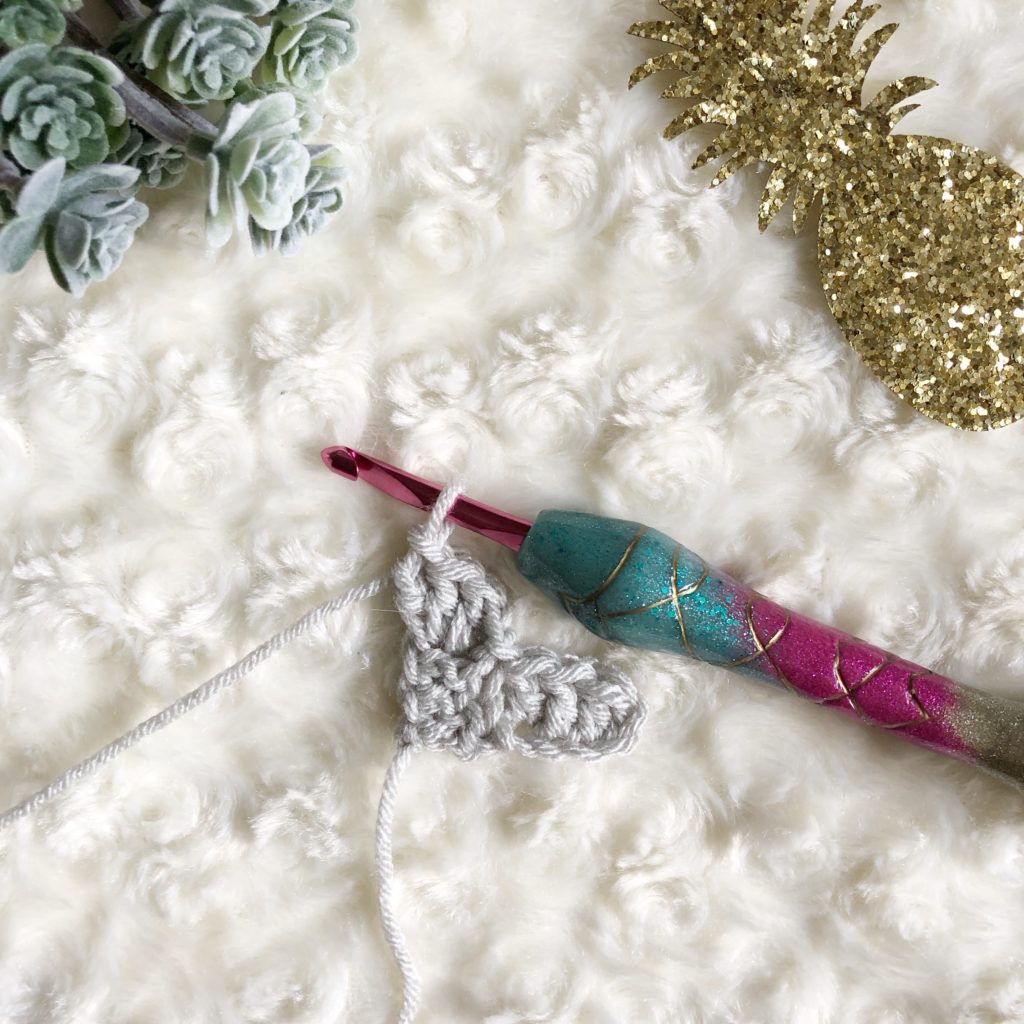
3 DC in CH 2 space
Row 3
CH 5, DC in the third CH from hook, DC in the next two CH. Rotate the bottom two rows so that they are WS up. SL ST to the CH 2 space of the last tile of Row 2, CH 2, 3 DC in the CH 2 space, SL ST to the CH 2 space of the next tile, CH 2, 3 DC in the CH 2 space. (3 tiles)

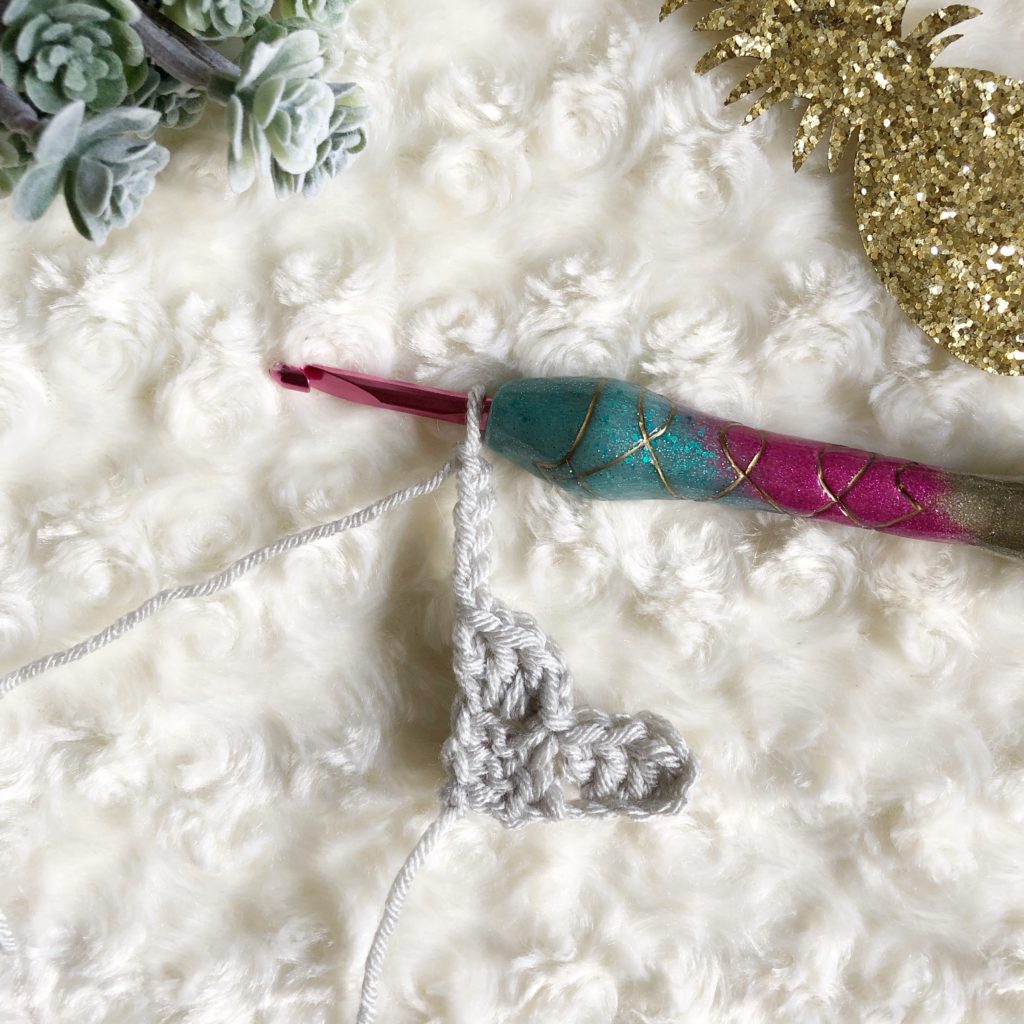
Chain 5 
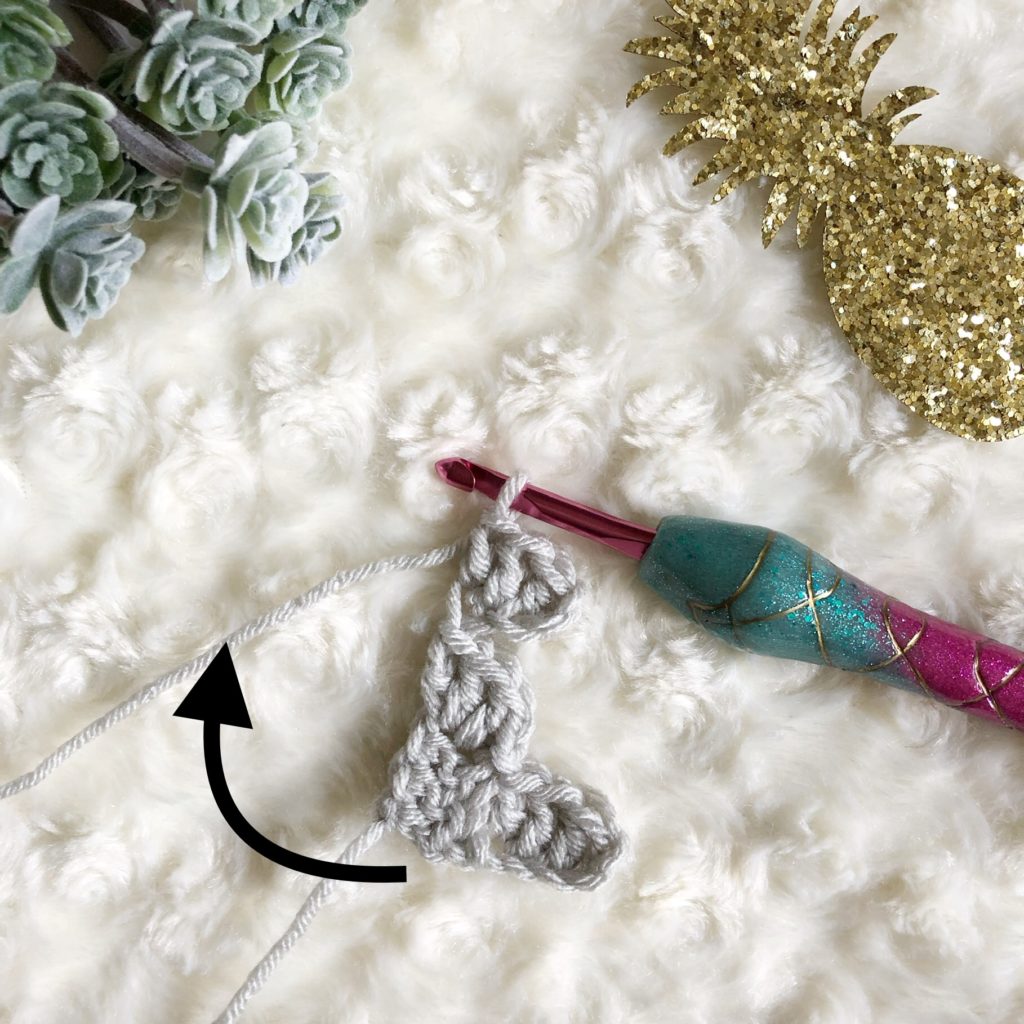
Rotate bottom 2 rows 
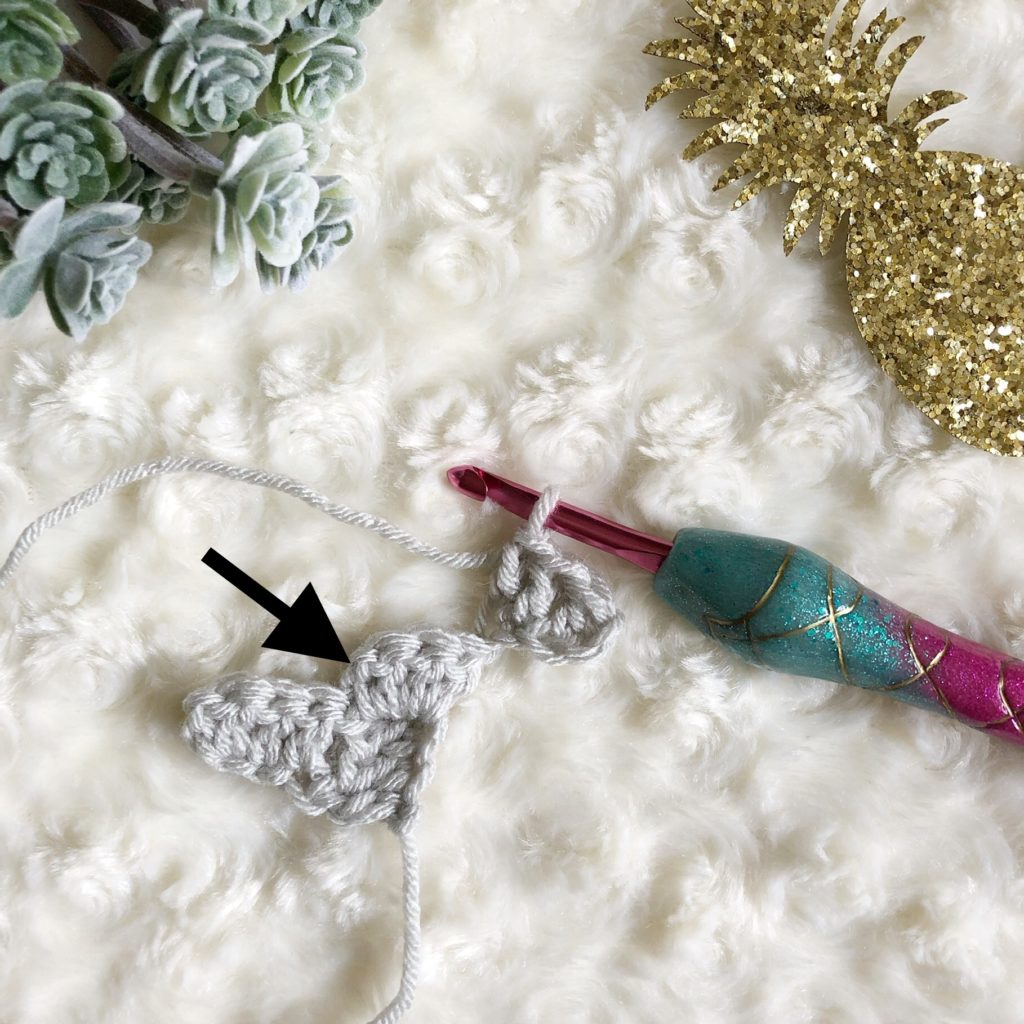
SL ST to CH 2 space 
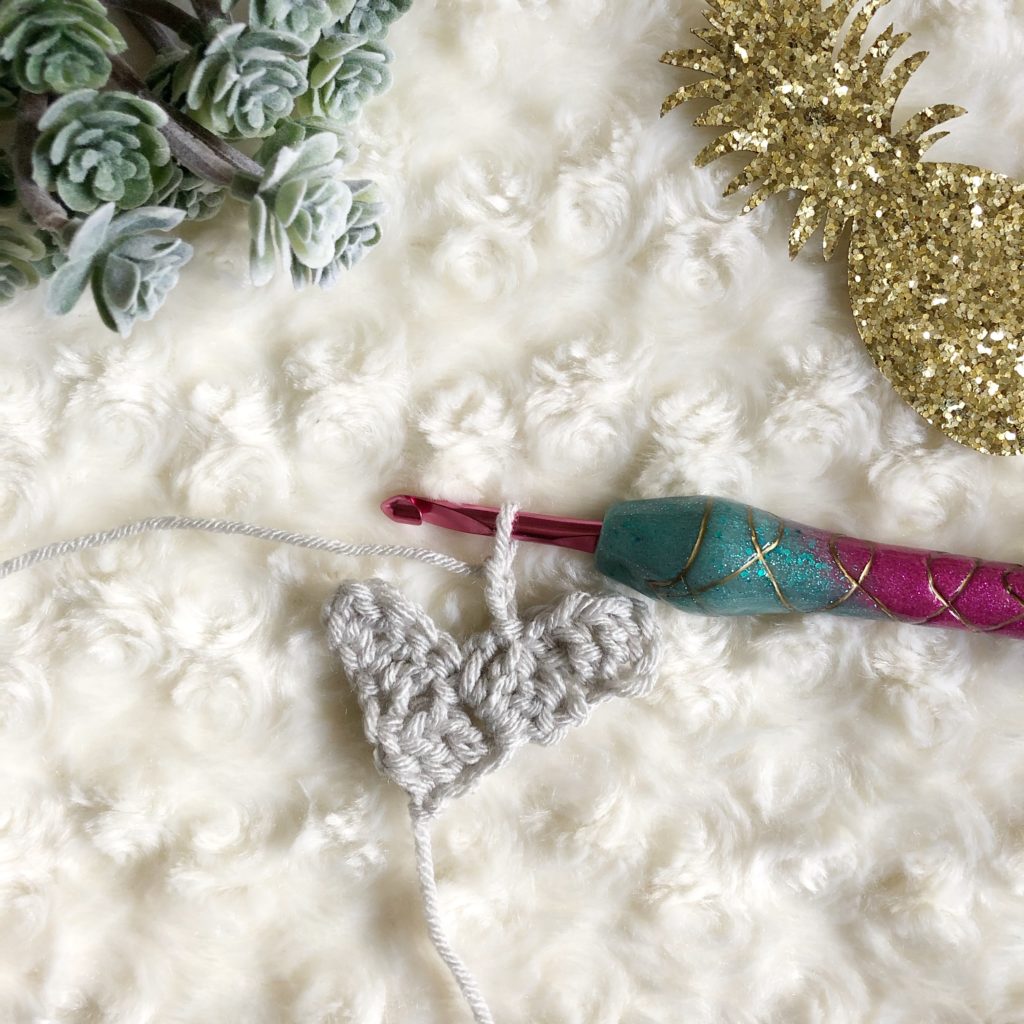
SL ST, CH 2 
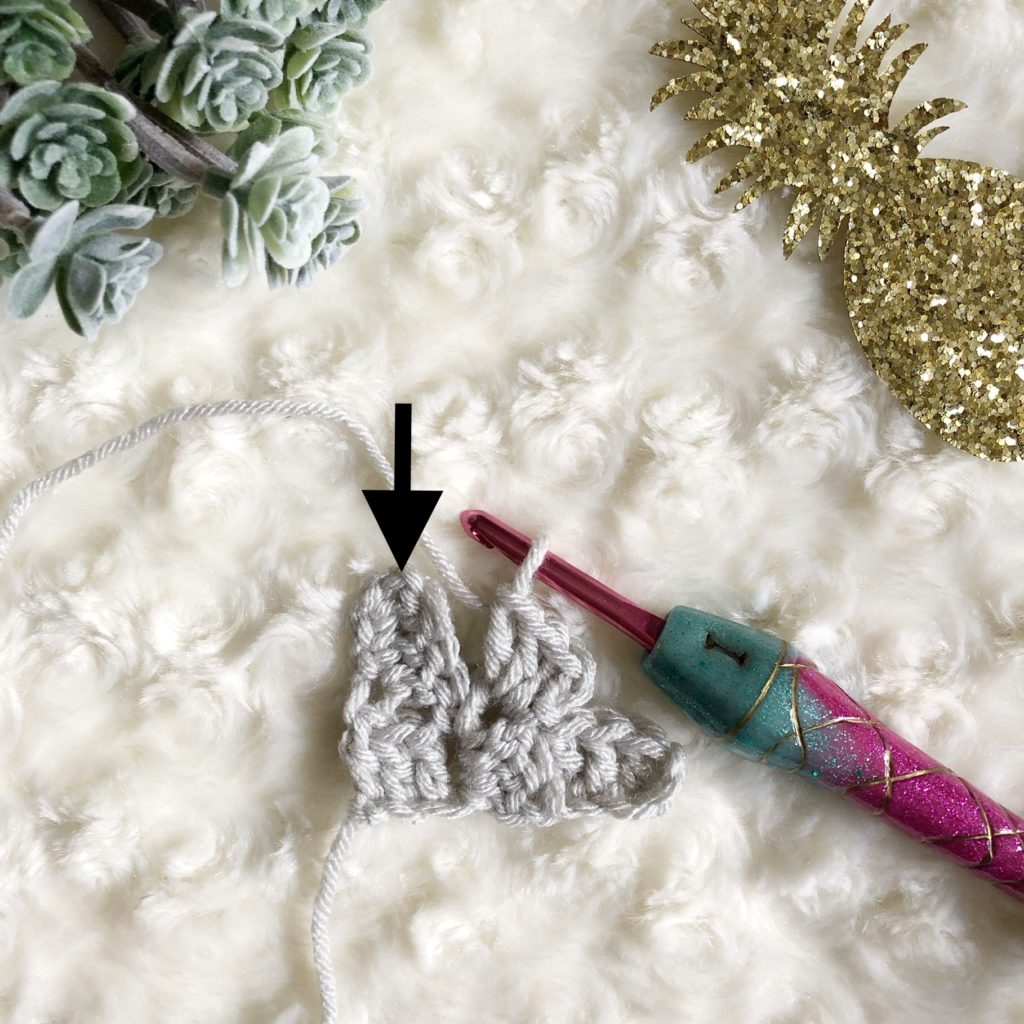
Sl ST to next tile 
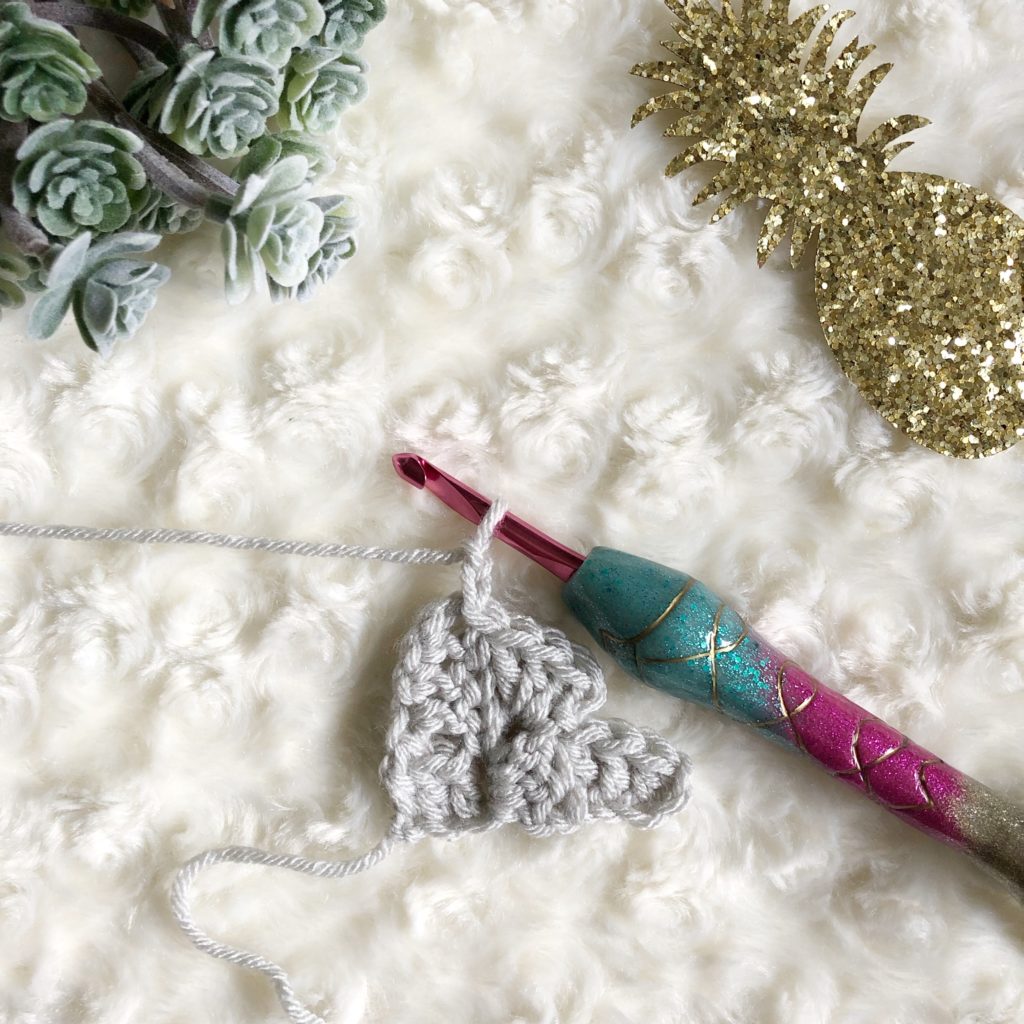
SL ST, CH 2 
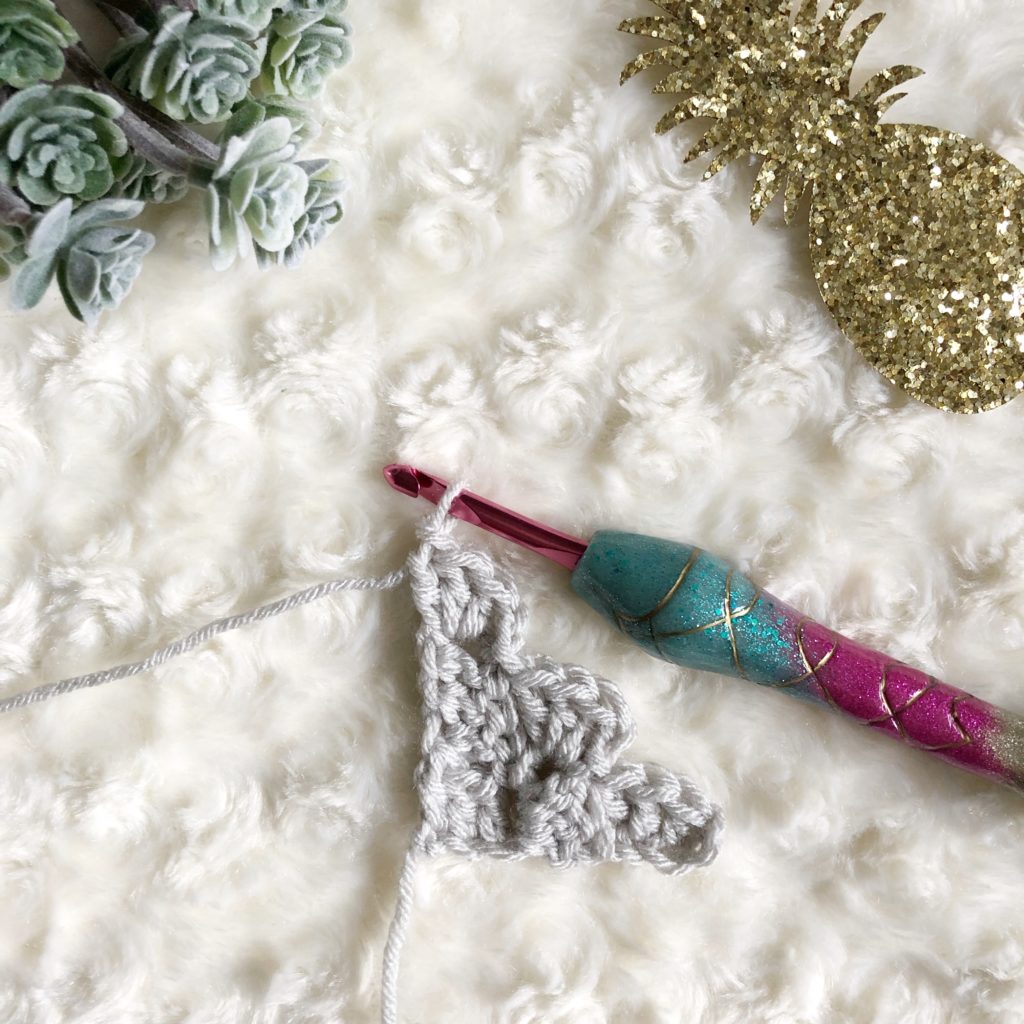
3rd tile created
C2C Tutorial – Decreasing
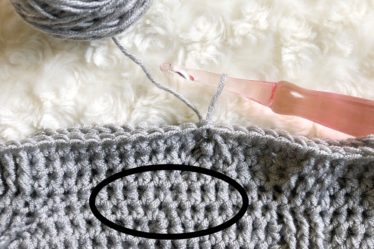
To begin decreasing, CH 1 and then turn at the end of the previous row. SL ST along the 3 DC of the first tile in the row. SL ST to the CH 2 space. CH 2 and 3 DC in the CH 2 space. Continue the row as usual by using a SL ST to each successive tile and placing a CH 2 and 3 DC in each CH 2 space. When you reach the end of the row, SL ST ONLY to the last CH 2 space. DO NOT place 3 DC in the last CH 2 space. CH 1 and turn.

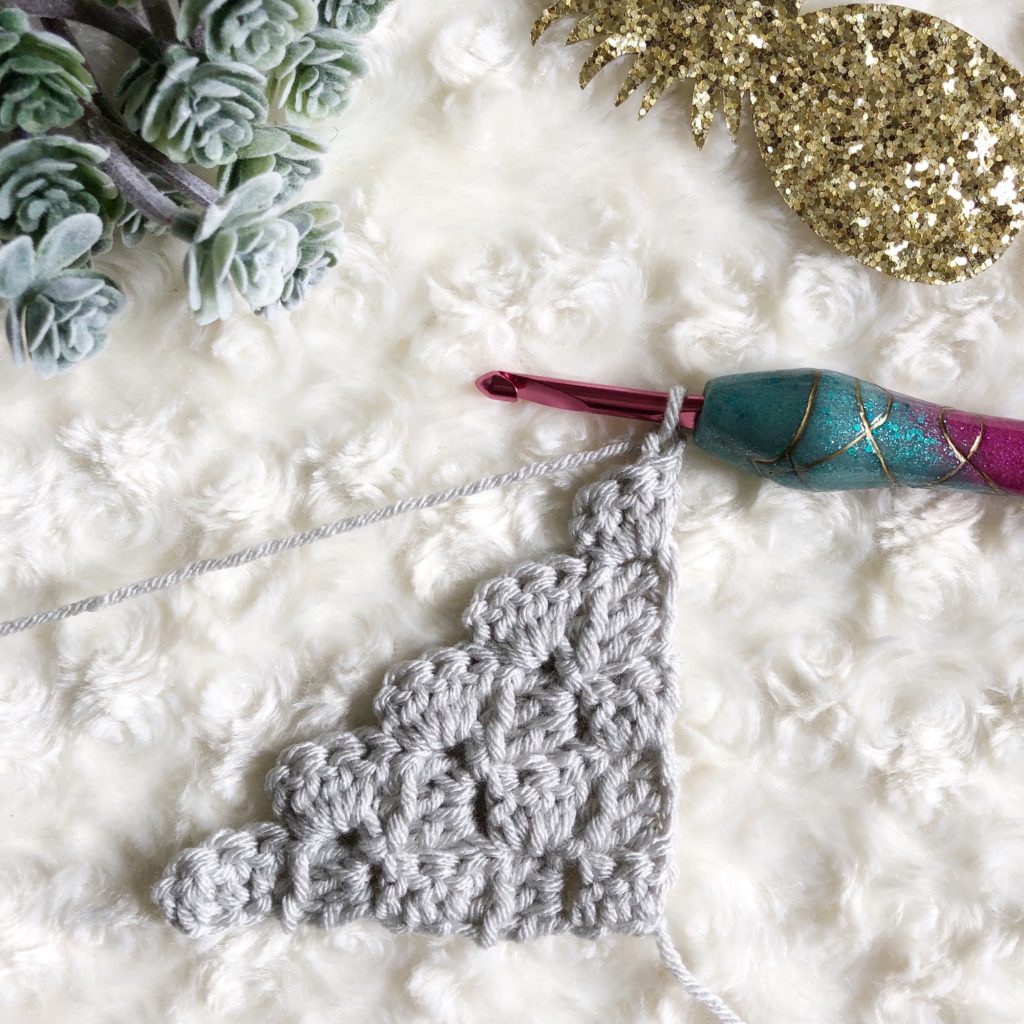
CH 1 and turn 
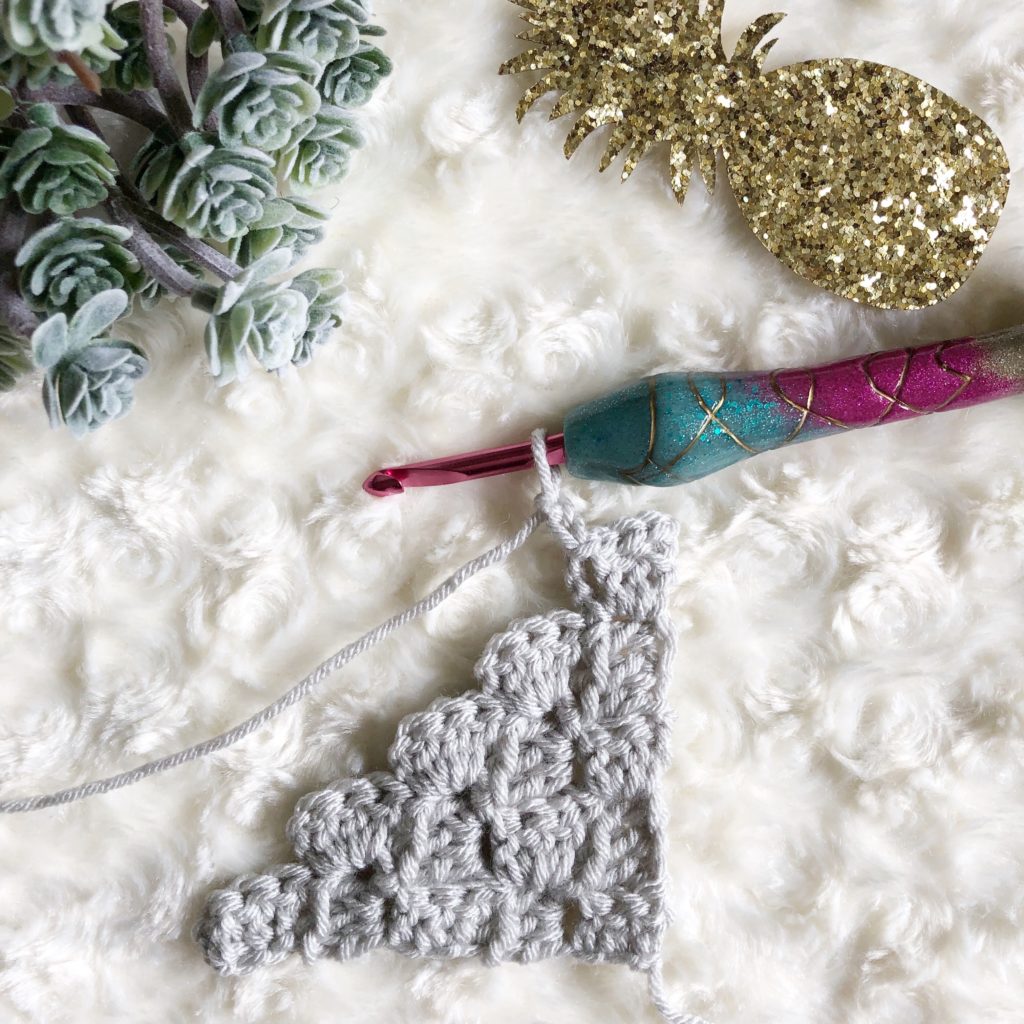
SL ST across 3 DC & in CH 2 space 
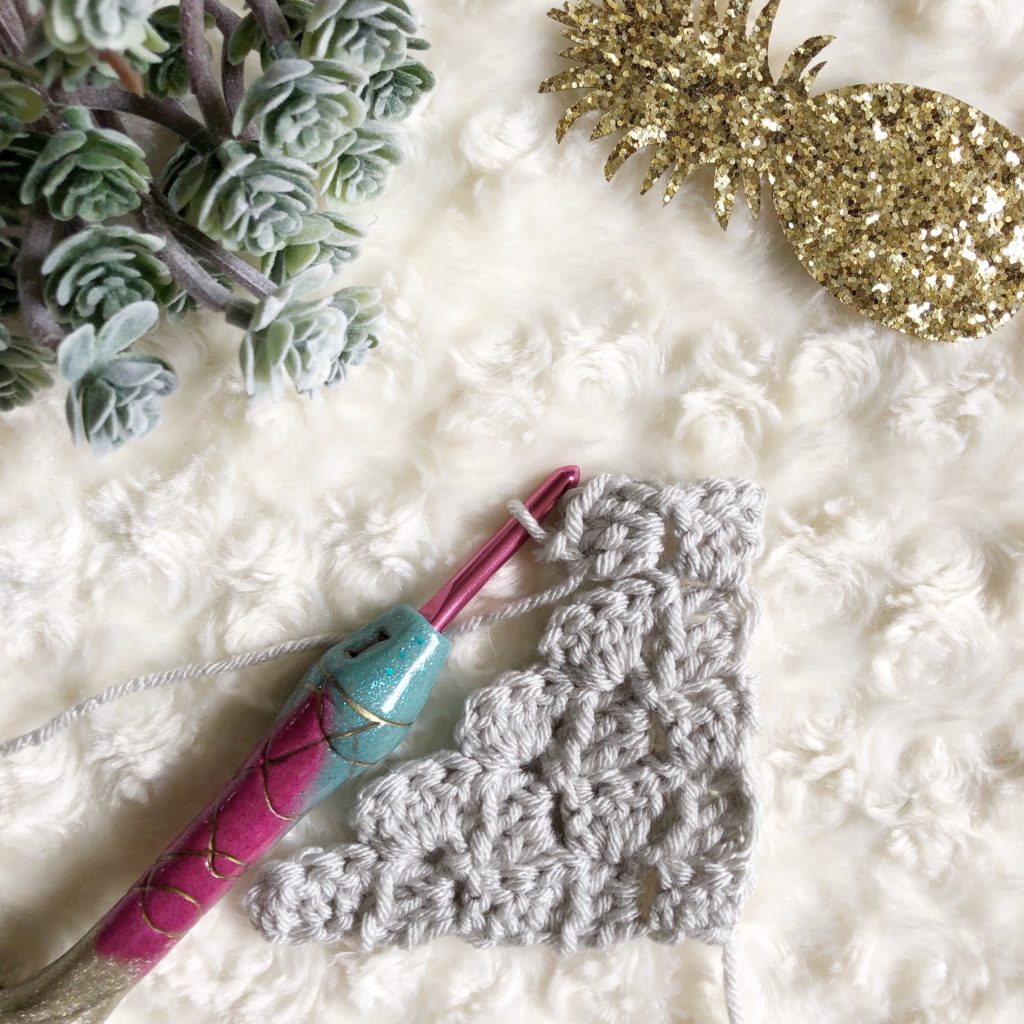
3 DC in CH 2 space 
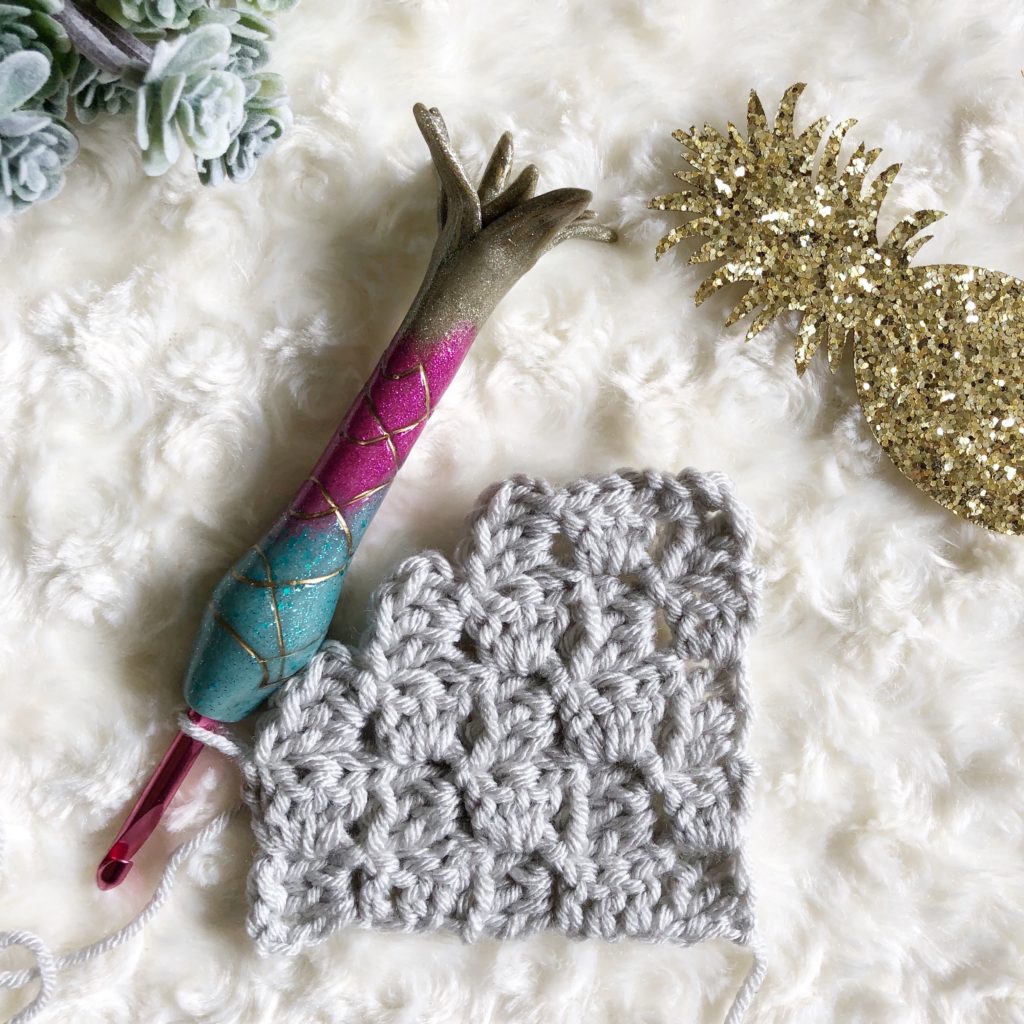
SL ST ONLY to last CH 2 space
Once you have mastered C2C crochet, head over to my Plush Pineapple Pillow Cover pattern and give it a whirl!
If this tutorial helped you, please share it! I would love to see your work! You can tag me on Instagram and Facebook @theplushpineapple. Use the tag #theplushpineapple.
“Much love, sunshine, and pineapples”
Sarah

