

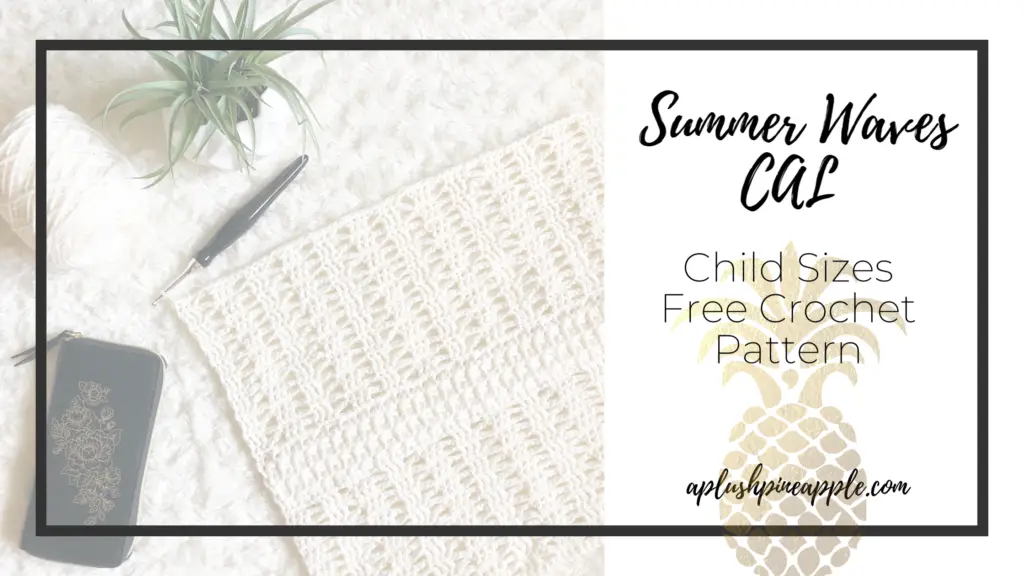
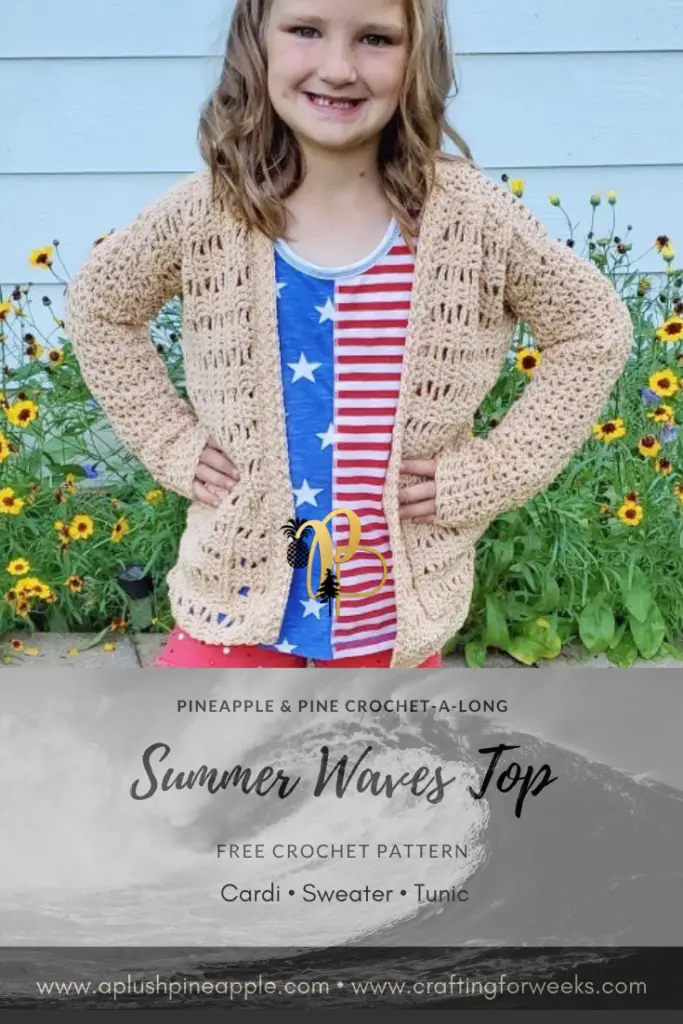
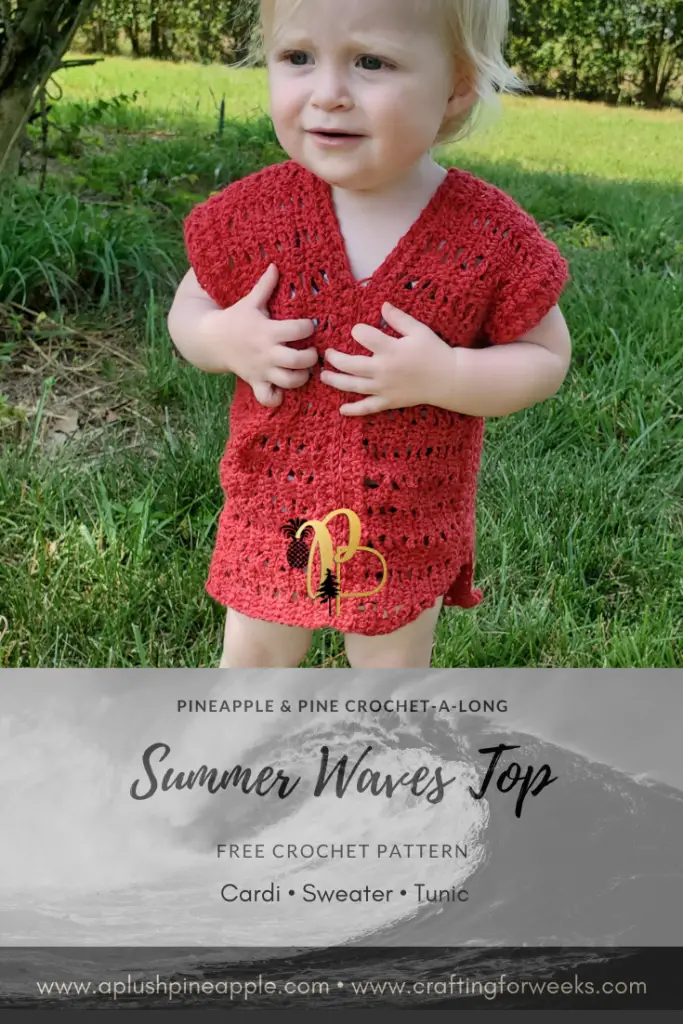
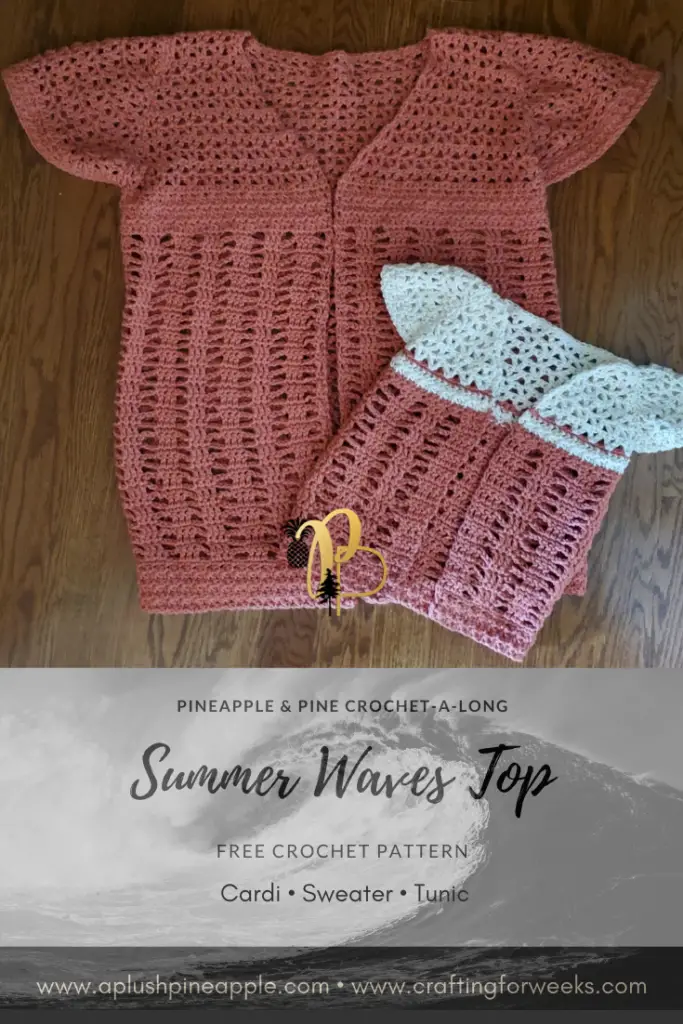
Join us for the Pineapple and Pine July CAL and crochet a beautiful tunic, cardi, or sweater with three amazing free child’s summer top crochet patterns!
“You can either fight the waves, or you can ride them.”
Nikki Banas
My children love to feel the summer ocean waves wash over their toes!
One of our favorite things to do on family vacation is go to the beach. My children love playing in the sand, collecting shells, and splashing in the tide. On a recent return trip from Florida, we stopped at the beach on our way out of town to grab up some last minute shell souvenirs and take a quick look at the water. I repeatedly told both of my kids not to get too close, because at their size, it doesn’t take much for a wave to soak them. My son was so excited to see the ocean that he ventured out just a tad too far, started stumbling with the rip current, and ended up falling face first into a wave!
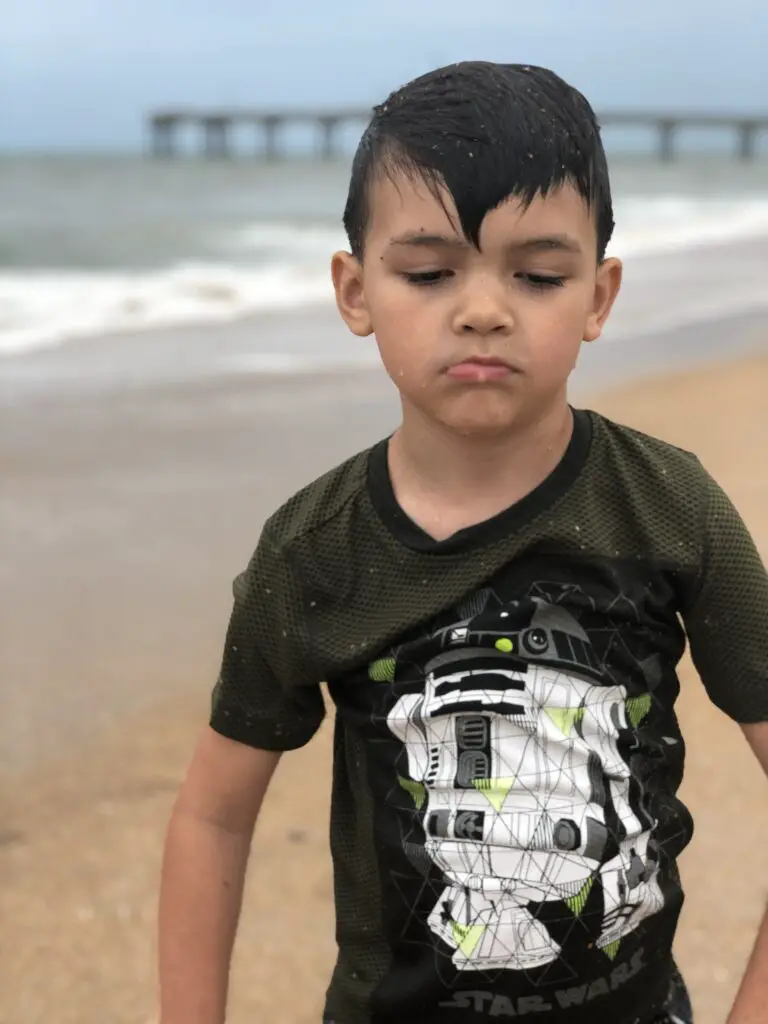
Waves are tricky like that. They look beautiful and awe-inspiring, but if we rush into them or don’t time our step just right, we end up with eyes, nose, mouth and throat full of salt water.
Sweater Waves
As we were choosing stitches for this summer top crochet along, I knew I wanted something that represented me and my brand. When I came across the open waves stitch, I knew that it was perfect! I fell in love right away with the texture and design that this stitch has. The chains really do ebb and flow throughout the garment just like waves do!
Life Waves
So many circumstances in life come our way just like a wave. Something big and beautiful peaks on the horizon. It could be a new relationship or a new home purchase. Excited we rush into it without careful thought and planning and end up floundering and choking in its wake.
So, as you join us for this summer top crochet along , I hope the waves in the stitch pattern will inspire you to trust the timing of life without rushing into something that will end up bringing about a downfall. With each wave comes new joys, new trials, and…
…new opportunities!

CAL Schedule
- 1. Week One – July 6-12 – hosted by Crafting for Weeks
- 2. Week Two – July 13-19 – hosted by Carol Hladik Designs
- 3. Week Three – July 20-26 – hosted by A Plush Pineapple
- 4. Week Four – July 27-31 – hosted by Crafting for Weeks
Skill Level – Intermediate
Materials
Disclaimer: This post contains affiliate links to the products used in this project. If you make a purchase through any of these links, we will get a small commission at no additional cost to you.
Sweater
- Size US 7/4.5mm crochet hook (or size needed to obtain gauge)
- Cotton or cotton blend yarn in DK (3) weight – I used Paintbox cotton by Love Crafts in Light Caramel.
- Approximately 590 (670, 750, 830, 910, 990, 1,070, 1,150) yards
- Tapestry needle
- Scissors
- Measuring tape
Tunic
- 535-925 yards of DK (weight 3) Cotton Yarn
- Size H (5.0mm) crochet hook
- Tapestry needle
- Scissors
- Measuring Tape
Cardi
- Paint Box Yarn Cotton Aran in Vintage Pink (See chart for yardage)
- Size H 5.0 mm crochet hook (or size to obtain gauge)
- Stitch markers
- Scissors
- Needle for weaving in ends
Gauge
Sweater
- Gauge: 4” x 4” = 3 repeats of wave stitch (18 stitches in foundation chain) x 13 rows
- BE SURE TO CHECK YOUR GAUGE – Gauge is crucial in this project in order to ensure fit.
- See special stitches section for gauge pattern.
Tunic
- Open Waves Stitch: 11 stitches (chains don’t count) x 12 rows= 4” square
- Trinity Stitch: 16 stitches + 16 rows = 4” square (Note: 4 rows trim = 1”)
Cardi
- Gauge: Trinity Stitch; 5 trinity stitches x 9 rows in 3”
Measurements
Sweater
| Size | Chest (approx. 2” positive ease) | Length (Front Panel/Back Panel) | Approx. Yardage |
| 2 | 23″ | 14 ½”/13” | 590 |
| 4 | 25” | 15 ½”/14” | 670 |
| 6 | 27” | 16 ½”/15” | 750 |
| 8 | 28 ½” | 18 ½”/17” | 830 |
| 10 | 30” | 20”/18 ½” | 910 |
| 12 | 32” | 21”/19 ½” | 990 |
| 14 | 32″ | 21 ½”/20″ | 1,070 |
| 16 | 32″ | 22″/20 ½” | 1,150 |
Tunic
| Size | Bust (2-4” positive ease) | Length(Front Panel/Back Panel) | Yardage |
| 12-18 Months | 22-23” | 15”/17” | 435 |
| 2 | 25” | 16”/18” | 470 |
| 4 | 27” | 17”/19” | 505 |
| 6 | 29” | 18”/20” | 545 |
| 8 | 30” | 20”/22” | 630 |
| 10 | 32” | 21”/23” | 675 |
| 12 | 34” | 22”/24” | 725 |
| 14 | 35.5” | 23”/25” | 775 |
| 16 | 36.5” | 24”/26” | 825 |
Cardi
| Size | Bust | Length | Yards |
| 2 | 22” – 24” | 14.5” | 250 |
| 4 | 24” – 26” | 16” | 300 |
| 6 | 25” – 27” | 18” | 350 |
| 8 | 27” – 29” | 20” | 425 |
| 10 | 28” – 30” | 22.5” | 500 |
| 12 | 30” – 32” | 23.5” | 550 |
Abbreviations
- CH – Chain
- ST – Stitch(es)
- SK – Skip
- SC – Single Crochet
- DC – Double Crochet
- CH: Chain
- YO: Yarn Over
- SP: Space
- DC2TOG: Double Crochet 2 stitches together
- SC3tog – Single crochet three together
- SL ST – Slip stitch
- WS – Wrong side
- RS – Right side
Notes
Sweater
- This sweater is designed with approximately 2” of positive ease in the chest measurement so that it has a relaxed, comfortable fit.
- The length in the front and back panels differs by approximately 1 1⁄4” with the front being longer than the back.
- This garment is made from rectangular panels that are crocheted as flat pieces back and forth in rows. The stitching runs parallel to body length. In other words, instead of working from the bottom up, you will be working from side to side. One panel is made for the back, and two panels are made for the front. The panels are then seamed together at the shoulders and on the sides. Yarn is joined to the armholes and the sleeves are crocheted in the round.
- Beginning CH stitches do not count as a stitch.
- Anytime a CH is worked into, I worked into the back bump. This gets tricky at times, but yields a better look.
- Size changes are in parentheses 2 (4, 6, 8, 10, 12, 14, 16) respectively.
Tunic
- Chains at the beginning of the rows do not count as stitches throughout this pattern.
- This pattern is written in increments of 10 + 3 stitches. To increase the length of the tunic, add stitches in increments of 10 (approx 2”) to the foundation chain.
- When working the trinity stitch, tops of stitches and chain 1 spaces count as a stitch.
- When working trinity stitch into open wave stitch, for the first row, you will work 2 “legs” of the trinity stitch into each chain 3 space. For best results, work into the chain spaces and not around them.
- Pattern sizes are noted in the following manner (12-18 months, 2, 4, 6, 8, 10, 12, 14, 16)
- The number of stitches for sizes will be in parenthesis as follows: (2, 4, 6, 8, 10, 12)
- This cardigan is worked from the bottom up.
Special Stitches
I have worked hard to create this full stitch tutorial video for you to learn this quick and easy step! Just tap/click on the link below to start!
Week One
Woohoo!!! Who is ready to make the cutest summer top for the little one (or preteen) in your life? Week One is hosted by Crafting for Weeks. Tap/Click the link below to get the first week of the pattern!
Week Two
Let’s get ready for the next week of these fabulous patterns! I hope your project is coming along. Week Two is hosted by Carol of Carol Hladik Designs. Don’t forget to post progress photos of your top in our Facebook group so we can all see!
Week Three
We are getting close to the end now! Week Three is finally here and hosted by yours truly right here at A Plush Pineapple! Proceed below for the next section of the pattern for all three versions!
Sweater
Seaming
Before seaming, block all three panels to the specified measurements for your size. This is a very important step as it gives the garment structure and consistency! I blocked my panels by pinning each panel to a blocking board, laying a damp pillow case over each panel, and pressing it on high until the pillow case was dry. Be sure to allow the panels time to dry completely before removing them from the blocking board.
Shoulders
Lay the back panel and one front panel right sides up with shoulder edges touching. Using the mattress stitch, stitch the edges together grabbing two stitches from the front panel for every one stitch of the back panel. This will create a gathered look on the shoulders.
Repeat on other side.
Sides
With right sides of the panels facing up, join yarn (approx 1 yard in length) to the 11th stitch from the bottom of the back edge of one of the front panels and seam 27 (32, 37, 44, 49, 54, 56, 61) stitches to the back panel using the mattress stitch. Be sure that the stitches are lining up as you go. This should give you a total of 42 (42, 42, 48, 48, 48, 54, 54) around the arm opening. Be sure to check this number as the stitch pattern for the sleeve is very specific.
Repeat on other side.
Sleeves
Turn the sweater so that the bottom is on your right, the neck is on your left, and the armhole is at the top of your work. Join yarn to stitch 38 (43, 48, 55, 60, 65, 67, 72) of the front panel.
Round 1: CH 3 (counts as 1 DC and CH 1), DC in same stitch as CH (counts as first V stitch), *SK 2, [DC, CH 1, DC] in next stitch*, repeat from * to * around, join to 2nd CH (back bump) of the beginning CH with a SL ST. (14, 14, 14, 16, 16, 16, 18, 18 V clusters)
Round 2: CH 3, (counts as 1 DC and CH 1), DC in same stitch as CH (counts as first V stitch), *[DC, CH 1, DC] in next CH 1 space*, repeat from * to * around, join to 2nd CH (back bump) of the beginning CH with a SL ST. (14, 14, 14, 16, 16, 16, 18, 18 V clusters)
Round 3-5: Repeat Round 2.
*Every 6th round will be a decrease round. This will be achieved by combining the first V stitch and the last V stitch (at the join) into one V stitch. Half of the V stitch will be created at the beginning of the round, and the other half will be created at the end of the round when you join.
**The round after each decrease round is begun a little differently. Be sure to follow the round instructions carefully.
Round 6: CH 1, SL ST in first CH 1 space, CH 2 (counts as 1 DC – 1⁄2 of V stitch), *[DC, CH 1, DC] in next CH 1 space*, repeat from * to * until you reach the last CH 1 space, [DC, CH 1] (counts as 2nd 1⁄2 of 1st V stitch), in last CH 1 space, join to top of 1st CH. (13, 13, 13, 15, 15, 15, 17, 17 V clusters)
Round 7: CH 1, SL ST in same space as CH 1, SL ST in the next CH 1 space, CH 3, (counts as 1 DC and CH 1), DC in same stitch as CH (counts as first V stitch), *[DC, CH 1, DC] in next CH 1 space*, repeat from * to * around, join to 2nd CH (back bump) of the beginning CH with a SL ST. (13, 13, 13, 15, 15, 15, 17, 17 V clusters)
Round 8-11: Repeat Row 2.
Proceed to size.
Size 2
Round 12-33: Repeat Rounds 6-11 decreasing 1 V cluster every 6th round (Rounds 6, 12, 18, 24, and 30 are decrease rounds). Round 33 should have 9 V clusters.
Size 4
Round 12-35: Repeat Rounds 6-11 decreasing 1 V cluster every 6th round (Rounds 6, 12, 18, 24, and 30 are decrease rounds). Round 35 should have 9 V clusters.
Size 6
Round 12-37: Repeat Rounds 6-11 decreasing 1 V cluster every 6th round except Round 36 (Rounds 6, 12, 18, 24, and 30 are decrease rounds). Round 37 should have 9 V clusters.
Size 8
Round 12-39: Repeat Rounds 6-11 decreasing 1 V cluster every 6th round (Rounds 6, 12, 18, 24, 30, and 36 are decrease rounds). Round 39 should have 10 V clusters.
Size 10
Round 12-41: Repeat Rounds 6-11 decreasing 1 V cluster every 6th round (Rounds 6, 12, 18, 24, 30, and 36 are decrease rounds). Round 41 should have 10 V clusters.
Size 12
Round 12-44: Repeat Rounds 6-11 decreasing 1 V cluster every 6th round except round 42 (Rounds 6, 12, 18, 24, 30, and 36 are decrease rounds). Round 44 should have 10 V clusters.
Size 14
Round 12-47: Repeat Rounds 6-11 decreasing 1 V cluster every 6th round (Rounds 6, 12, 18, 24, 30, 36, and 42 are decrease rounds). Round 47 should have 11 V clusters.
Size 16
Round 12-47: Repeat Rounds 6-11 decreasing 1 V cluster every 6th round (Rounds 6, 12, 18, 24, 30, 36, and 42 are decrease rounds). Round 47 should have 11 V clusters.
Round 48: Repeat Round 2. (11 V clusters)
Cut yarn. FO. Weave in ends.
Repeat on other side.
Tunic
Make a second panel.
PANEL 2
TRIM (Trinity Stitch)
Ch (144,154,164,174,194,204,214,224,234)
Row 1: Sc in 2nd ch from hook. *Pull up a loop in same ch as last stitch, then pull up a loop in each of the next two stitches (4 loops on hook). Yarn over and pull through 4 loops. Ch 1.* Repeat from * to * across until 2 stitches remain. Pull up a loop in same ch as last stitch, then pull up a loop in each of the next two stitches. Yarn over and pull through 4 loops. Sc in last stitch (same space as previous stitch). (143,153,163,173,193,203,213,223,233)
Row 2: Ch 1 and turn. Sc in first stitch. *Pull up a loop in same space as last stitch, then pull up a loop in top of the next stitch and in the ch space (4 loops on hook). Yarn over and pull through 4 loops. Ch 1.* Repeat from * to * across until 2 stitches remain. Pull up a loop in same stitch as last stitch, then pull up a loop in top of the next stitch and the ch space. Yarn over and pull through 4 loops. Sc in last stitch (same space as previous stitch). (143,153,163,173,193,203,213,223,233)
Row 3-4: Repeat Row 2
BODY (Open Wave Stitch)
Row 5: Ch 2 and turn. *Dc 3, ch 3, sk 2 st, sc 3, ch 3, sk 2 st.* Repeat from * to * until 5 stitches remain. Ch 3, sk 2 st, dc 3. (87,93,99,105,117,123,129,135,141)
Row 6: Ch 1 and turn. *Sc 3 in top of dc, ch 3, sk ch spaces, dc 3 in top of sc.* Repeat across until 3 stitches remain. Ch 3, sc 3 in top of dc. (87,93,99,105,117,123,129,135,141)
Row 7: Ch 2 and turn. *Dc 3 in top of sc, ch 3, sk ch spaces, sc 3 in top of dc.* Repeat across until 3 stitches remain. Ch 3, dc 3 in top of sc. (87,93,99,105,117,123,129,135,141)
Repeat Rows 6 -7 until work measures for a total of (13,14,16,17,18,20,21,22,23) rows of the wave stitch or until work measures approx. (5”,5.75”,6.25”,6.75”,7”,7.5”,8”,8.25”,8.5”) wide when lightly stretched.
TRIM (Trinity Stitch)
For the second set of trim, you will be working the trinity stitch. In Row 1, you will work 2 “legs” of the trinity stitch into each chain 3 space. Work into the first and second chain space and skip the third. To simplify reading, I will refer to all sc, dc, and the 2 ch spaces as “stitch” in this section. For best results, work into the chain spaces and not around them.
Row 1: Ch 1 and turn. Sc in first stitch. *Pull up a loop in same space as last stitch, then pull up a loop in top of the next two stitches (4 loops on hook). Yarn over and pull through 4 loops. Ch 1.* Repeat from * to * across until 2 stitches remain. Pull up a loop in same stitch as last stitch, then pull up a loop in top of the next two stitches. Yarn over and pull through 4 loops. Sc in last stitch (same space as previous stitch). (143,153,163,173,193,203,213,223,233)
Row 2: Row 2: Ch 1 and turn. Sc in first stitch. *Pull up a loop in same space as last stitch, then pull up a loop in top of the next stitch and in the ch space (4 loops on hook). Yarn over and pull through 4 loops. Ch 1.* Repeat from * to * across until 2 stitches remain. Pull up a loop in same stitch as last stitch, then pull up a loop in top of the next stitch and the ch space. Yarn over and pull through 4 loops. Sc in last stitch (same space as previous stitch). (143,153,163,173,193,203,213,223,233)
Tie off and leave approx. 24-36” tail for seaming.
Cardi
Back Panel: Will be worked between the second set of marked stitches. Reattach yarn into the first unworked marked stitch on the right side of top.
Size 2
Row 28: Ch 2 (counts as a DC), sk 1, **“DC, ch1, DC” all in same stitch (V stitch made), sk 2**, repeat pattern across until 3 stitches remain, V stitch, sk 1, DC in last stitch, turn.
Row 29: Ch 2 (counts as a DC), Work a V stitch into each ch1 space in middle of each V of previous row, DC into top of ch2, turn.
Row 30: Reduce, V stitch to last V, Reduce, turn.
Row 31: Ch 2 (counts as a DC), Work a V stitch into each ch1 space in middle of each V of previous row, DC into top of the last stitch, turn.
Rows 32 –34: Repeat Row 29
Row 35: SC across, F/O (28)
Size 4
Row 30: Ch 2 (counts as a DC), sk 1, **“DC, ch1, DC” all in same stitch (V stitch made), sk 2**, repeat pattern across until 3 stitches remain, V stitch, sk 1, DC in last stitch, turn.
Row 31: Ch 2 (counts as a DC), Work a V stitch into each ch1 space in middle of each V of previous row, DC into top of ch2, turn.
Rows 32 –36: Repeat Row 31
Row 37: SC across, F/O (35)
Size 6
Row 34: Ch 2 (counts as a DC), SK2, **“DC, ch1, DC” all in same stitch (V stitch made), sk 2**, repeat pattern across until 3 stitches remain, V stitch, SK2, DC in last stitch, turn.
Row 35: Ch 2 (counts as a DC), Work a V stitch into each ch1 space in middle of each V of previous row, DC into top of ch2, turn.
Rows 36 –41: Repeat Row 35
Row 42: SC across, F/O (35)
Size 8
Row 38: Ch 2 (counts as a DC), SK2, **“DC, ch1, DC” all in same stitch (V stitch made), sk 2**, repeat pattern across until 3 stitches remain, V stitch, SK2, DC in last stitch, turn.
Row 39: Ch 2 (counts as a DC), Work a V stitch into each ch1 space in middle of each V of previous row, DC into top of ch2, turn.
Rows 40 –45: Repeat Row 39
Row 46: SC across, F/O (35)
Size 10
Row 42: Ch 2 (counts as a DC), sk 1, **“DC, ch1, DC” all in same stitch (V stitch made), sk 2**, repeat pattern across until 3 stitches remain, V stitch, sk 1, DC in last stitch, turn.
Row 43: Ch 2 (counts as a DC), Work a V stitch into each ch1 space in middle of each V of previous row, DC into top of ch2, turn.
Rows 44 –51: Repeat Row 43
Row 52: SC across, F/O (41)
Size 12
Row 44: Ch 2 (counts as a DC), sk 1, **“DC, ch1, DC” all in same stitch (V stitch made), sk 2**, repeat pattern across until 3 stitches remain, V stitch, sk 1, DC in last stitch, turn.
Row 45: Ch 2 (counts as a DC), Work a V stitch into each ch1 space in middle of each V of previous row, DC into top of ch2, turn.
Rows 46 –53: Repeat Row 45
Row 54: SC across, F/O (41)
Fold the Front Right Panel inward and line up the inside corner with the corner of the Back Panel. Using a Mattress stitch attach the two panels together. Repeat for the Front Left Panel. Turn garment outside in so the seam is on the inside of the garment.
Week Four
Put all of the finishing details on with Week Four of these patterns over at the Crafting for Weeks blog. Each garment has unique finishing details that make this pattern stand out in a crowd.
That’s all! Your Summer Waves Top is complete! If you want to make the adult size, please check out the adult version of this pattern. Be sure to join the Facebook group and subscribe to our newsletter so you know when each segment goes live!


[…] of this summer top crochet along! If you’d like to make a child’s size, check out the Summer Waves Child’s Top post. Be sure to join the Facebook group and subscribe to our newsletter so you know when each […]