
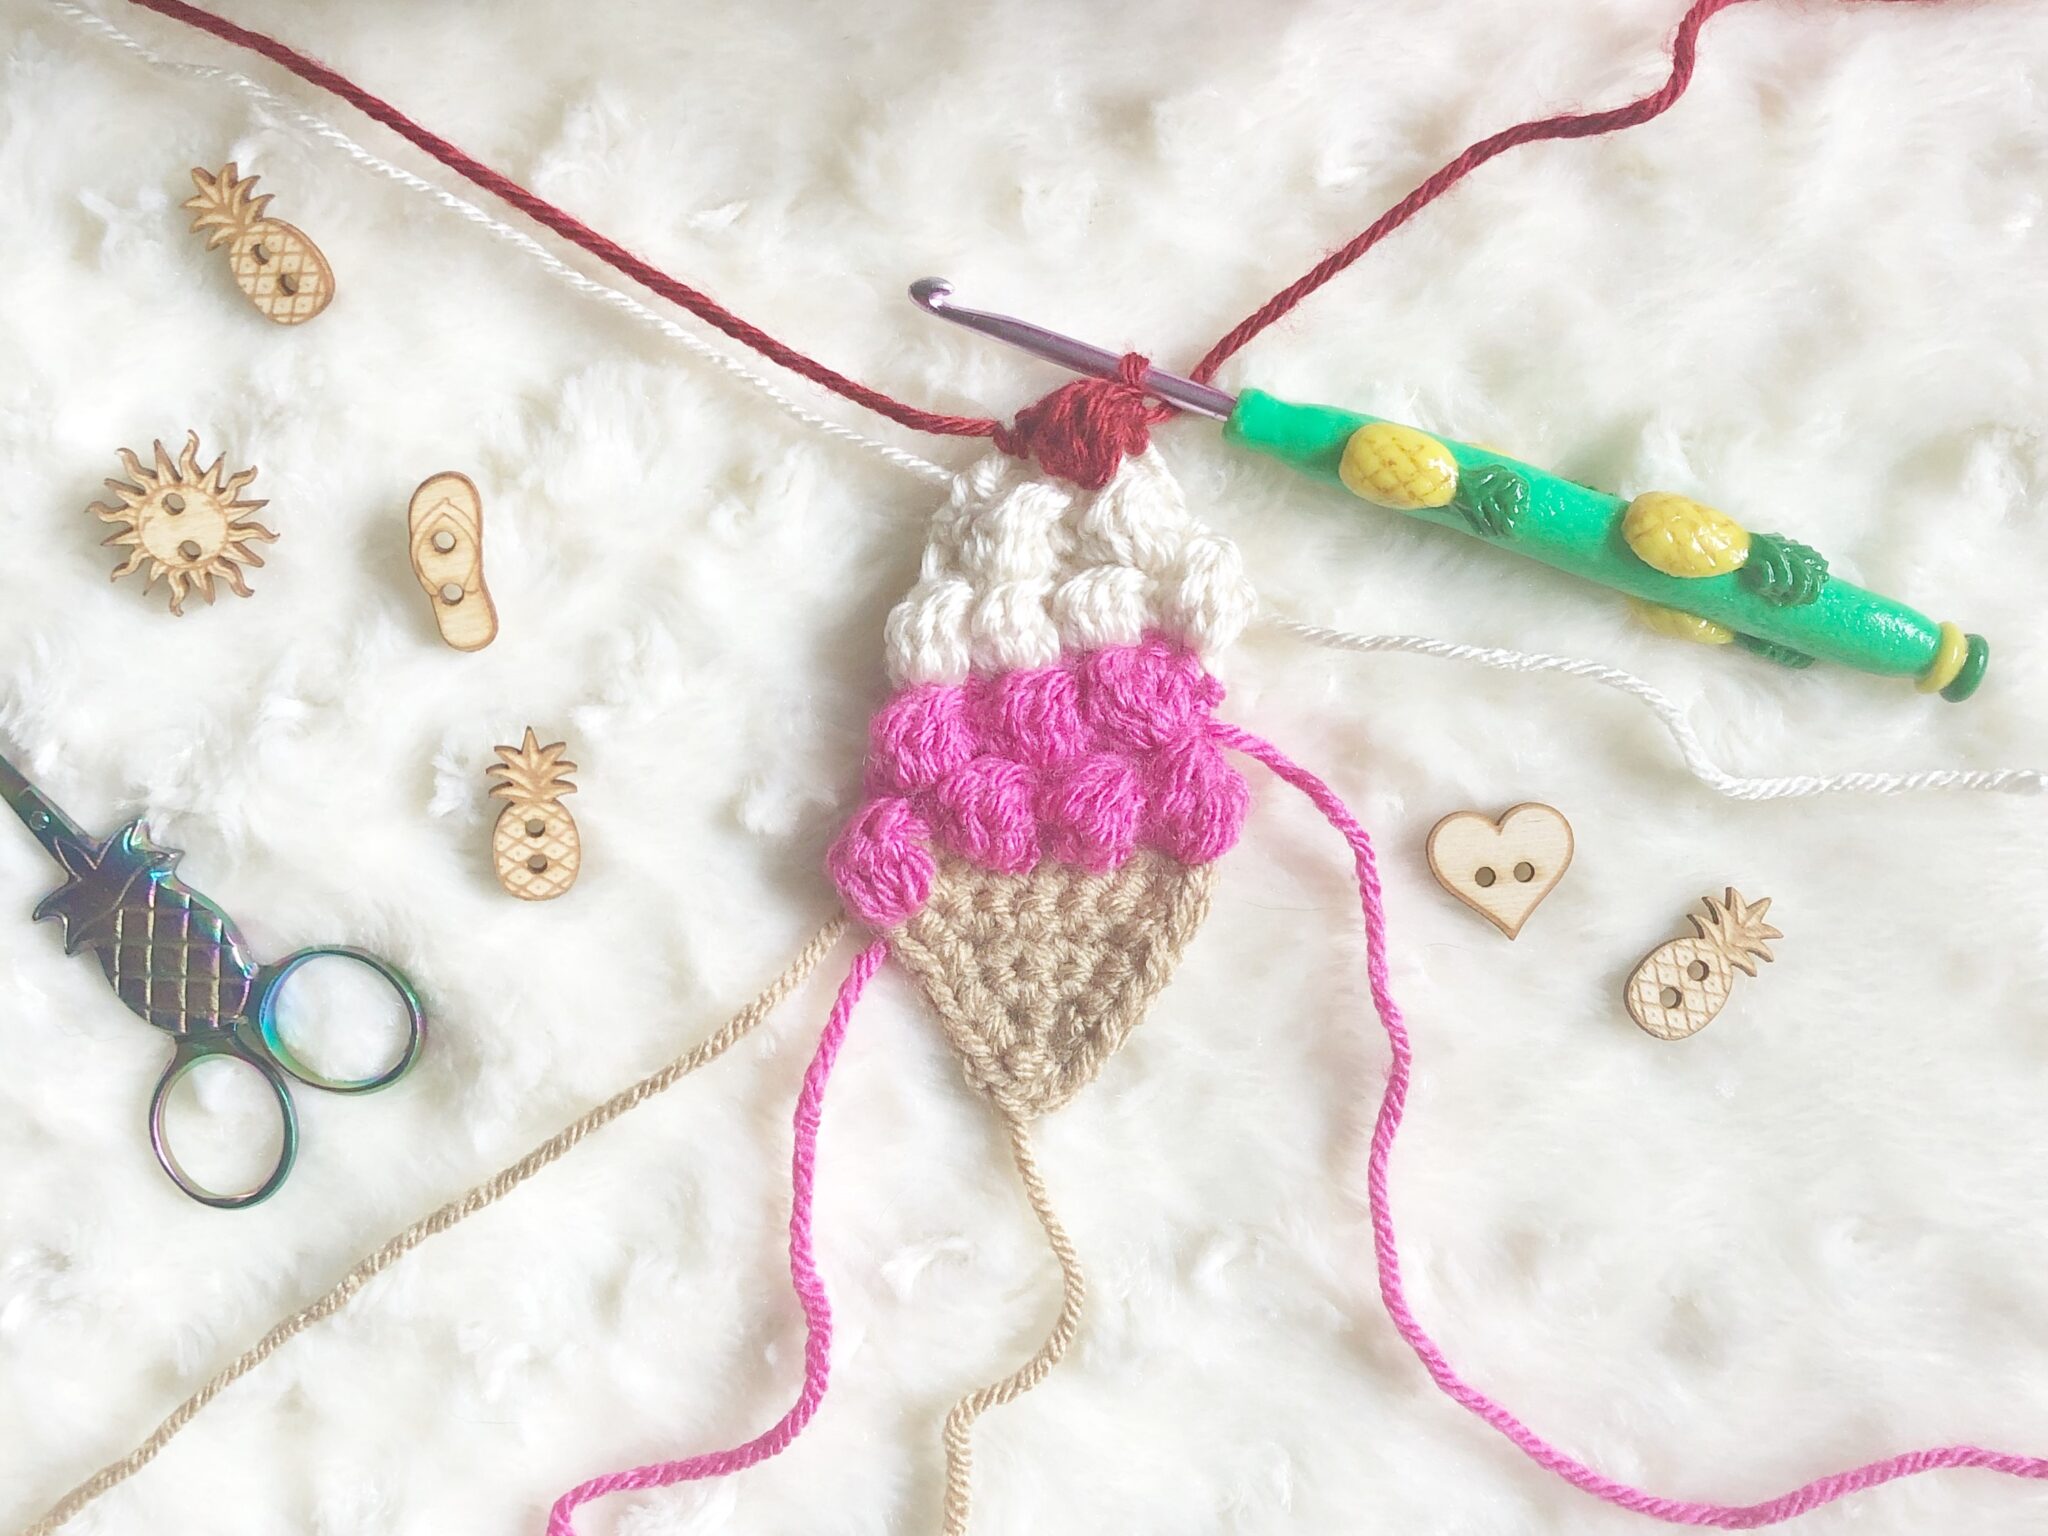
Cool off this summer with this adorable ice cream appliqué free crochet pattern to add to any of your summer crochet projects! The pattern includes instructions for making your ice cream cone with one scoop or two and always with a cherry on top!
“Life is like ice cream; enjoy it before it melts.”
Unknown
I scream, you scream we all scream for…CROCHET ICE CREAM APPLIQUÉS!
Listen. I am afraid of many things…but consuming raw cookie dough is not one of those things. Chocolate chip cookie dough ice cream is WHERE IT’S AT! I’ve tried other flavors. They are all just ok. Like, they are cold and refreshing, but the squish of that cookie dough along with the flavor of a cookie in my ice cream is unsurpassed by any other flavor!
I feel like it’s a race between the ice cream melting and me consuming it so that I can enjoy every last bit of it before it becomes ice cream soup in a waffle bowl.
The desire to enjoy ice cream to the fullest seems a lot like life doesn’t it? We have these high moments. Moments of time that are beautiful and jam-packed with fun and laughter and happiness and joy.
But times come and go. Seasons change. Soon the happiness is replaced by sadness. The joy is replaced by sorrow and the laughter with crying. Are you savoring every joyful moment before it’s gone forever? Life is short. Eat the dessert. Have the ice cream. Enjoy it…
…before it melts away.
Skill Level – Advanced Beginner
Materials
Disclaimer: This post contains affiliate links to the products used in this project. If you make a purchase through any of these links, we will get a small commission at no additional cost to you.
- Size 7/4.50 mm crochet hook
- Worsted (4) weight yarn
- A – Cone color
- B – 1st scoop color
- C – 2nd scoop color
- D – Cherry color
- Tapestry needle
- Scissors
Abbreviations
- Bobble – Bobble stitch
- CH – Chain
- RS – Right side
- SC – Single crochet
- INC – Single crochet increase
- DEC – Single crochet decrease
- SL ST – Slip stitch
- WS – Wrong side
- YO – Yarn over
Notes
- Gauge is not essential for this project.
- Finished measurements are as follows:
- One Scoop: approx 4” tall
- Two Scoops: approx 4 ½” tall
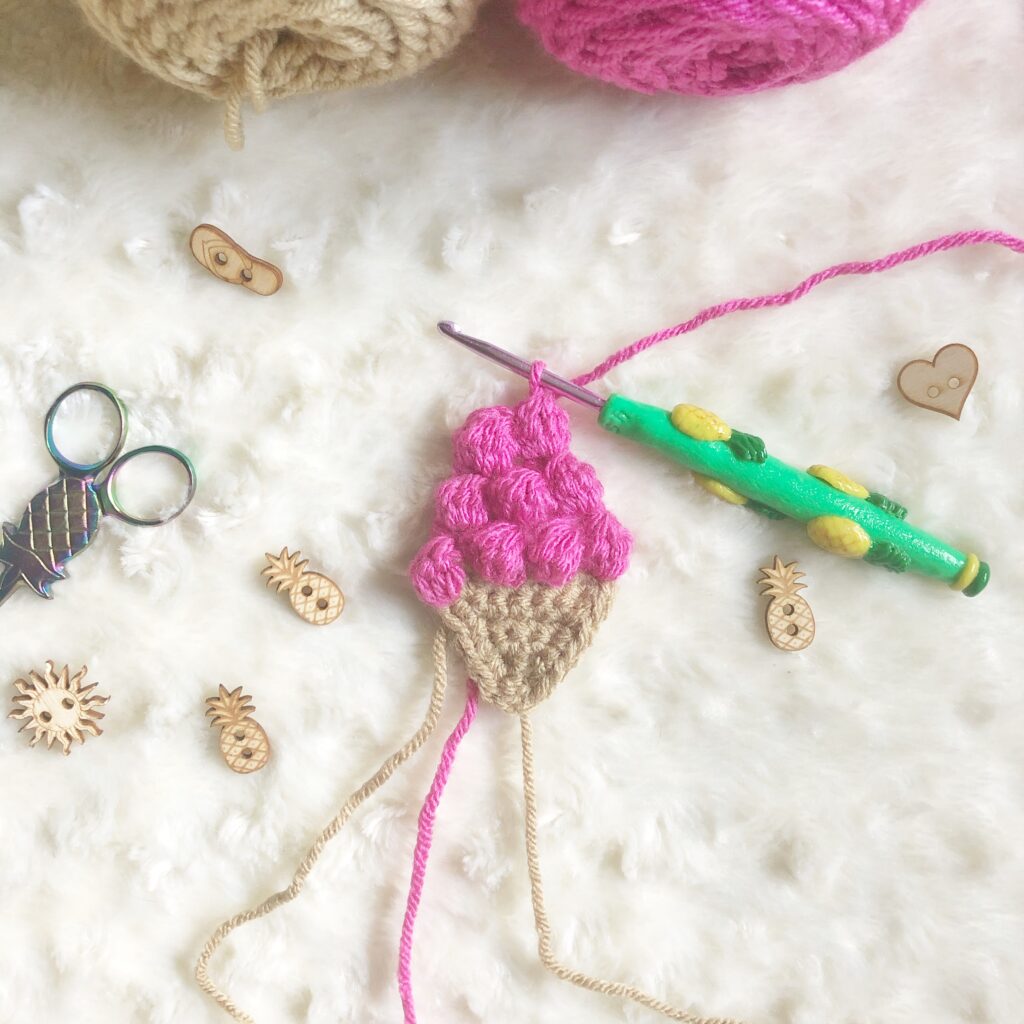
- This appliqué is made from the bottom up beginning with Color A for the cone. Color B is joined to make the first scoop. Then Colors C and D for the second scoop and cherry respectively.
- Beginning CH stitches do not count as a stitch.
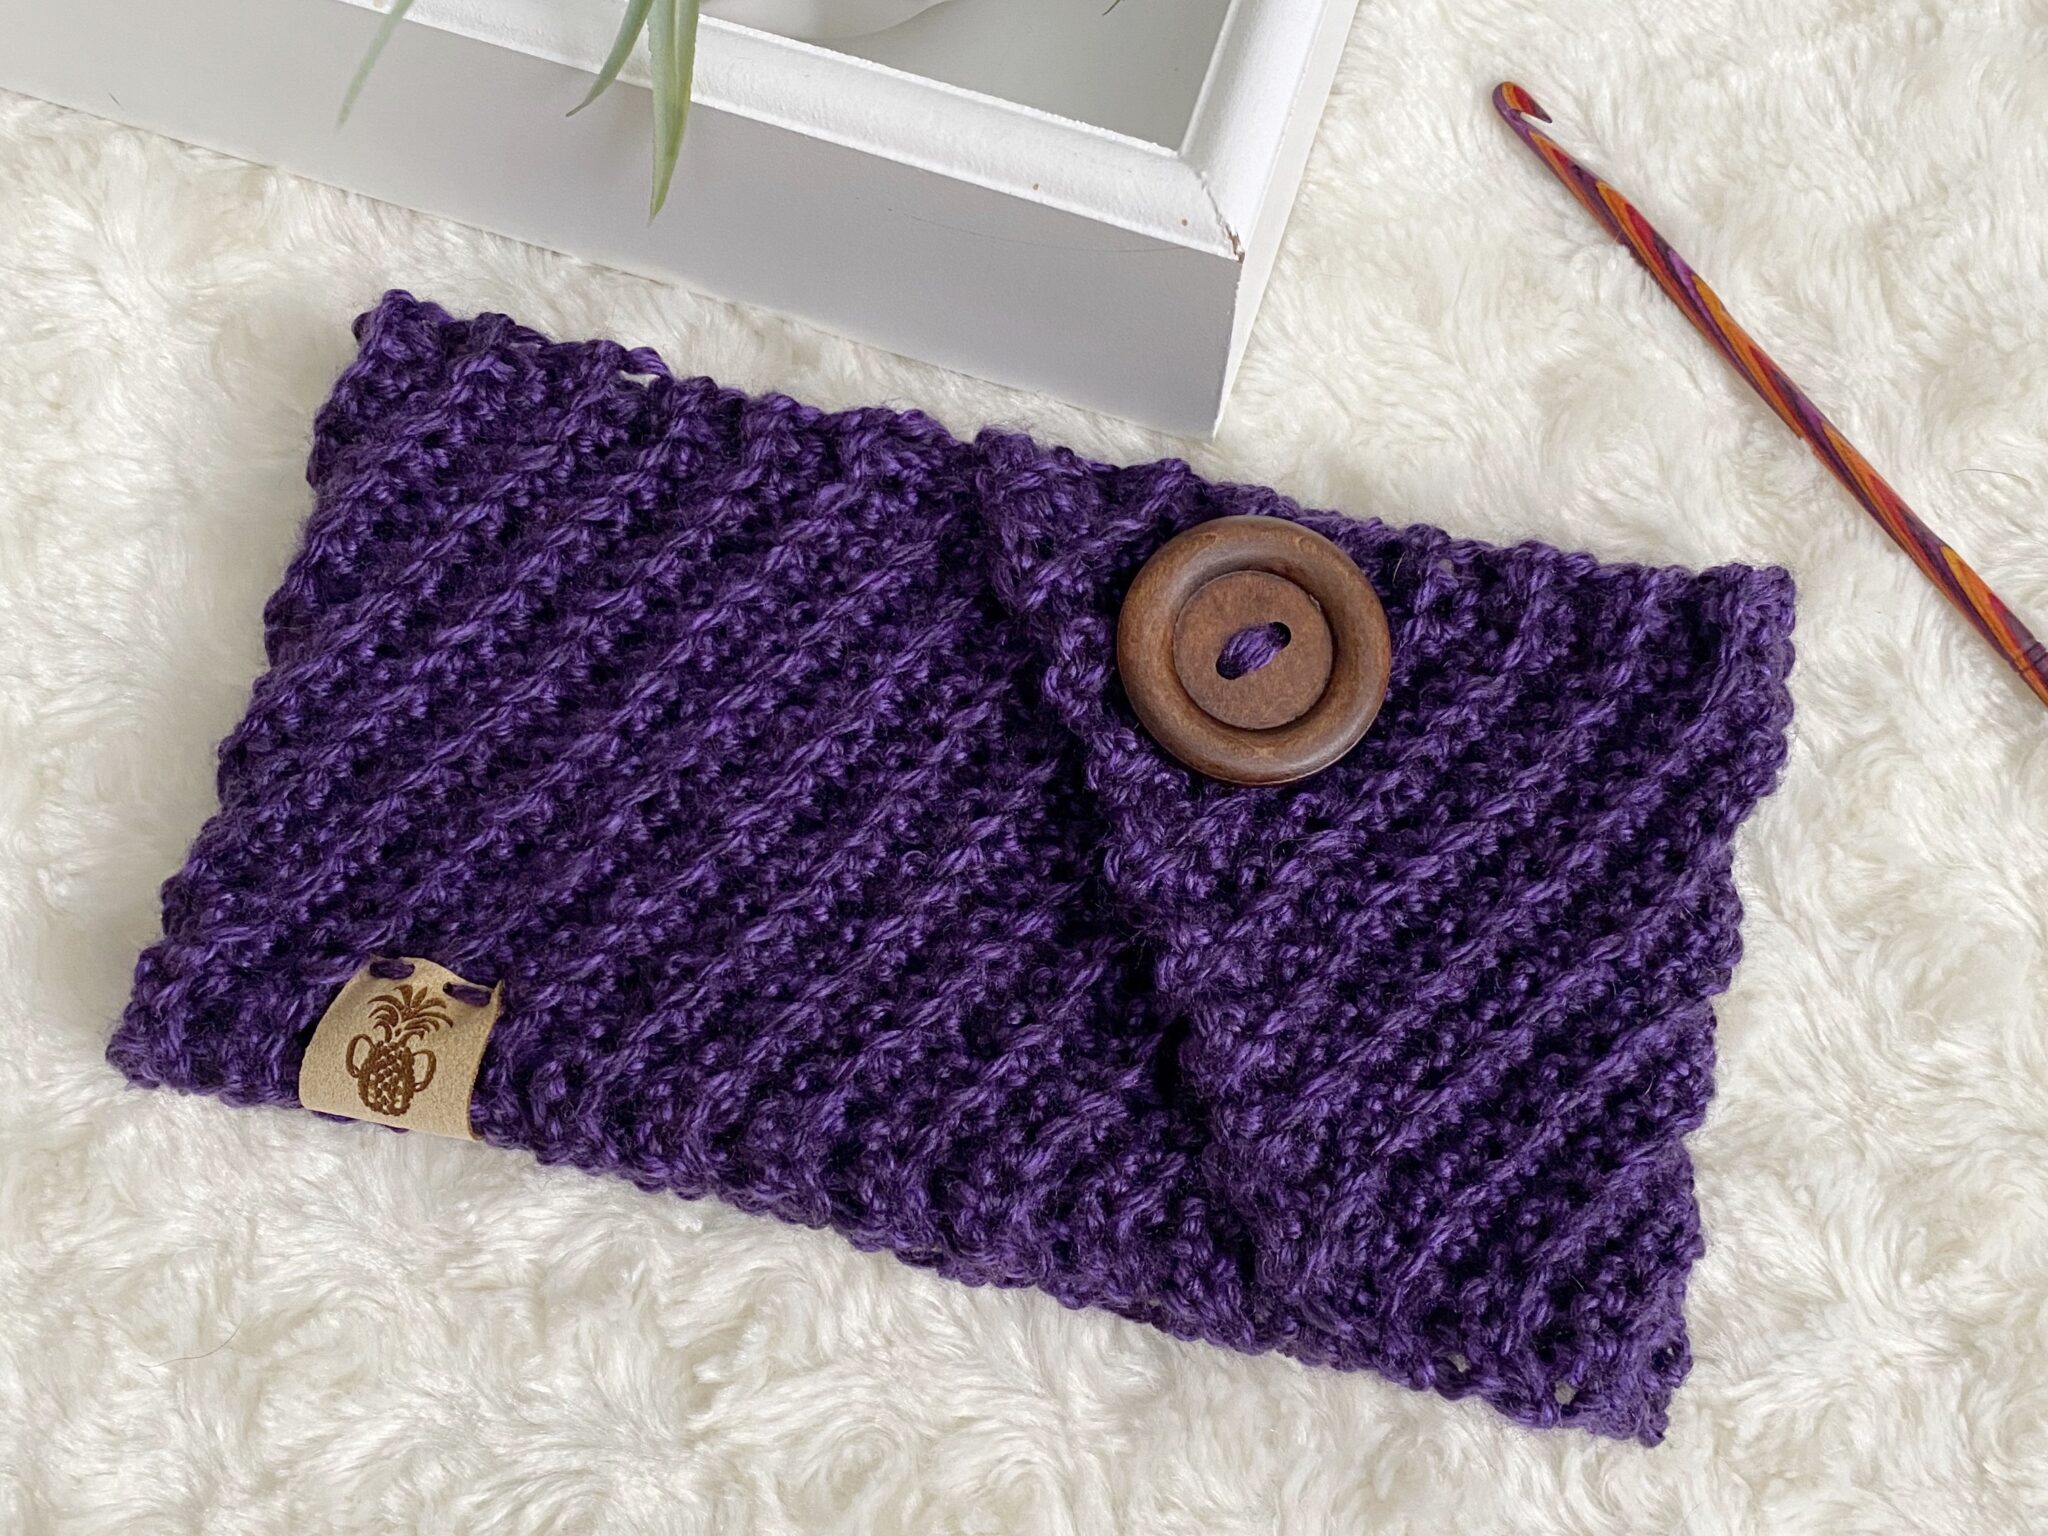
- This appliqué is a collaboration with the Everything Cozy and Everything Pouch by Kathy of Kathy’s Kozies! You can find these patterns in her Etsy shop. You can also find her on Instagram.
If you have any difficulty completing this project and would like support, please email me at aplushpineapple@gmail.com.
Special Stitches
Bobble Stitch
- 1. YO, insert hook into desired stitch and pull up a loop (3 loops on hook).
- 2. YO, pull through two loops (2 loops on hook).
- 3. YO, insert hook back into the same stitch and pull up a loop (4 loops on hook).
- 4. YO, pull through two loops (3 loops on hook).
- 5. YO, insert hook back into the same stitch and pull up a loop (5 loops on hook).
- 6. YO, pull through two loops (4 loops on hook).
- 7. YO, insert hook back into the same stitch and pull up a loop (6 loops on hook).
- 8. YO, pull through two loops (5 loops on hook).
- 9. YO, pull through all five loops.
Pattern
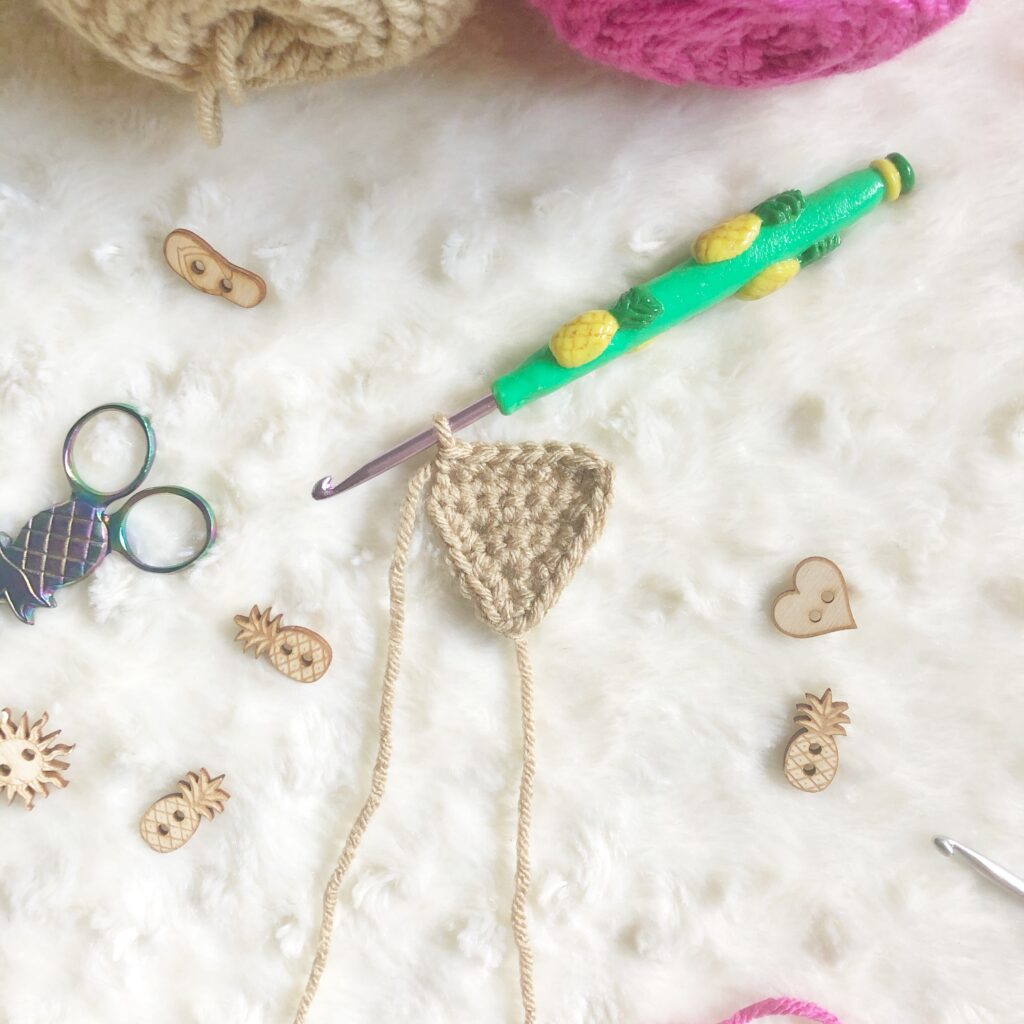
Cone
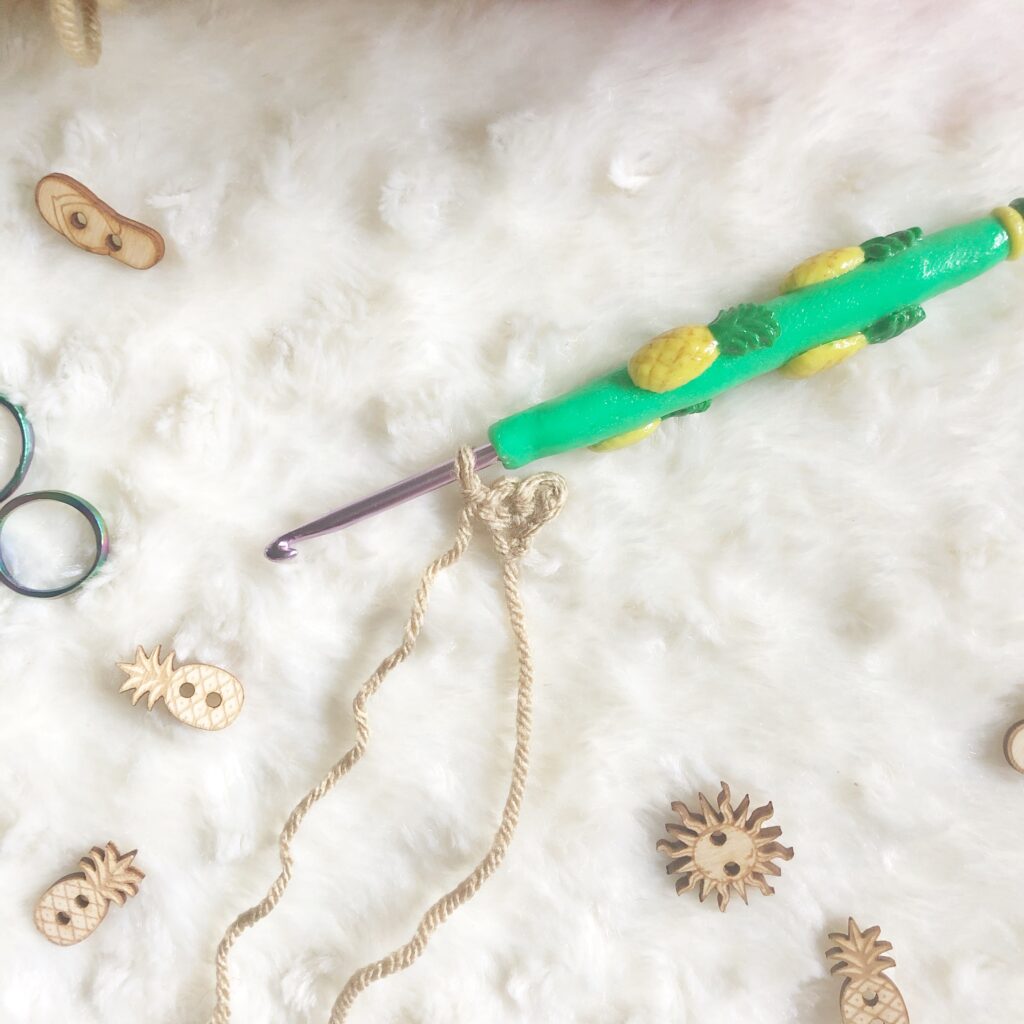
*Begin with Color A*
< Row 1: CH 3, SC in 2nd CH from hook and in last CH. (2)
> Row 2: CH 1, turn, SC INC in each stitch. (4)
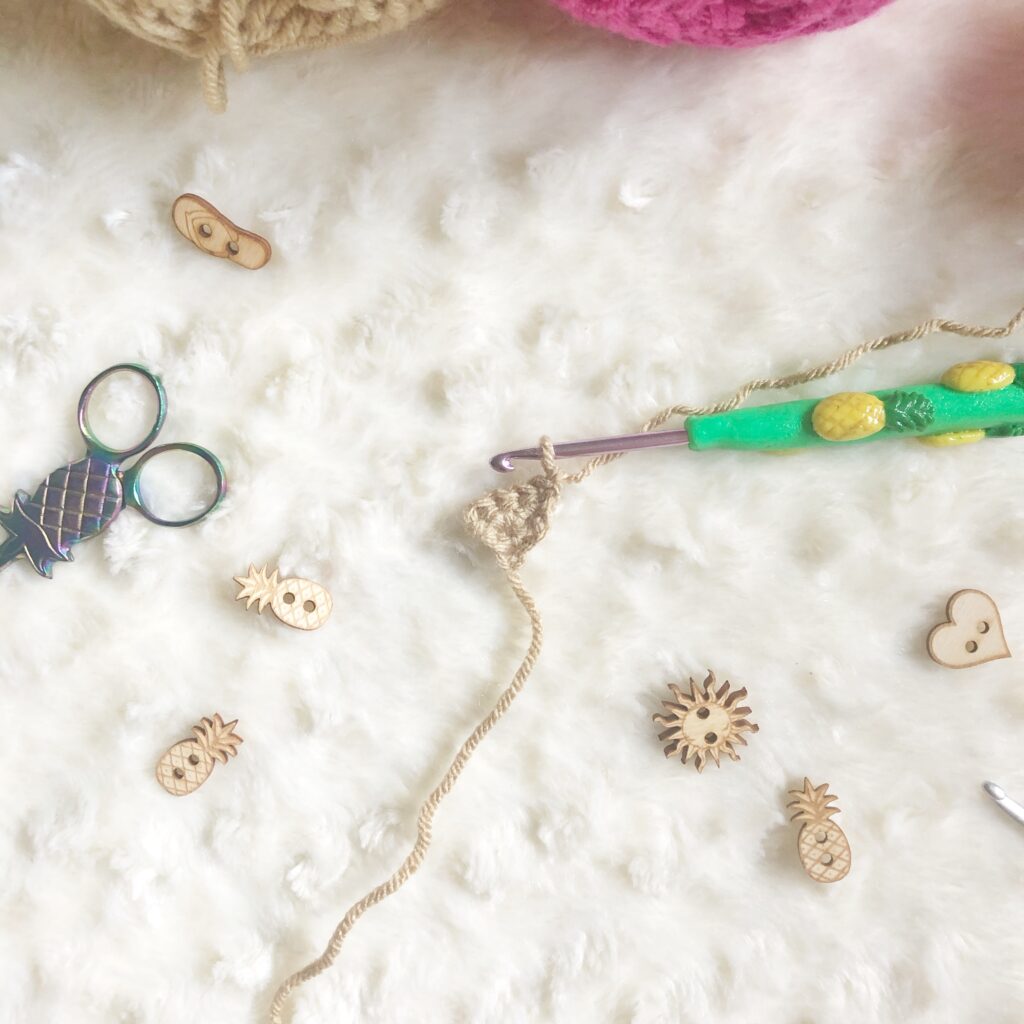
< Row 3: CH 1, turn, SC in each stitch across. (4)

> Row 4: CH 1, turn, SC INC, SC 2, SC INC. (6)
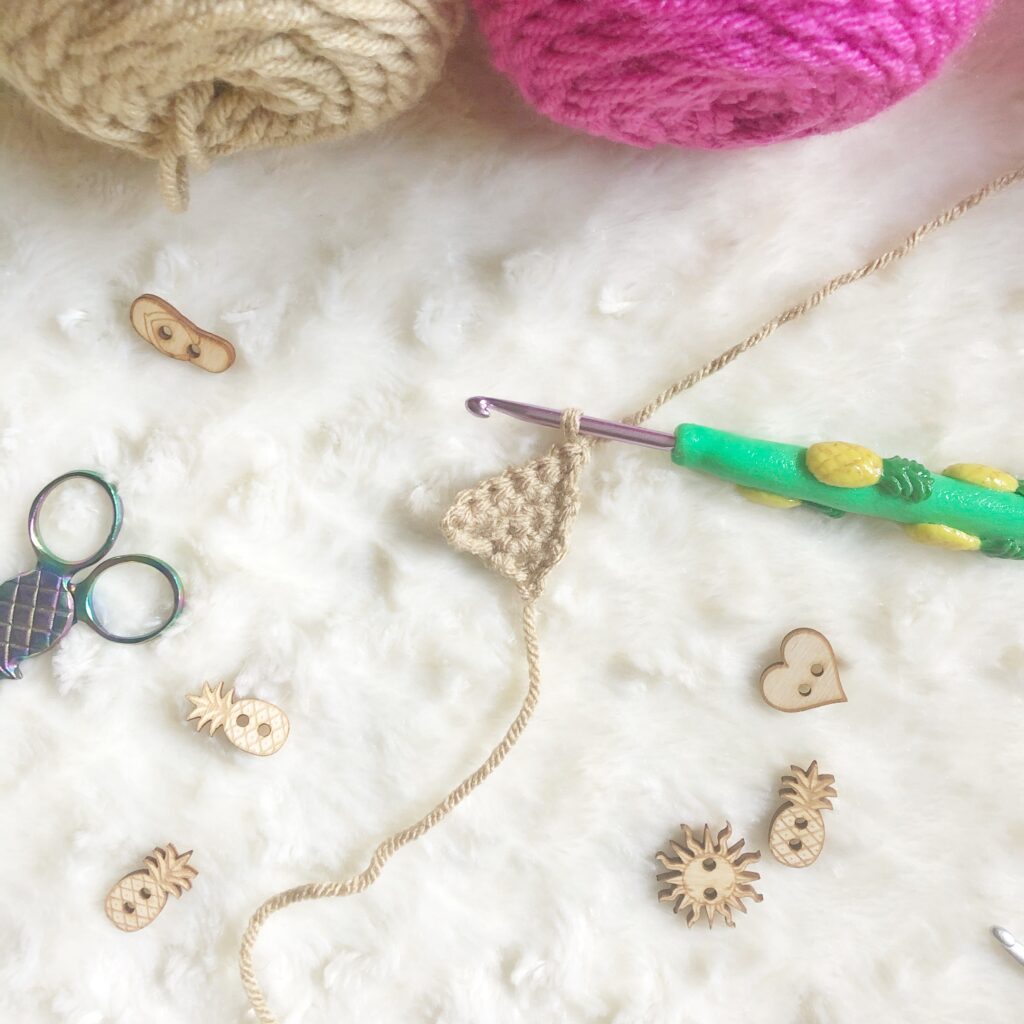
< Row 5: CH 1, turn, SC in every stitch across. (6)
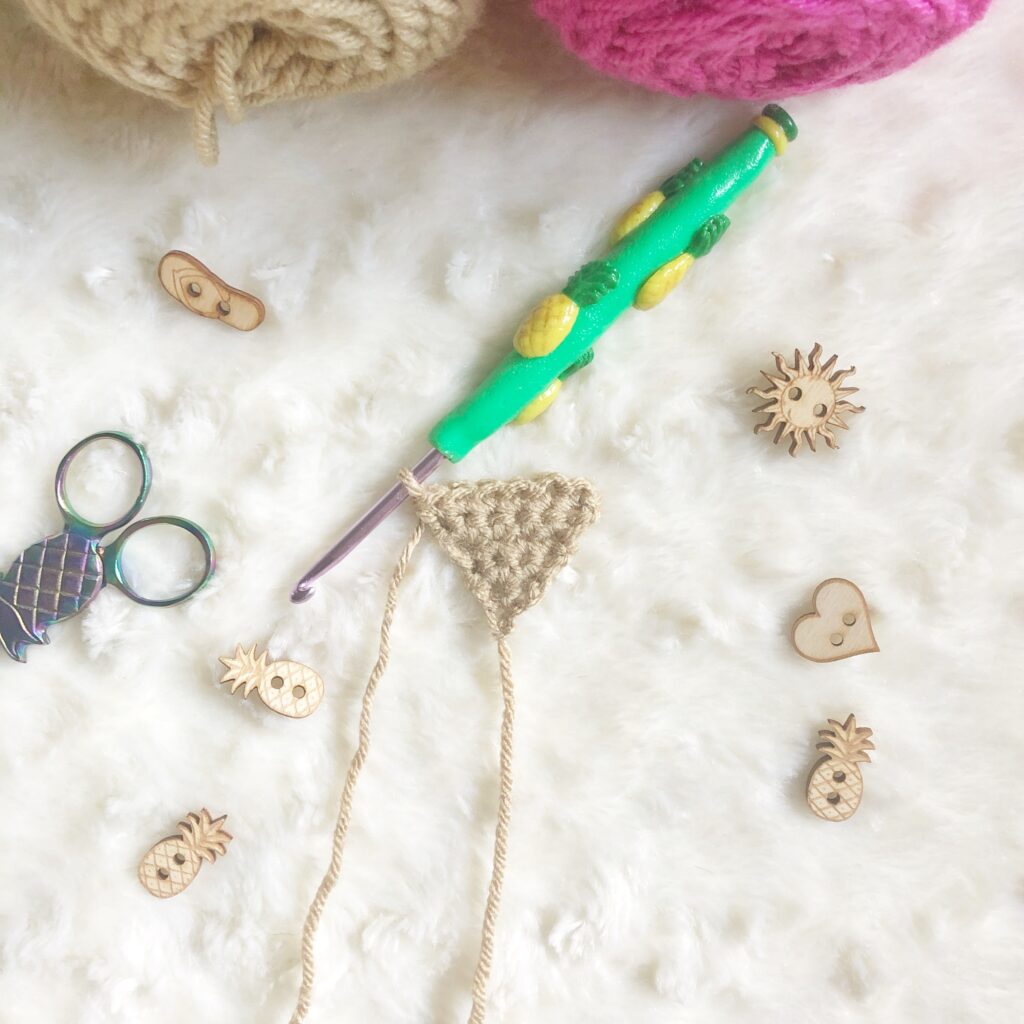
< Row 6: CH 1, do NOT turn, begin working down the side and place a SC in the end of each row down the side (5), [SC, CH 1, SC] in the bottom point, SC up the other side (5), CH 1 at the corner, SC in each stitch across the top (6). The border should have a total of 16 SC. Do NOT join to beginning CH.
*Change to Color B*
Ice Cream
The next row will begin on the left side corner of the cone. This is intentional as it will give the appearance of the ice cream dripping slightly down the side.

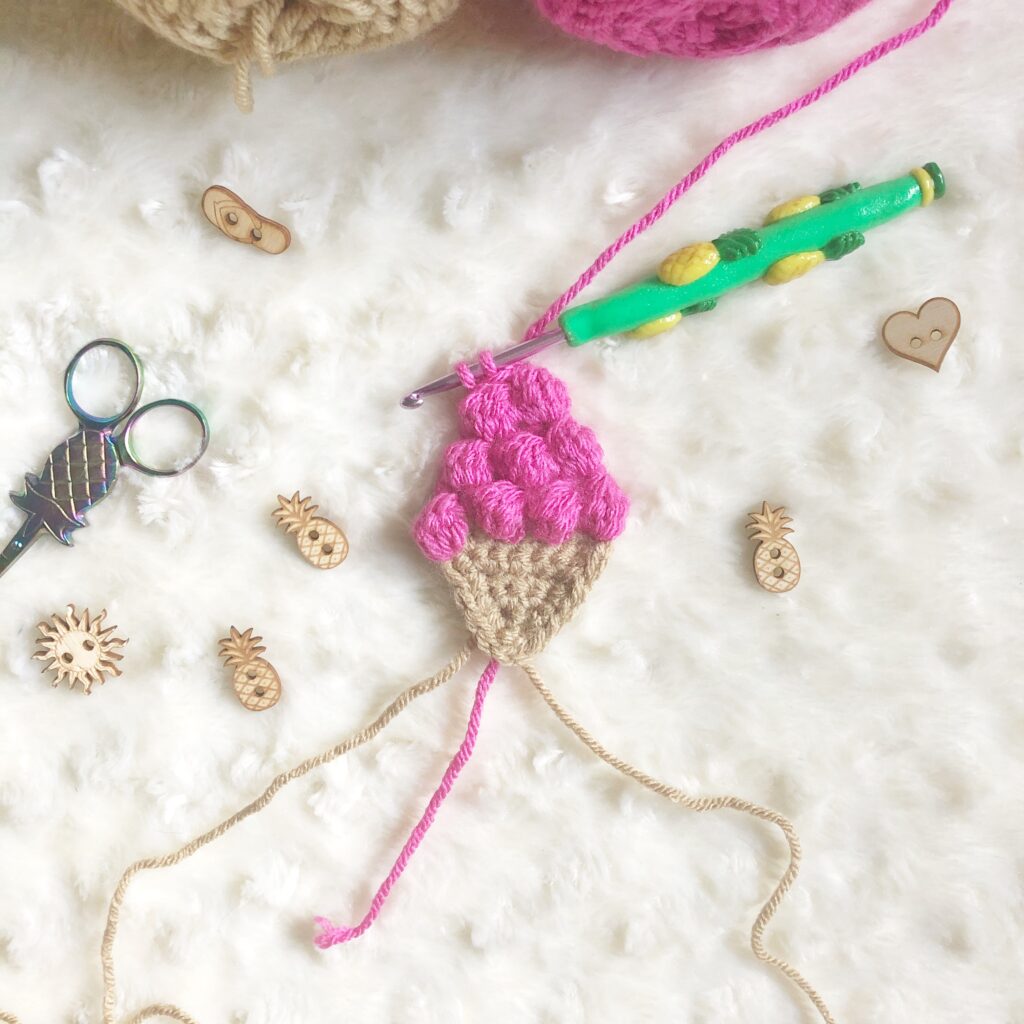
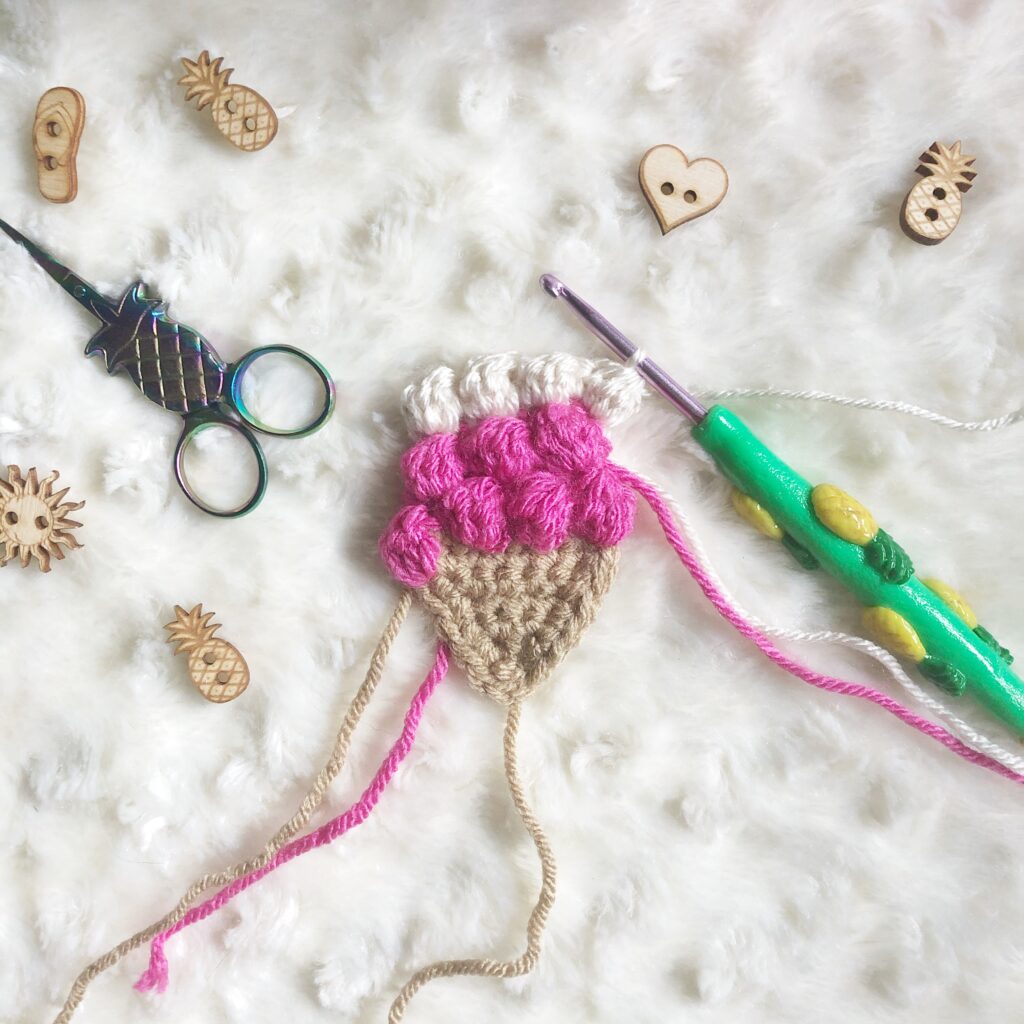
> Row 7: CH 1, turn, work a Bobble stitch in the side of Row 5, [SC, Bobble] 3x. (7)
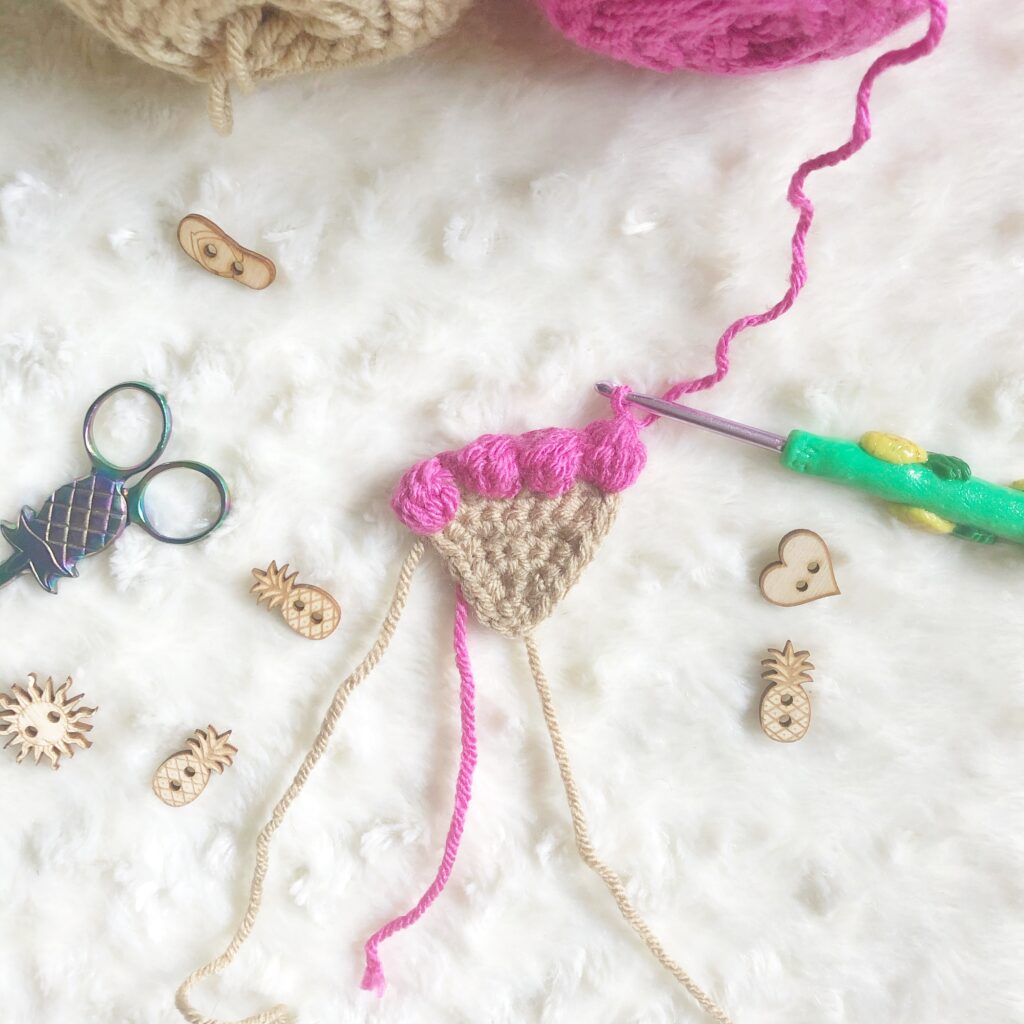
< Row 8: CH 1, turn, [SC, SC DEC] 2x, SC. (5)
One Scoop
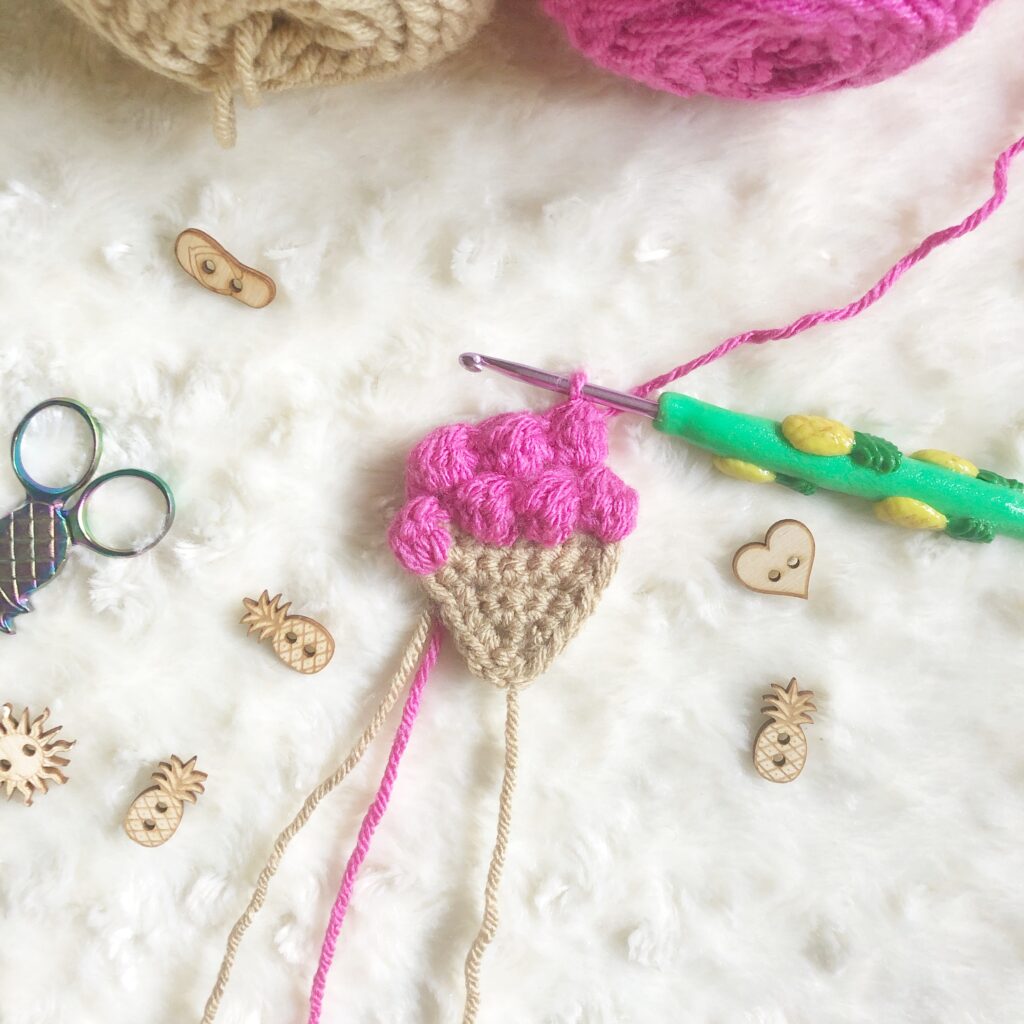
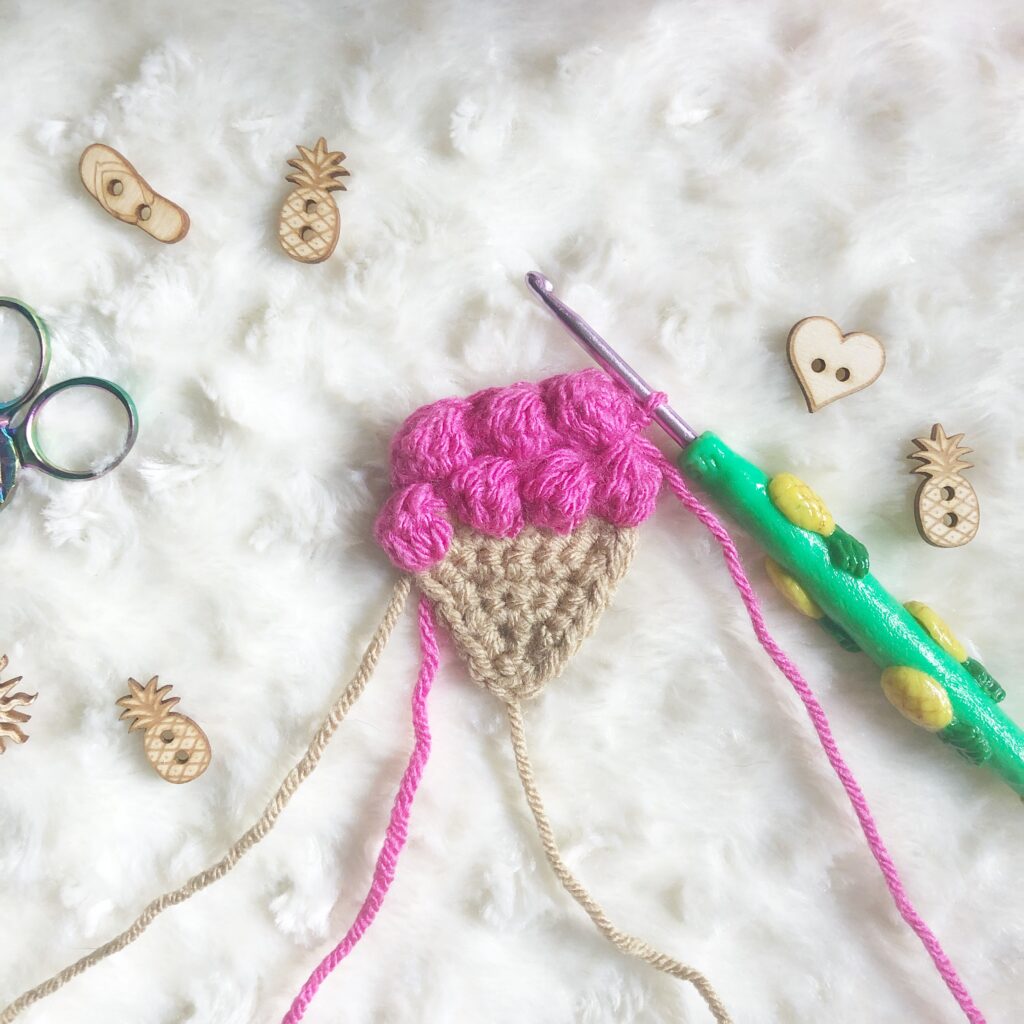
> Row 9: CH 1, turn, [Bobble, SC] 2x, Bobble. (5)
< Row 10: CH 1, turn, SC DEC, SC, SC DEC. (3)
> Row 11: CH 1, turn, Bobble, SC, Bobble. (3)
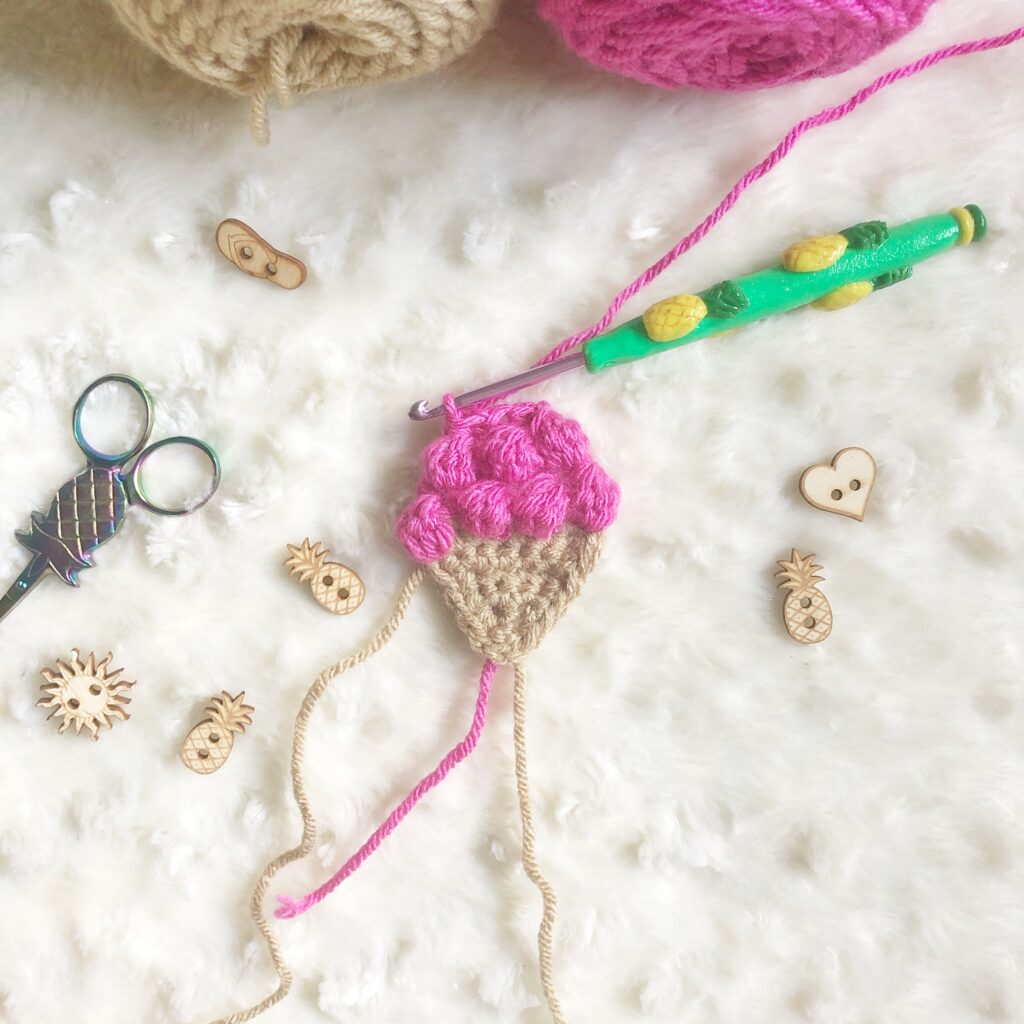
< Row 12: CH 1, turn, SC in each stitch across. (3)
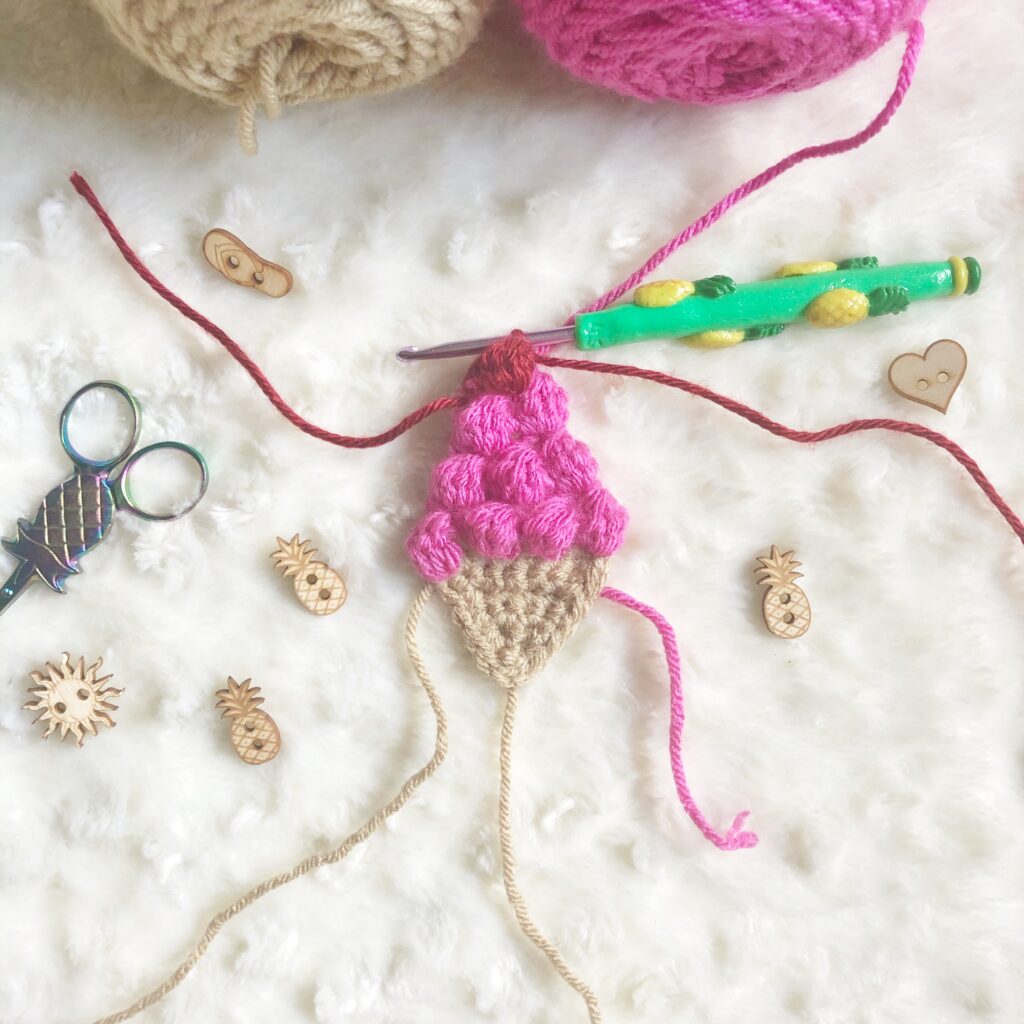
*Change to Color E (red)*
> Row 13: CH 1, turn, SC, Bobble, SC. (3)
Two Scoops
> Row 9: CH 1, turn, [Bobble, SC] 2x, Bobble, working down the right side of the cone, place a SC in each of the top two rows. (7)
*Change to Color D*
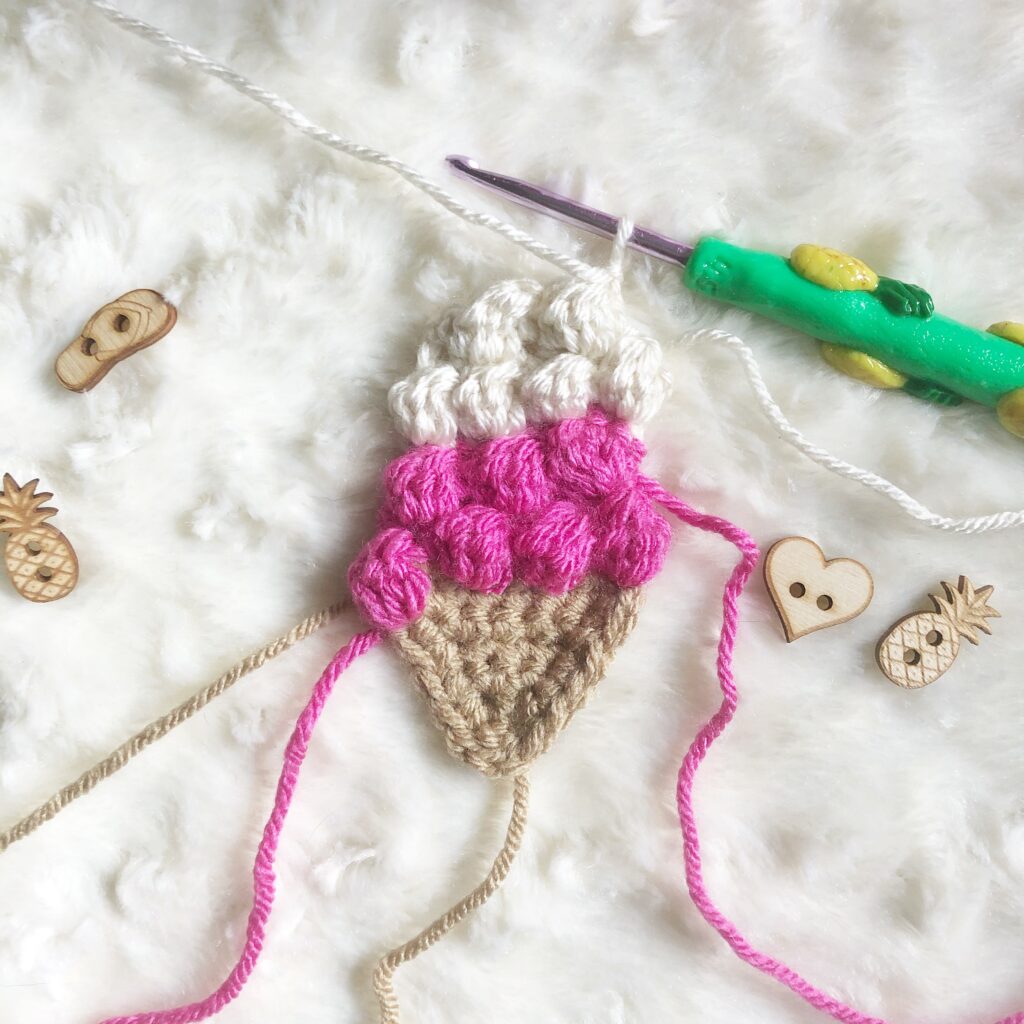
< Row 10: CH 1, turn, SC in each stitch across. (7)
> Row 11: CH 1, turn, [Bobble, SC] 3x, Bobble. (7)
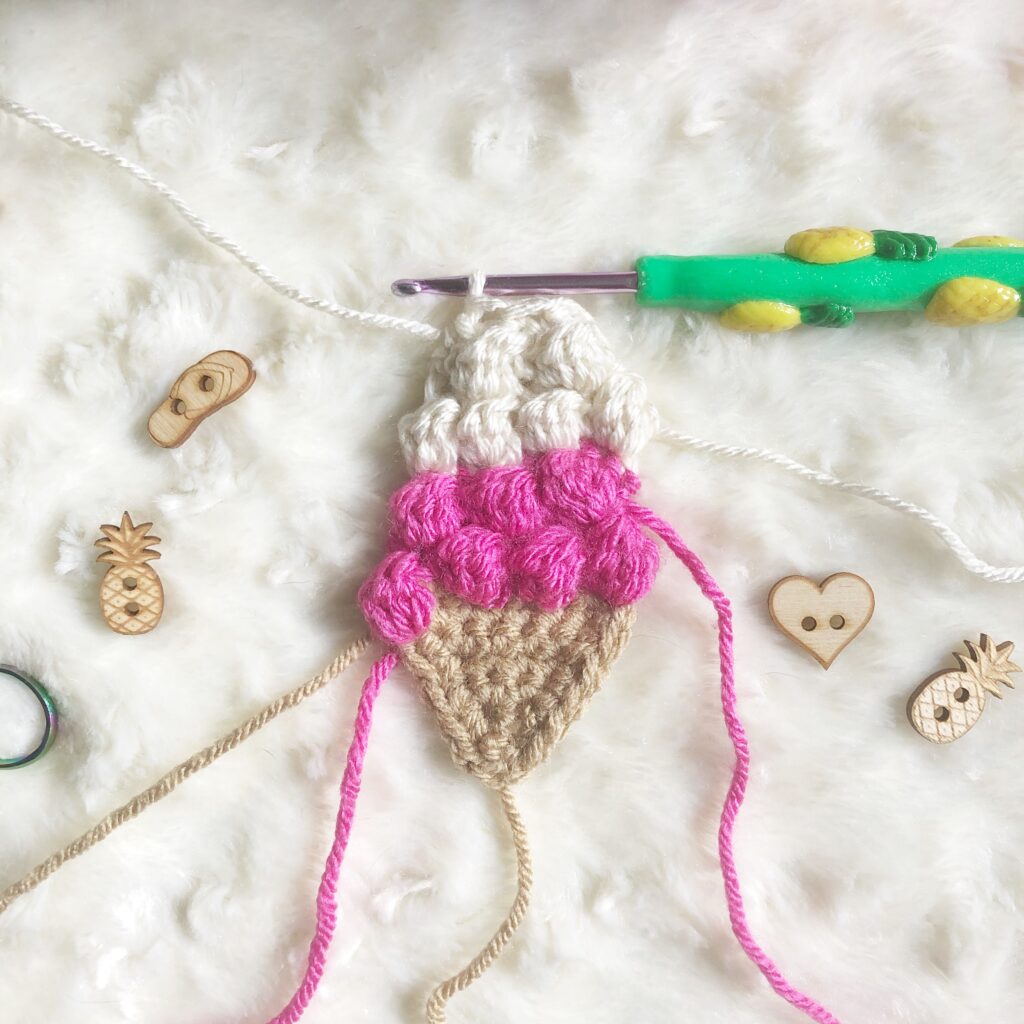
< Row 12: CH 1, turn, [SC, SC DEC] 2x, SC. (5)
> Row 13: CH 1, turn, [SC, Bobble] 2x, SC (5)
< Row 14: CH 1, turn, SC DEC, SC, SC DEC. (3)
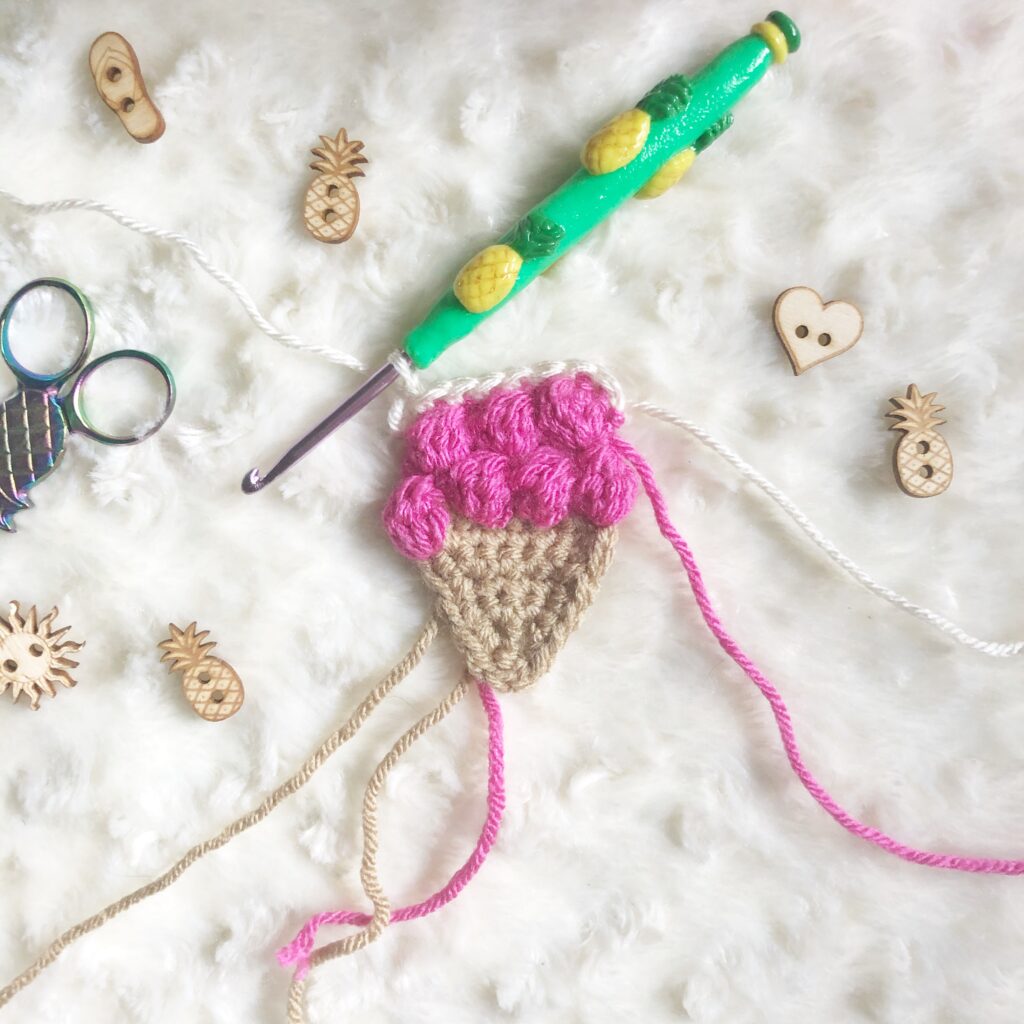
*Change to Color E (red)*
> Row 15: CH 1, turn, SC, Bobble, SC. (3)

Attaching
You can use your new appliqué to add some ice cream goodness to any of your makes! It fits perfectly on the Everything Cozy or Everything Pouch patterns by Kathy of Kathy’s Kozies. You can find these patterns in her Etsy shop! It’s also great for attaching to my Garden Flag pattern!
To attach your appliqué, simply use a basting stitch around the edge of the appliqué. Grab only the top of the corresponding stitches beneath, so the stitches do not show through on the other side.
Kathy also has these adorable matching wooden ice cream buttons to match this appliqué!
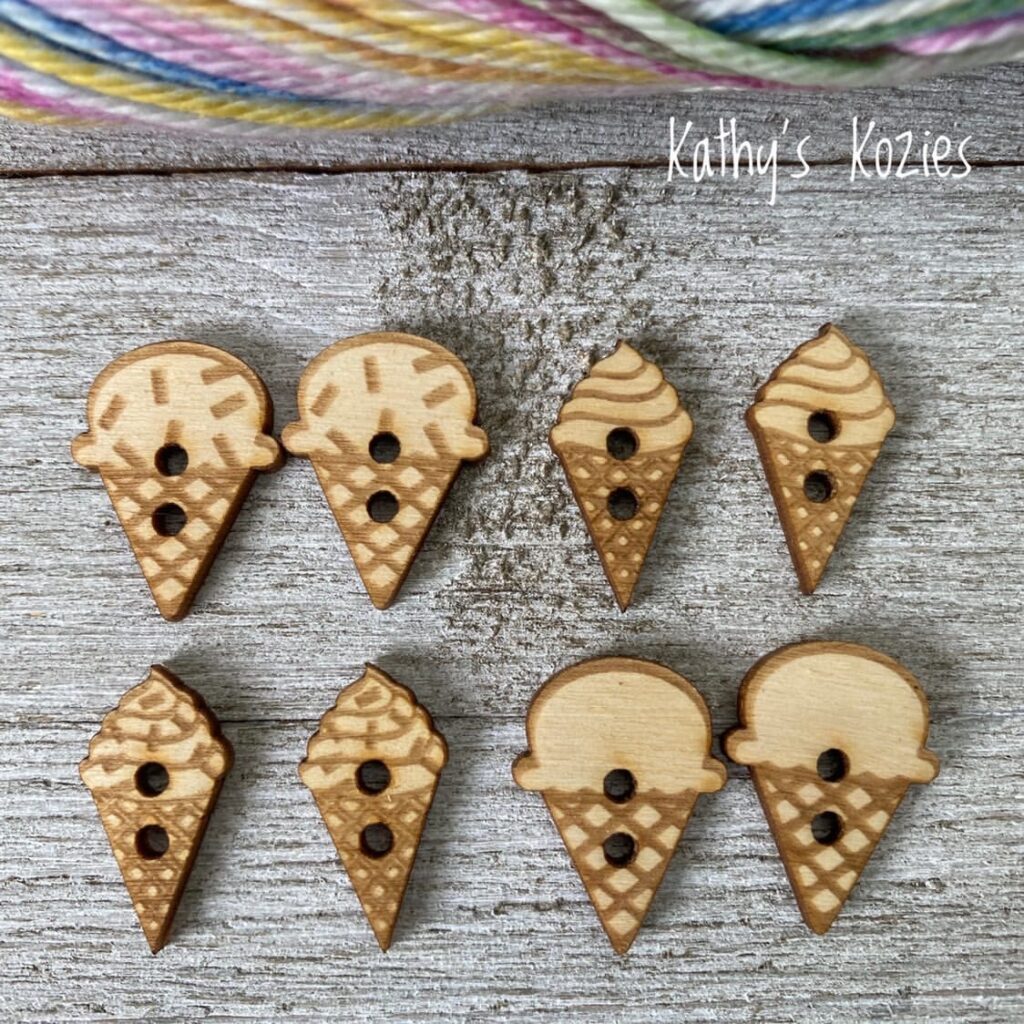
This project was a collaboration with Kathy of Kathy’s Kozies and her Everything Cozy or her Everything Pouch! It was designed to fit both the cozy and pouch which you can find in her Etsy store along with matching wooden buttons for all of my appliqués!
If you make this appliqué, please share it! I would love to see your work! You can tag me on Instagram and Facebook @aplushpineapple. Use the tag #aplushpineapple.


An excellent post, congratulations !!
Thanks so much!