“There are secret opportunities hidden inside every failure.”
-Unknown
If I work continuously in the round, my design shifts. If I join every round, I get an ugly seam. HELP!
Never fear, my friend. I am here to provide you with what I think is a pretty good solution to this age old dilemma that rears its ugly head anytime you are working in the round and show you how to achieve an invisible seam!
The Problem
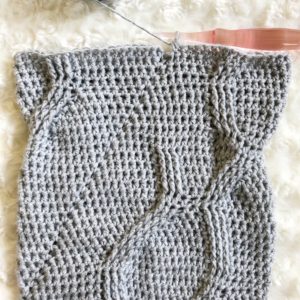
Working in the round has its positives and negatives. When you work a piece in the round, it will have a more professional appearance as all the stitches will be right side facing out. Whereas, when you work back and forth in rows, every other row shows the right side of the stitches and every other row shows the wrong side. However, working in the round has its disadvantages as well. When you work continuously in the round, the stitches gradually shift to the left. If the piece is solid or the color changes are minimal, it doesn’t matter too much, but if your design has detailed color work or a cable design, this shifting will give the design a diagonal appearance. Joining rounds and using a chain stitch to move up to the next round is the solution to this issue, but it leaves an unsightly seam through your work. If an invisible seam is what your project needs, then keep reading!
The Solution
The invisible slip stitch and chainless starting stitch is a technique that I have picked up over the years, and it provides a great solution to this dilemma by creating a near invisible seam! Although the seam will still be somewhat visible, it will be a great deal less noticeable than if you were to join rounds the traditional way. I have used this technique in a few of my designs, so I thought it would best to have a tutorial on my blog for makers to reference should you ever run across this stitch technique in one of my patterns! When you use the invisible slip stitch and chainless starting stitch, get ready for crochet’s…
…greatest disappearing act!
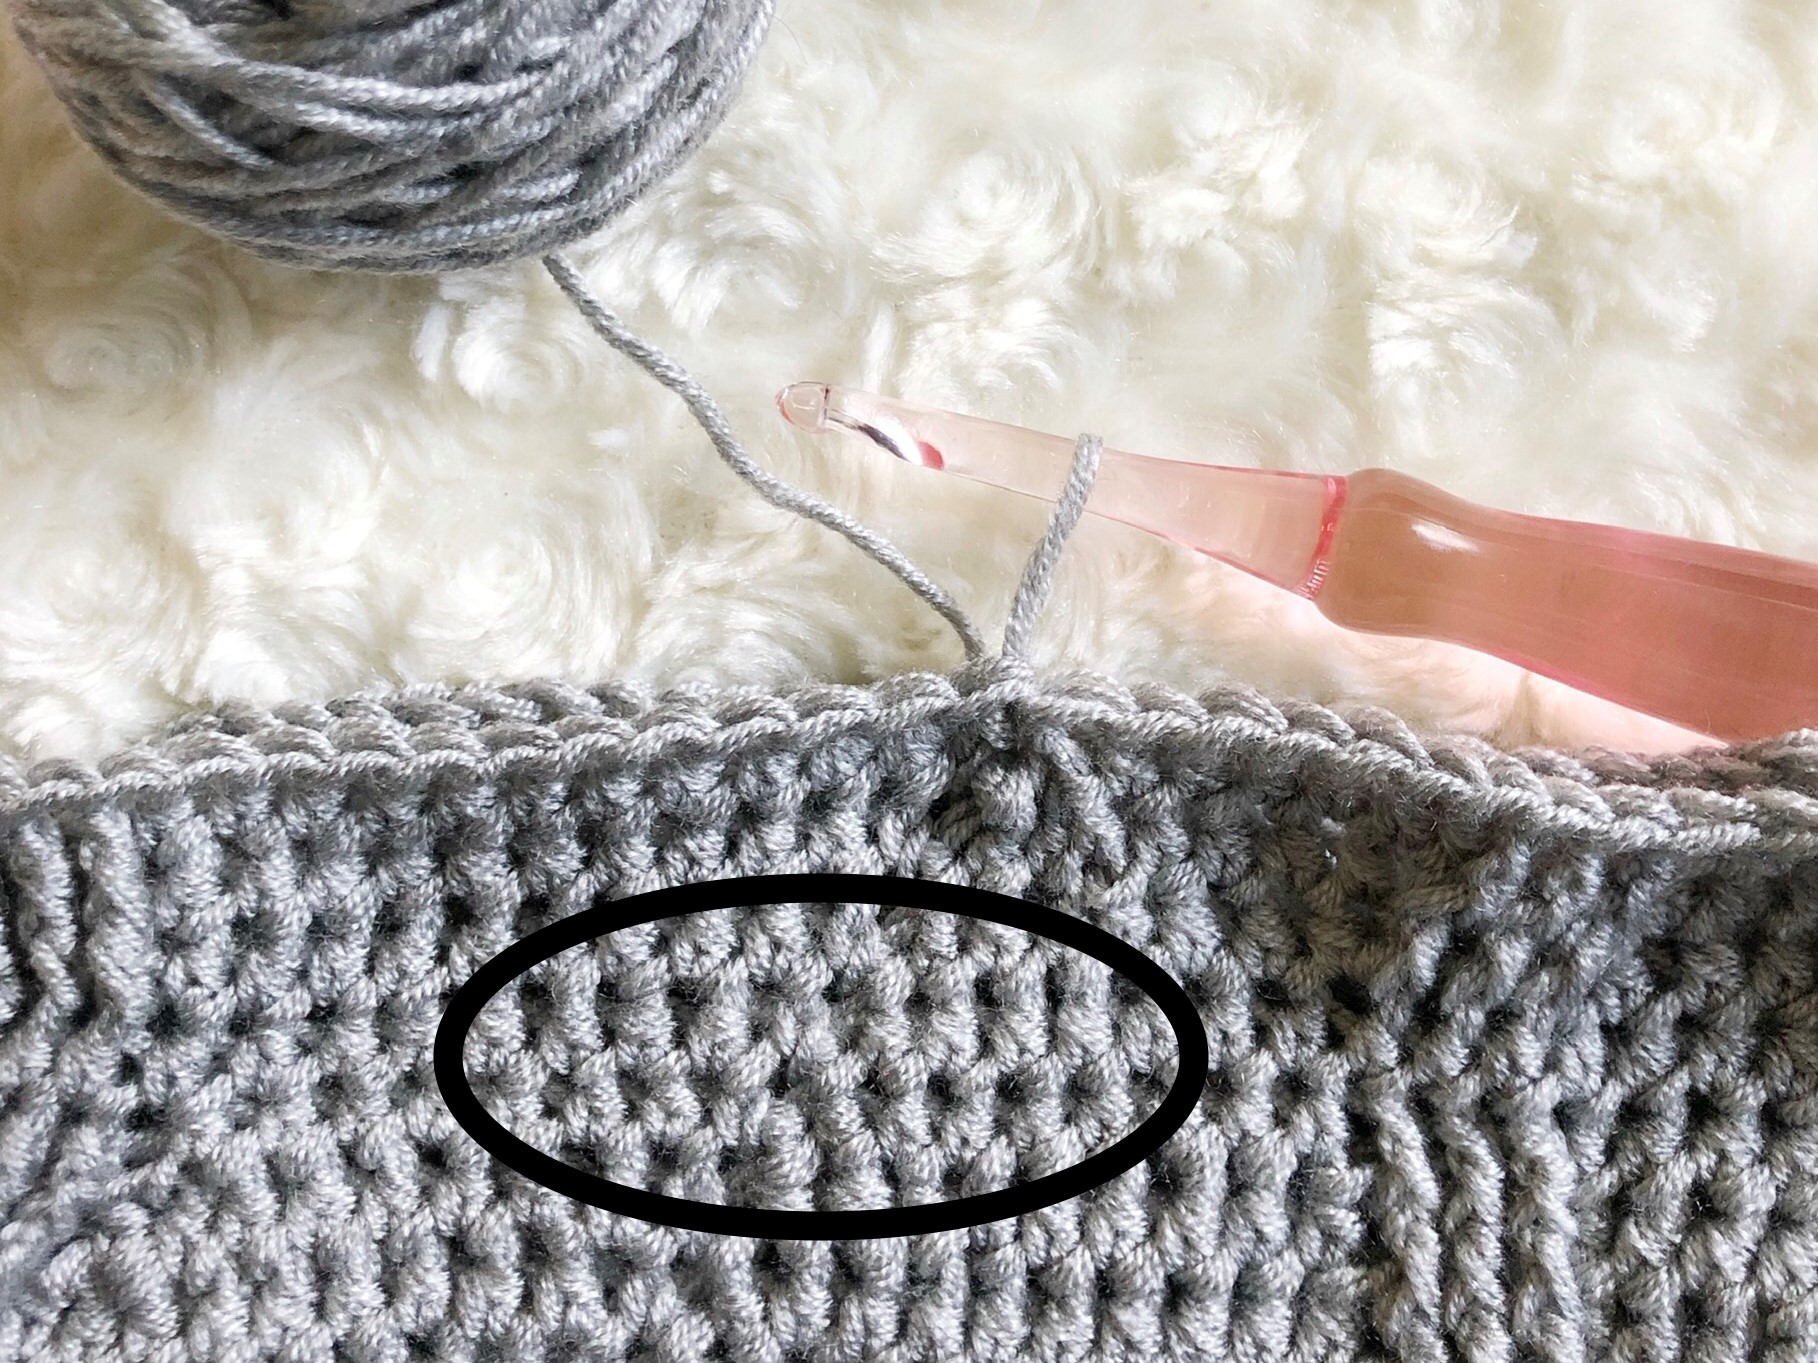
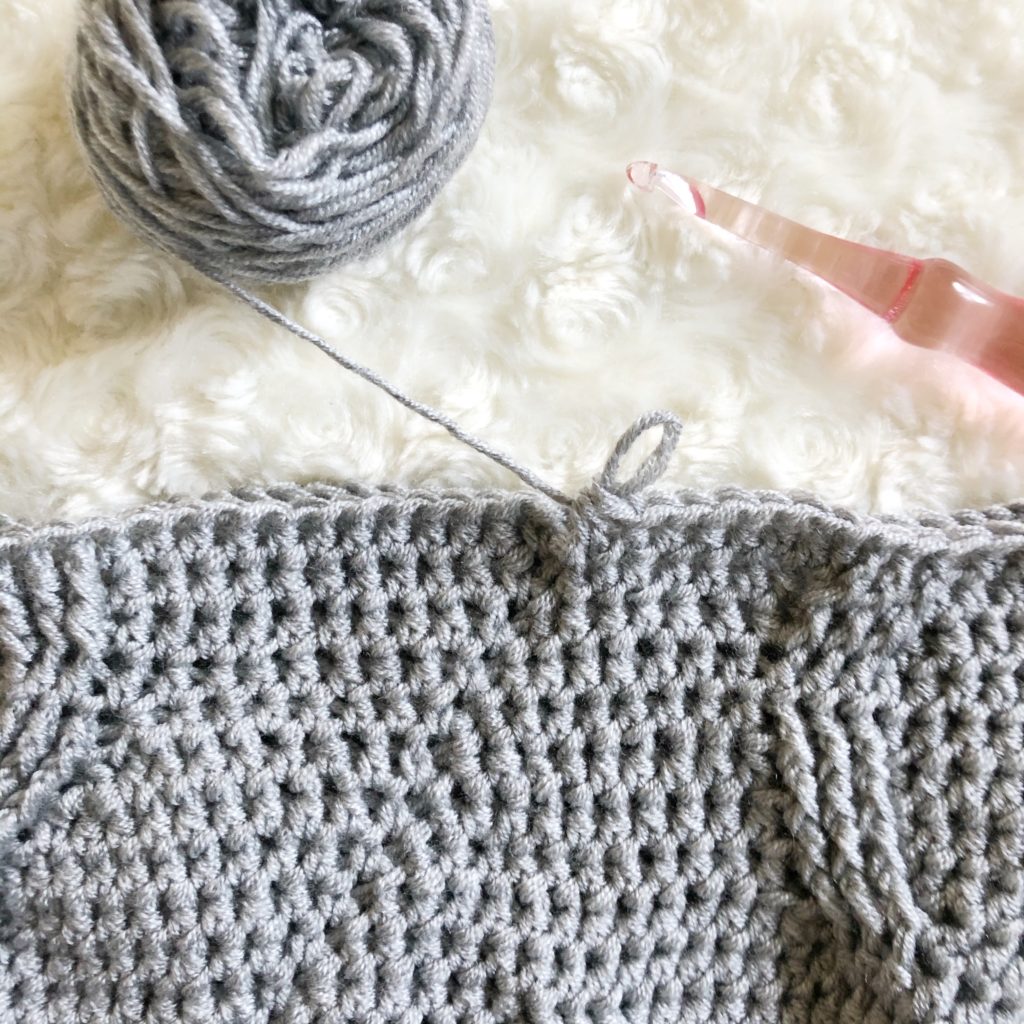
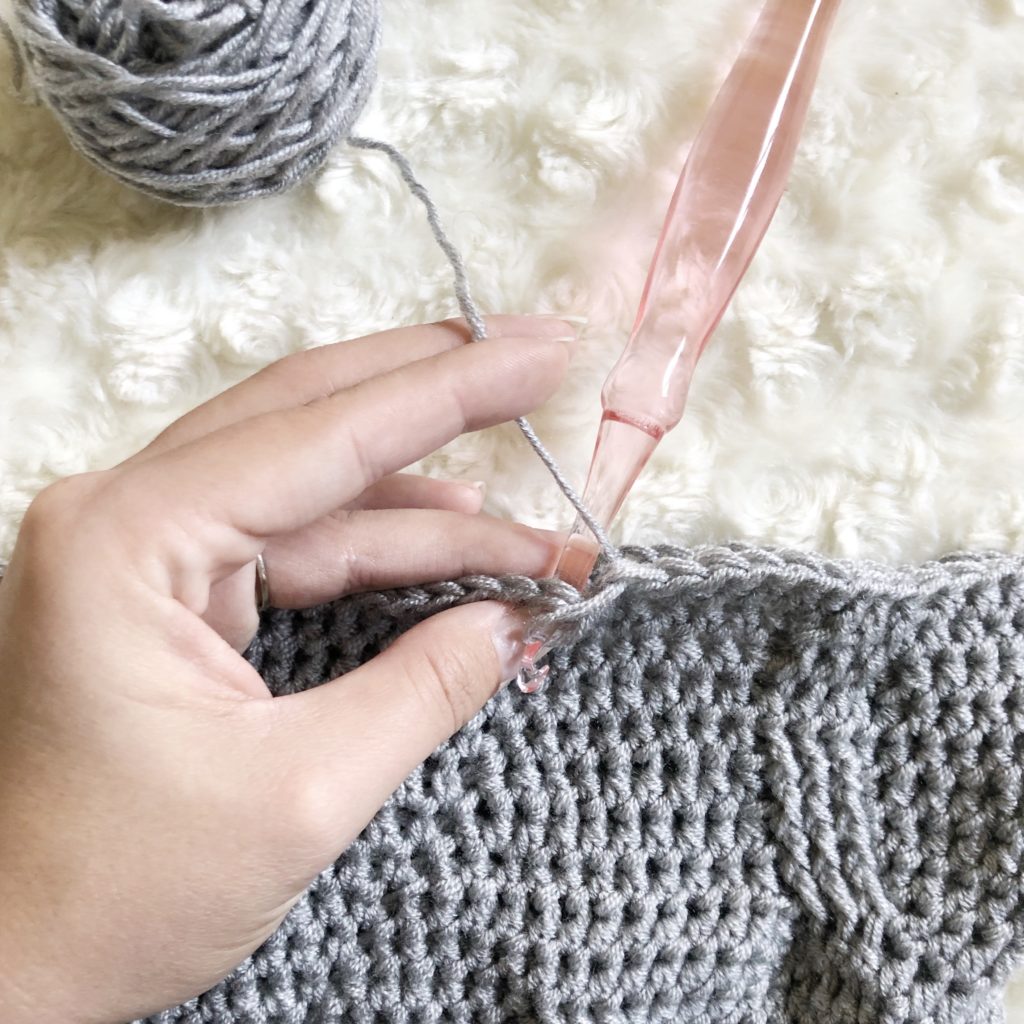
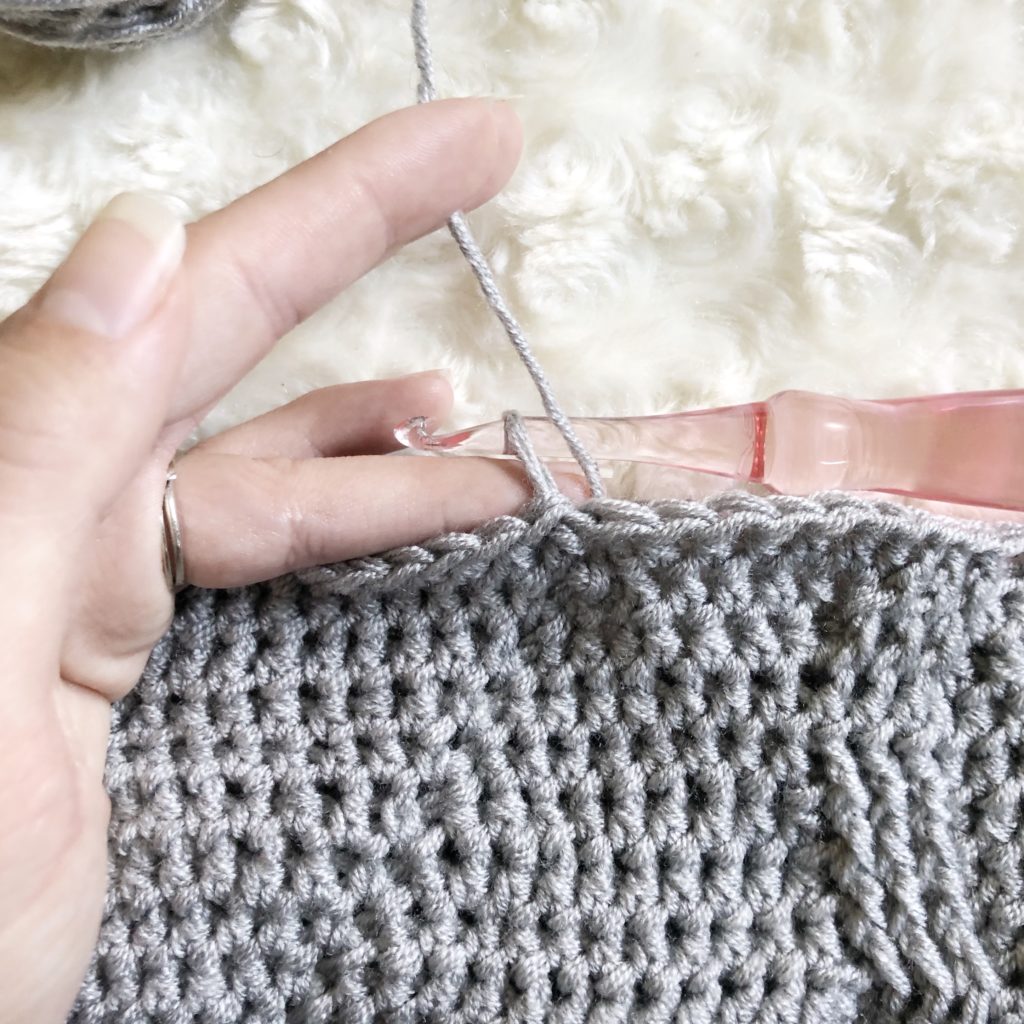
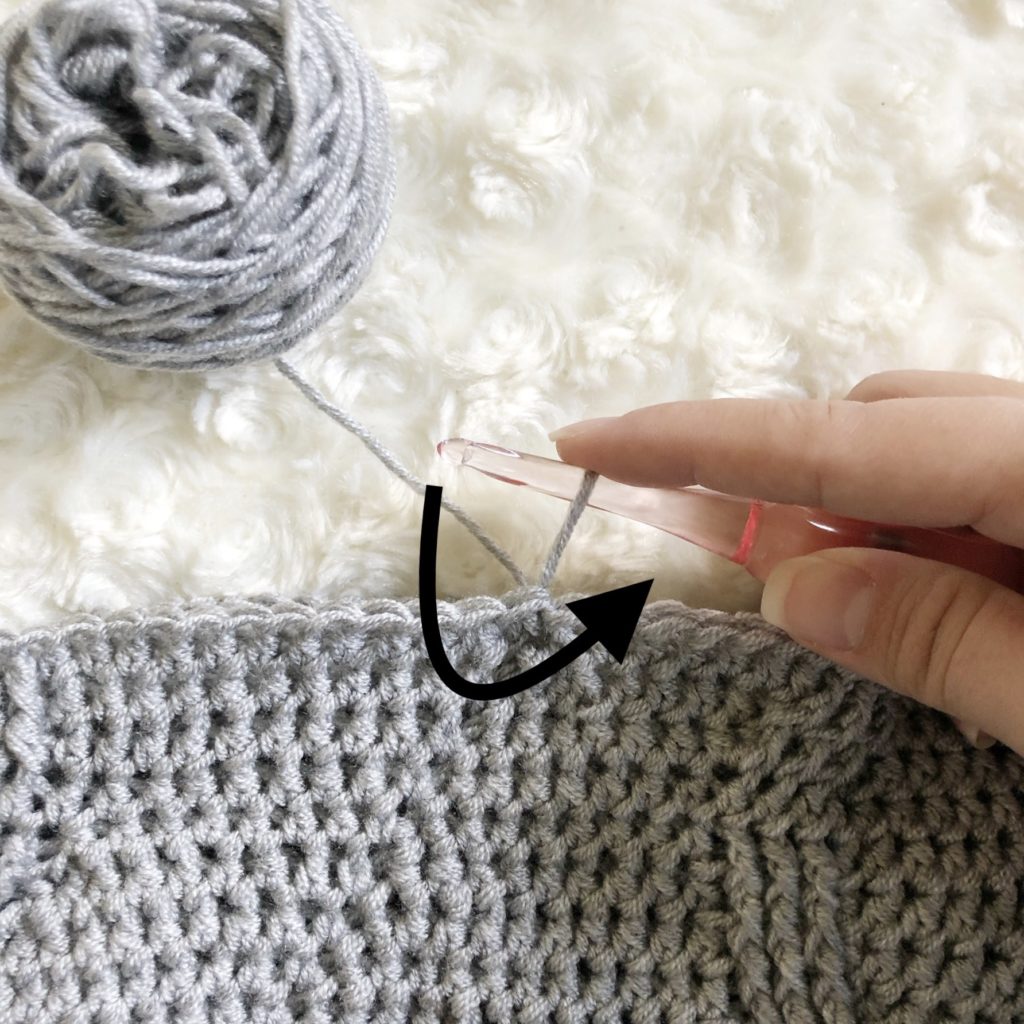
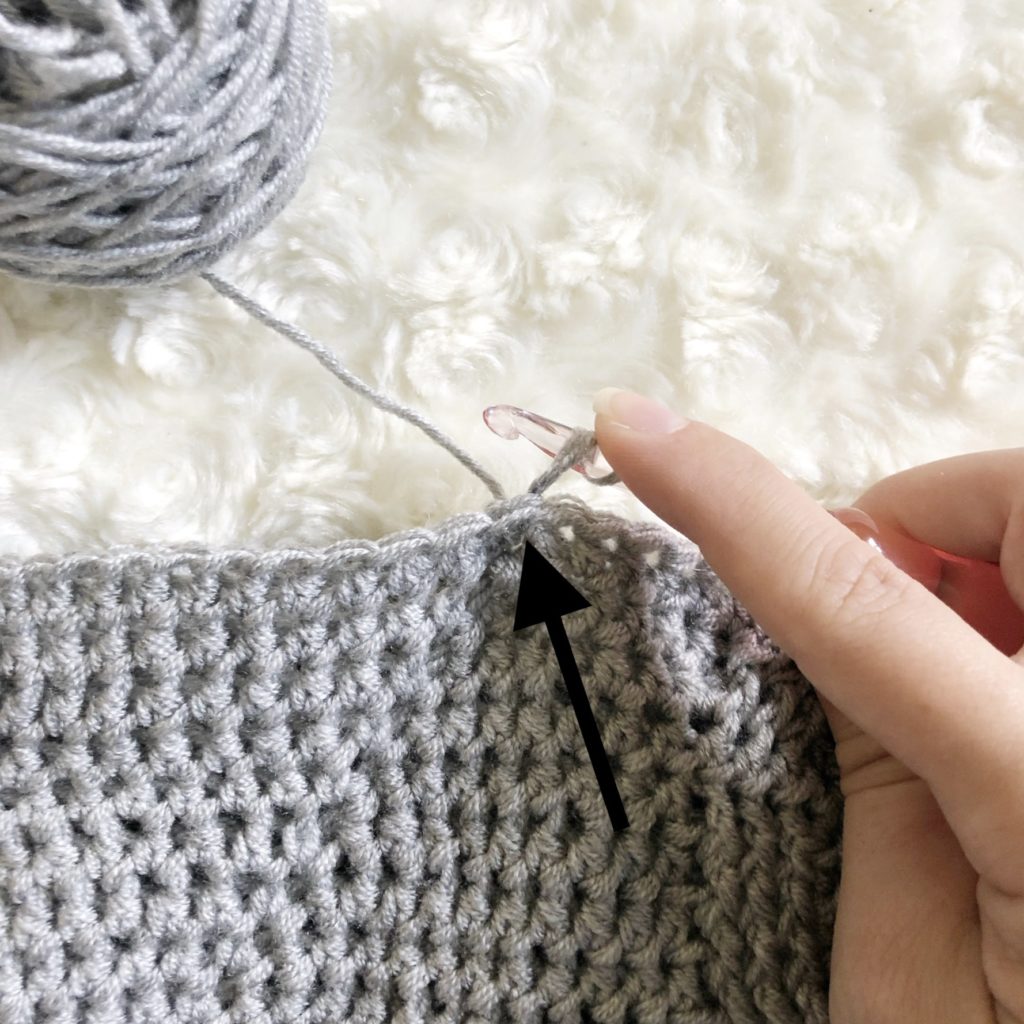
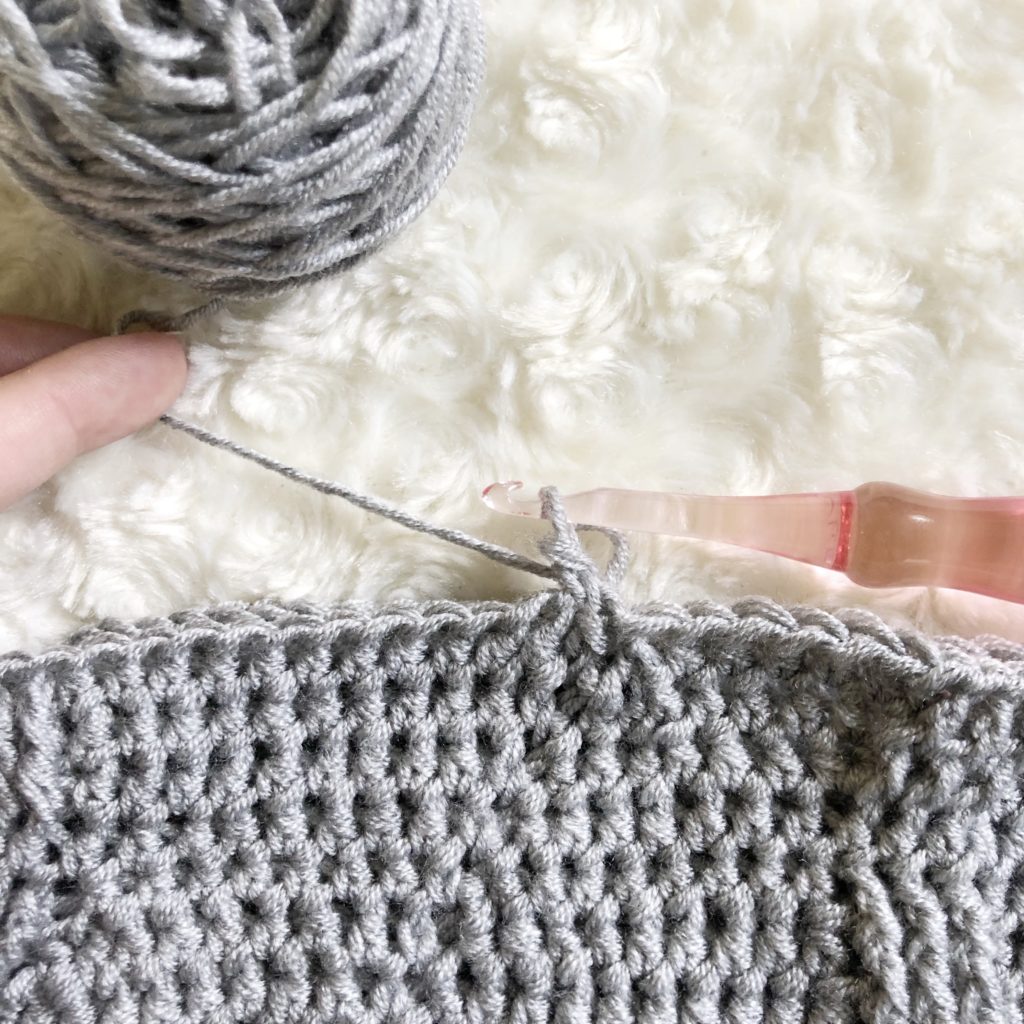
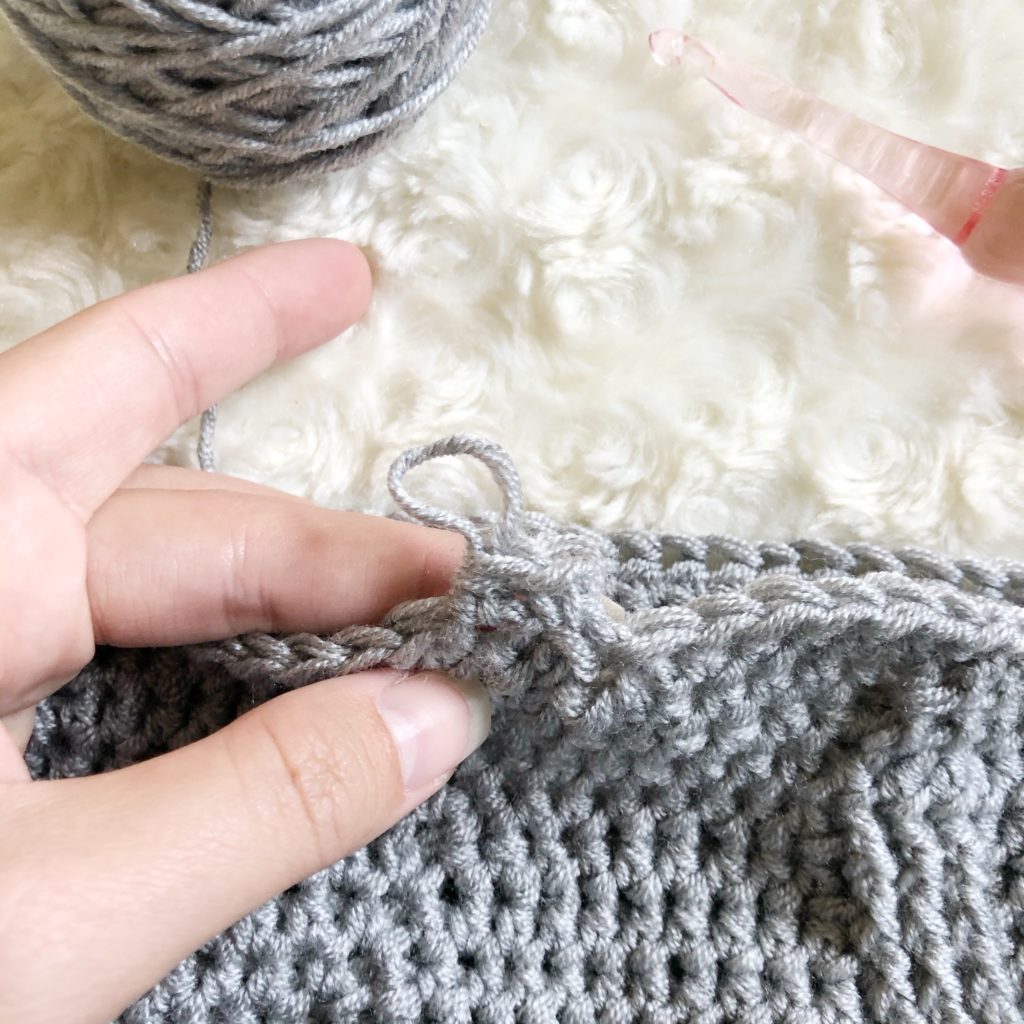
Invisible Slip Stitch
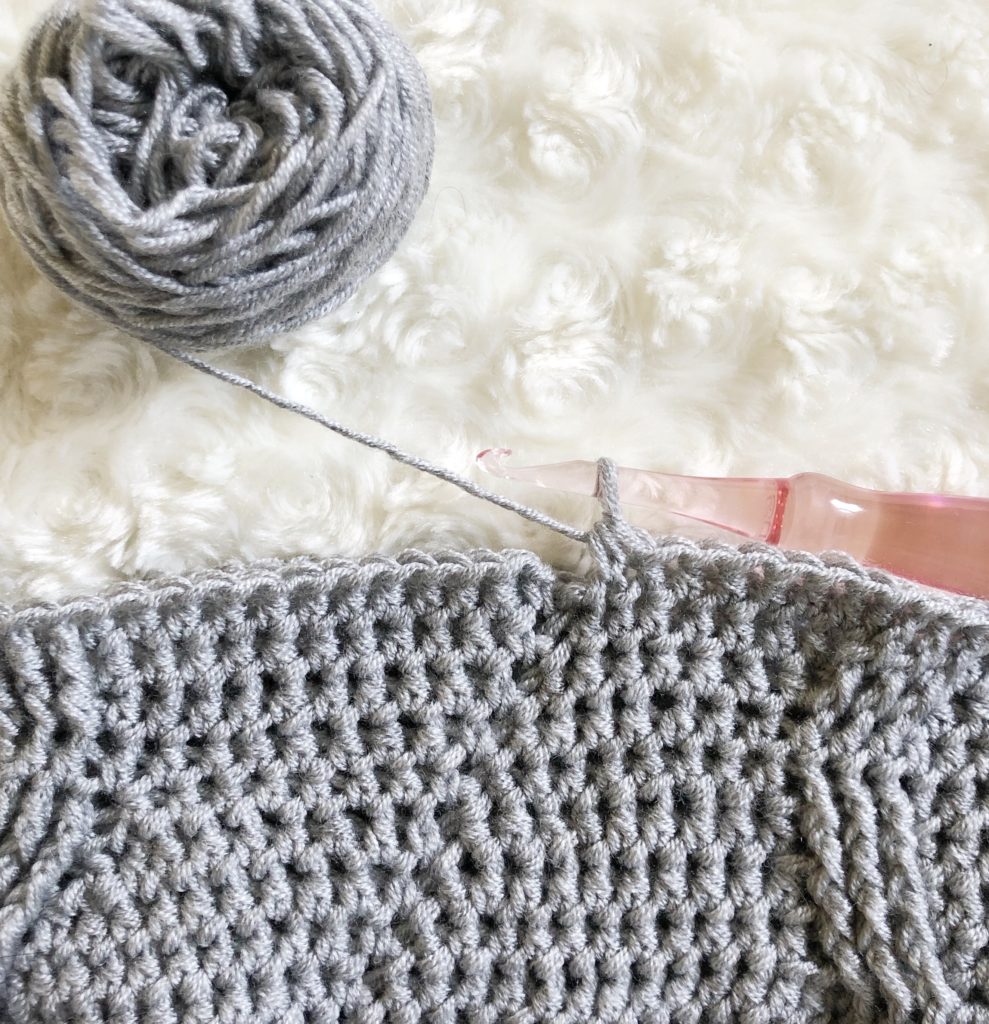

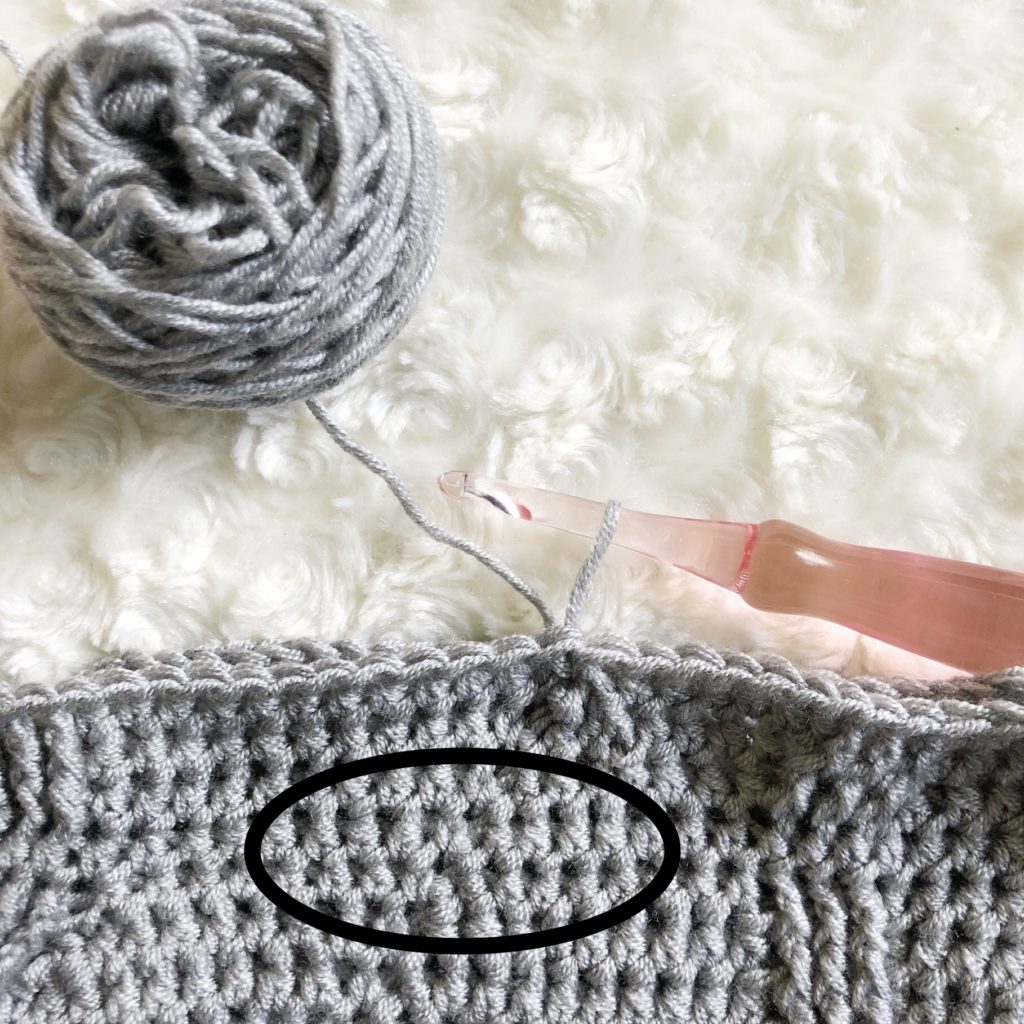
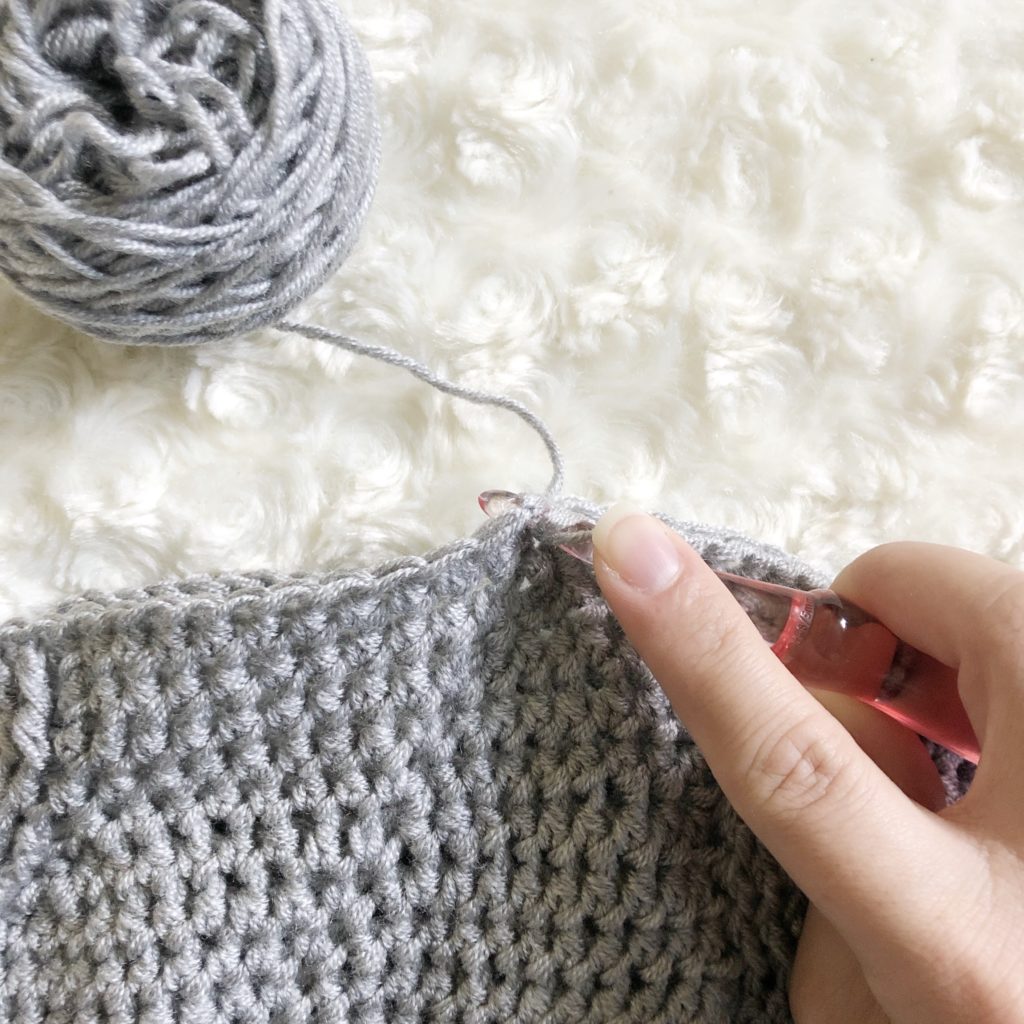
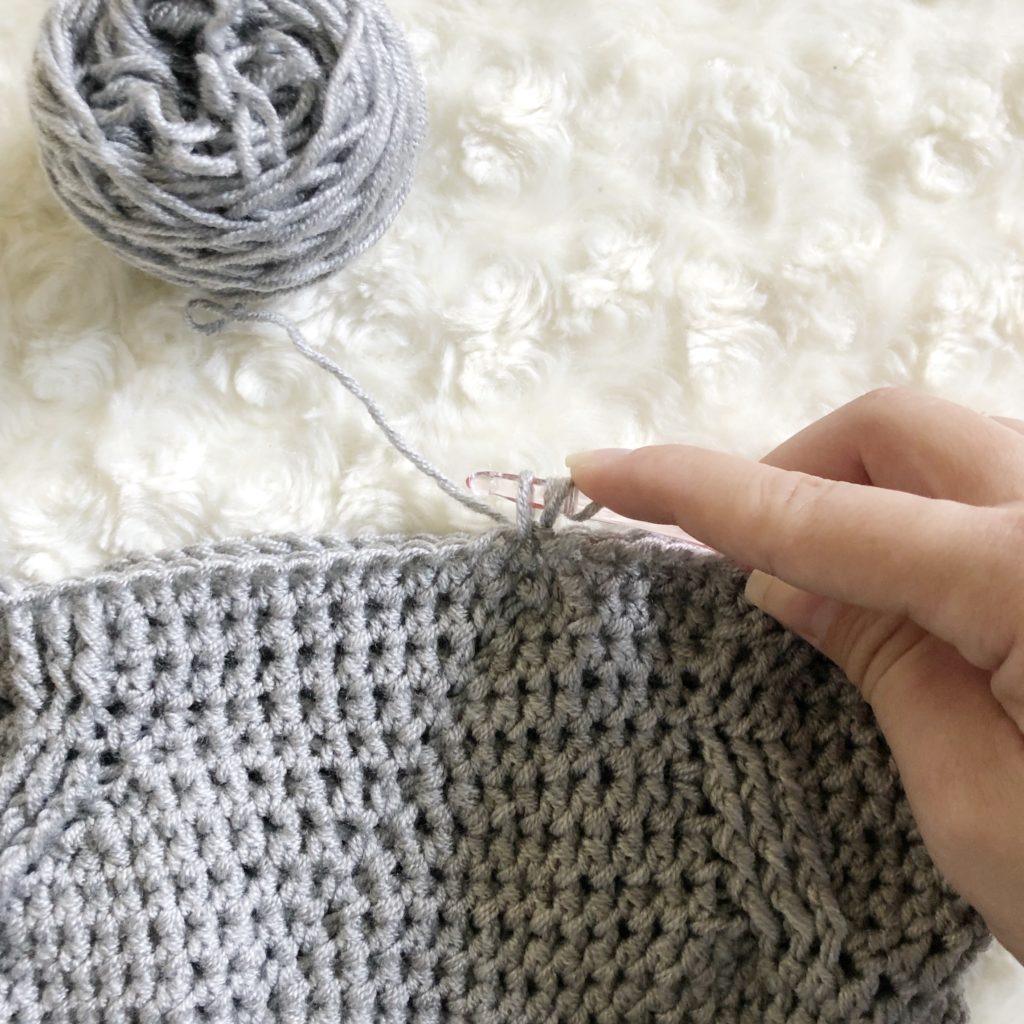
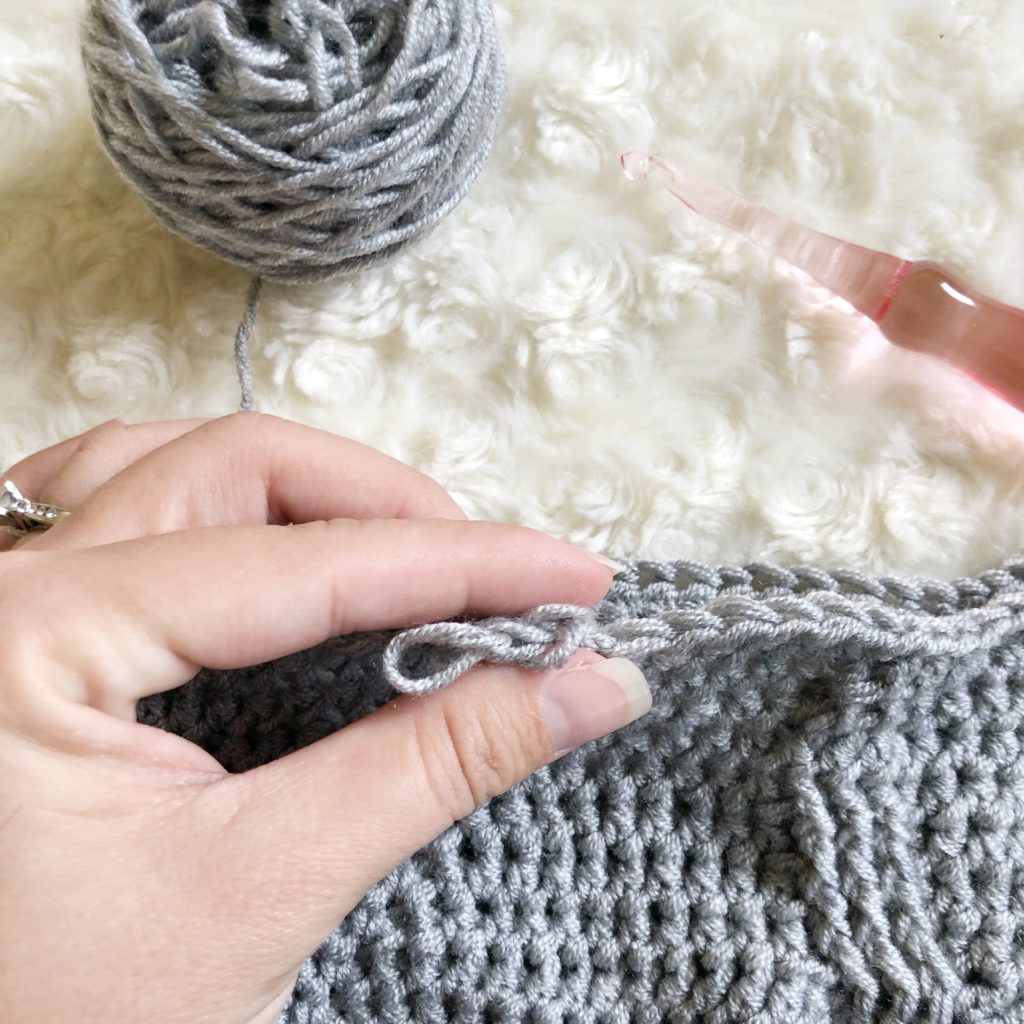
Chainless Starting Stitch (HDC)
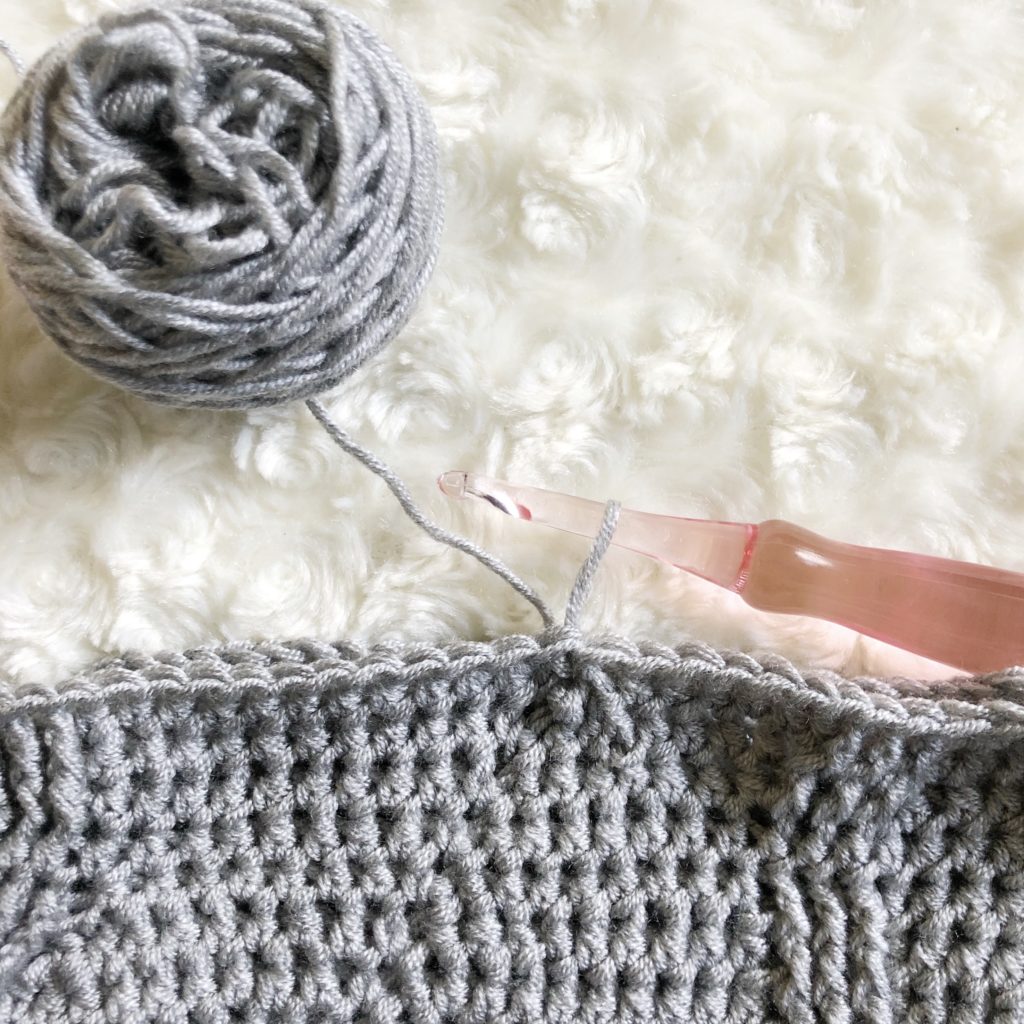
The Magic
Now you are ready to conquer all those projects worked in the round with no fear of design compromise or bulky seams. This technique is a miracle-worker! While it may still be somewhat visible, I believe that it is the closest you can get to that ever evasive invisible seam.
If this tutorial helped you, please share it! I would love to see your work! You can tag me on Instagram and Facebook @theplushpineapple. Use the tag #theplushpineapple. Also, I would love for you to check out some of my other tutorials including my tutorial on corner-to-corner crochet and how to make a yarn tassel!
“Much love, sunshine, and pineapples”
Sarah