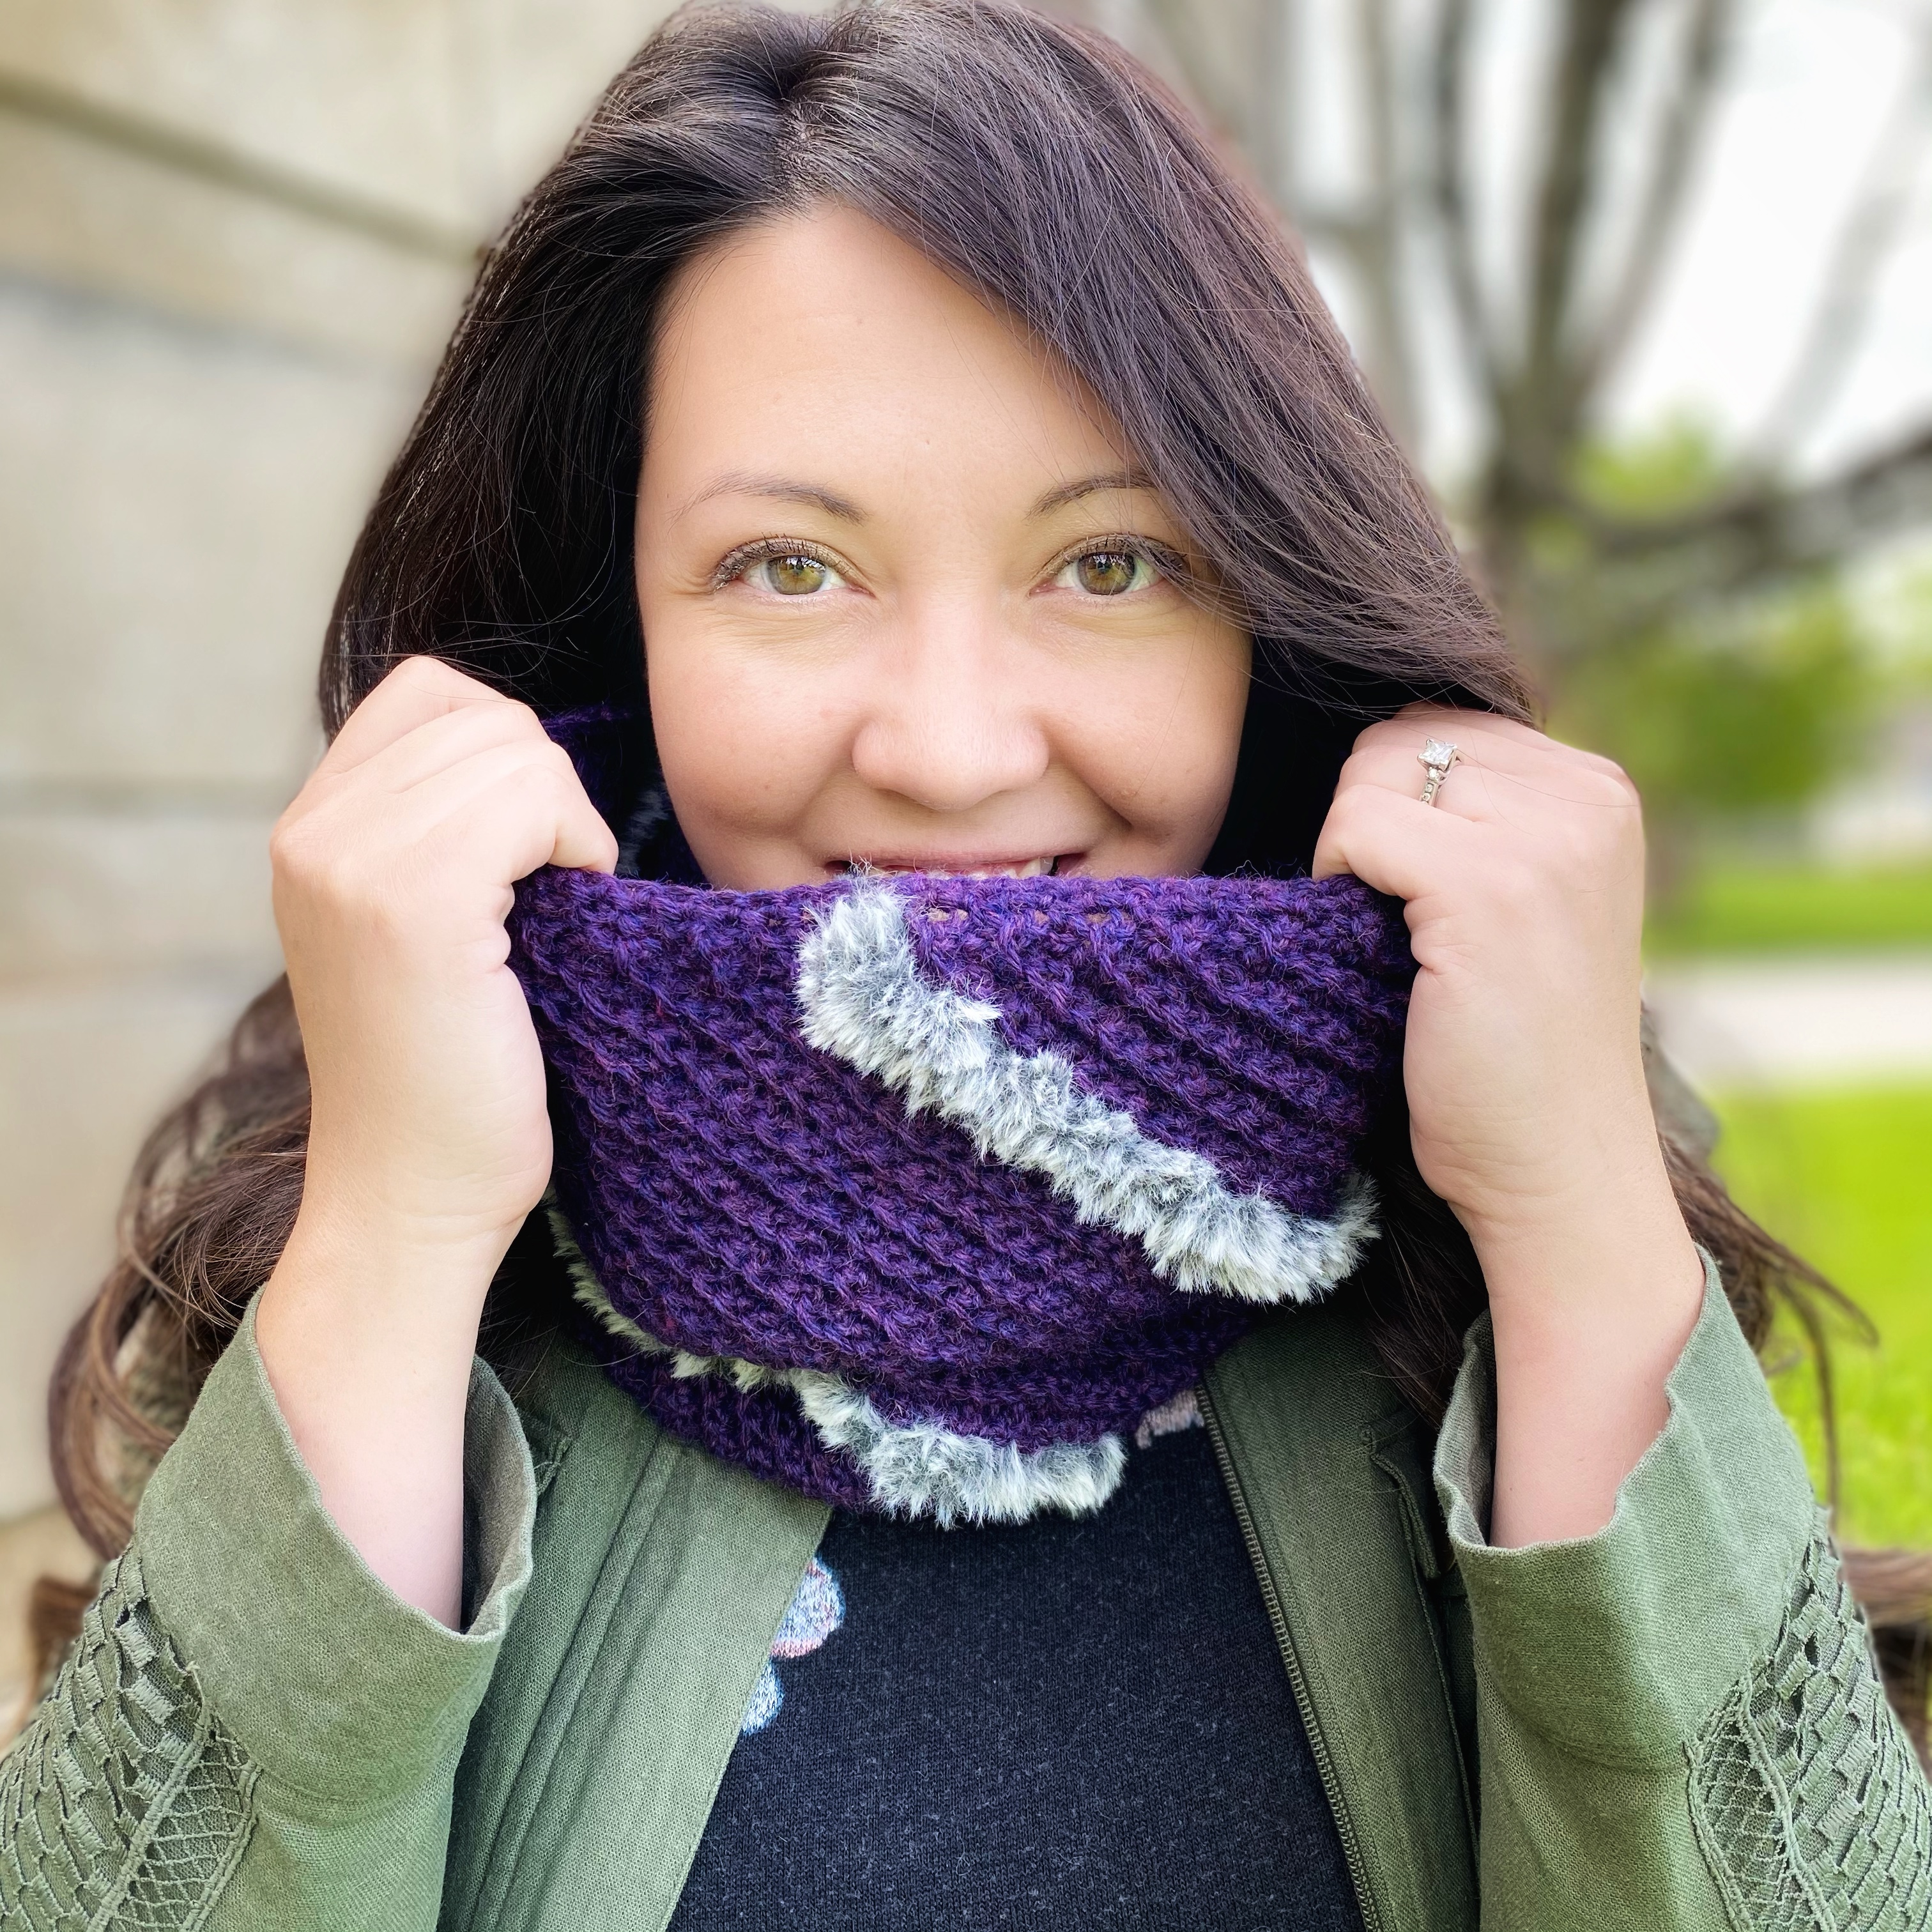
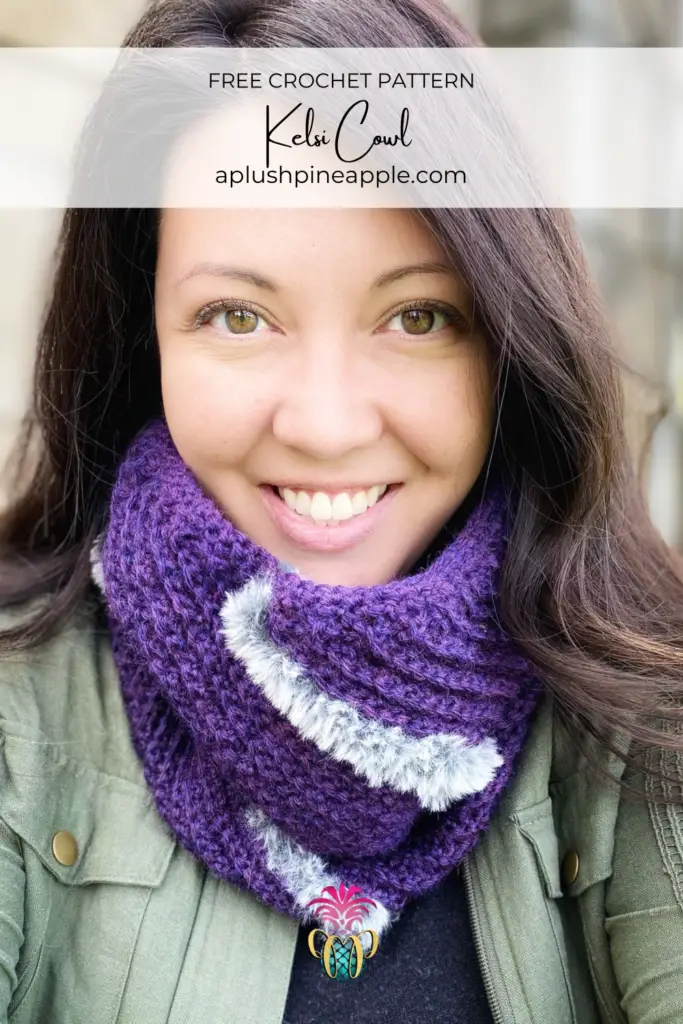
Crochet a fluffy, textured cowl using worsted wool and fur yarn for fall market prep or to make and give as a gift with this free crochet cowl pattern!
I say to myself that I shall try to make my life like an open fireplace, so that people may be warmed and cheered by it and so go out themselves to warm and cheer.
George Matthew Adams

Crocheting is comfort food for the soul.
There is absolutely NOTHING like curling up on the couch on a rainy or cold day with a warm blanket, a cup of coffee, and a crochet project to get lost in…AMIRIGHT?! The relaxing rhythm of the hook working the stitches, looping, hooking, and pulling the yarn; the softness of the fibers running through your fingers as you tension the yarn; and the gradual unveiling of the finished project are just some of the aspects that cause crochet to be so enchanting to the typical avid crocheter. These are the facets that keep us coming back for more yarn time…a time to relax, create, and forget about the world around us.
When I came across this quote of being like a fireplace where others can be warmed and cheered so that they can go out to warm and cheer, I felt like that is exactly what crochet does! We get warmth and cheer from it, and then we get on the ‘gram, or Facebook, or our blogs and warm and cheer others with our projects shouting, “Hey guys, look what I just made!”
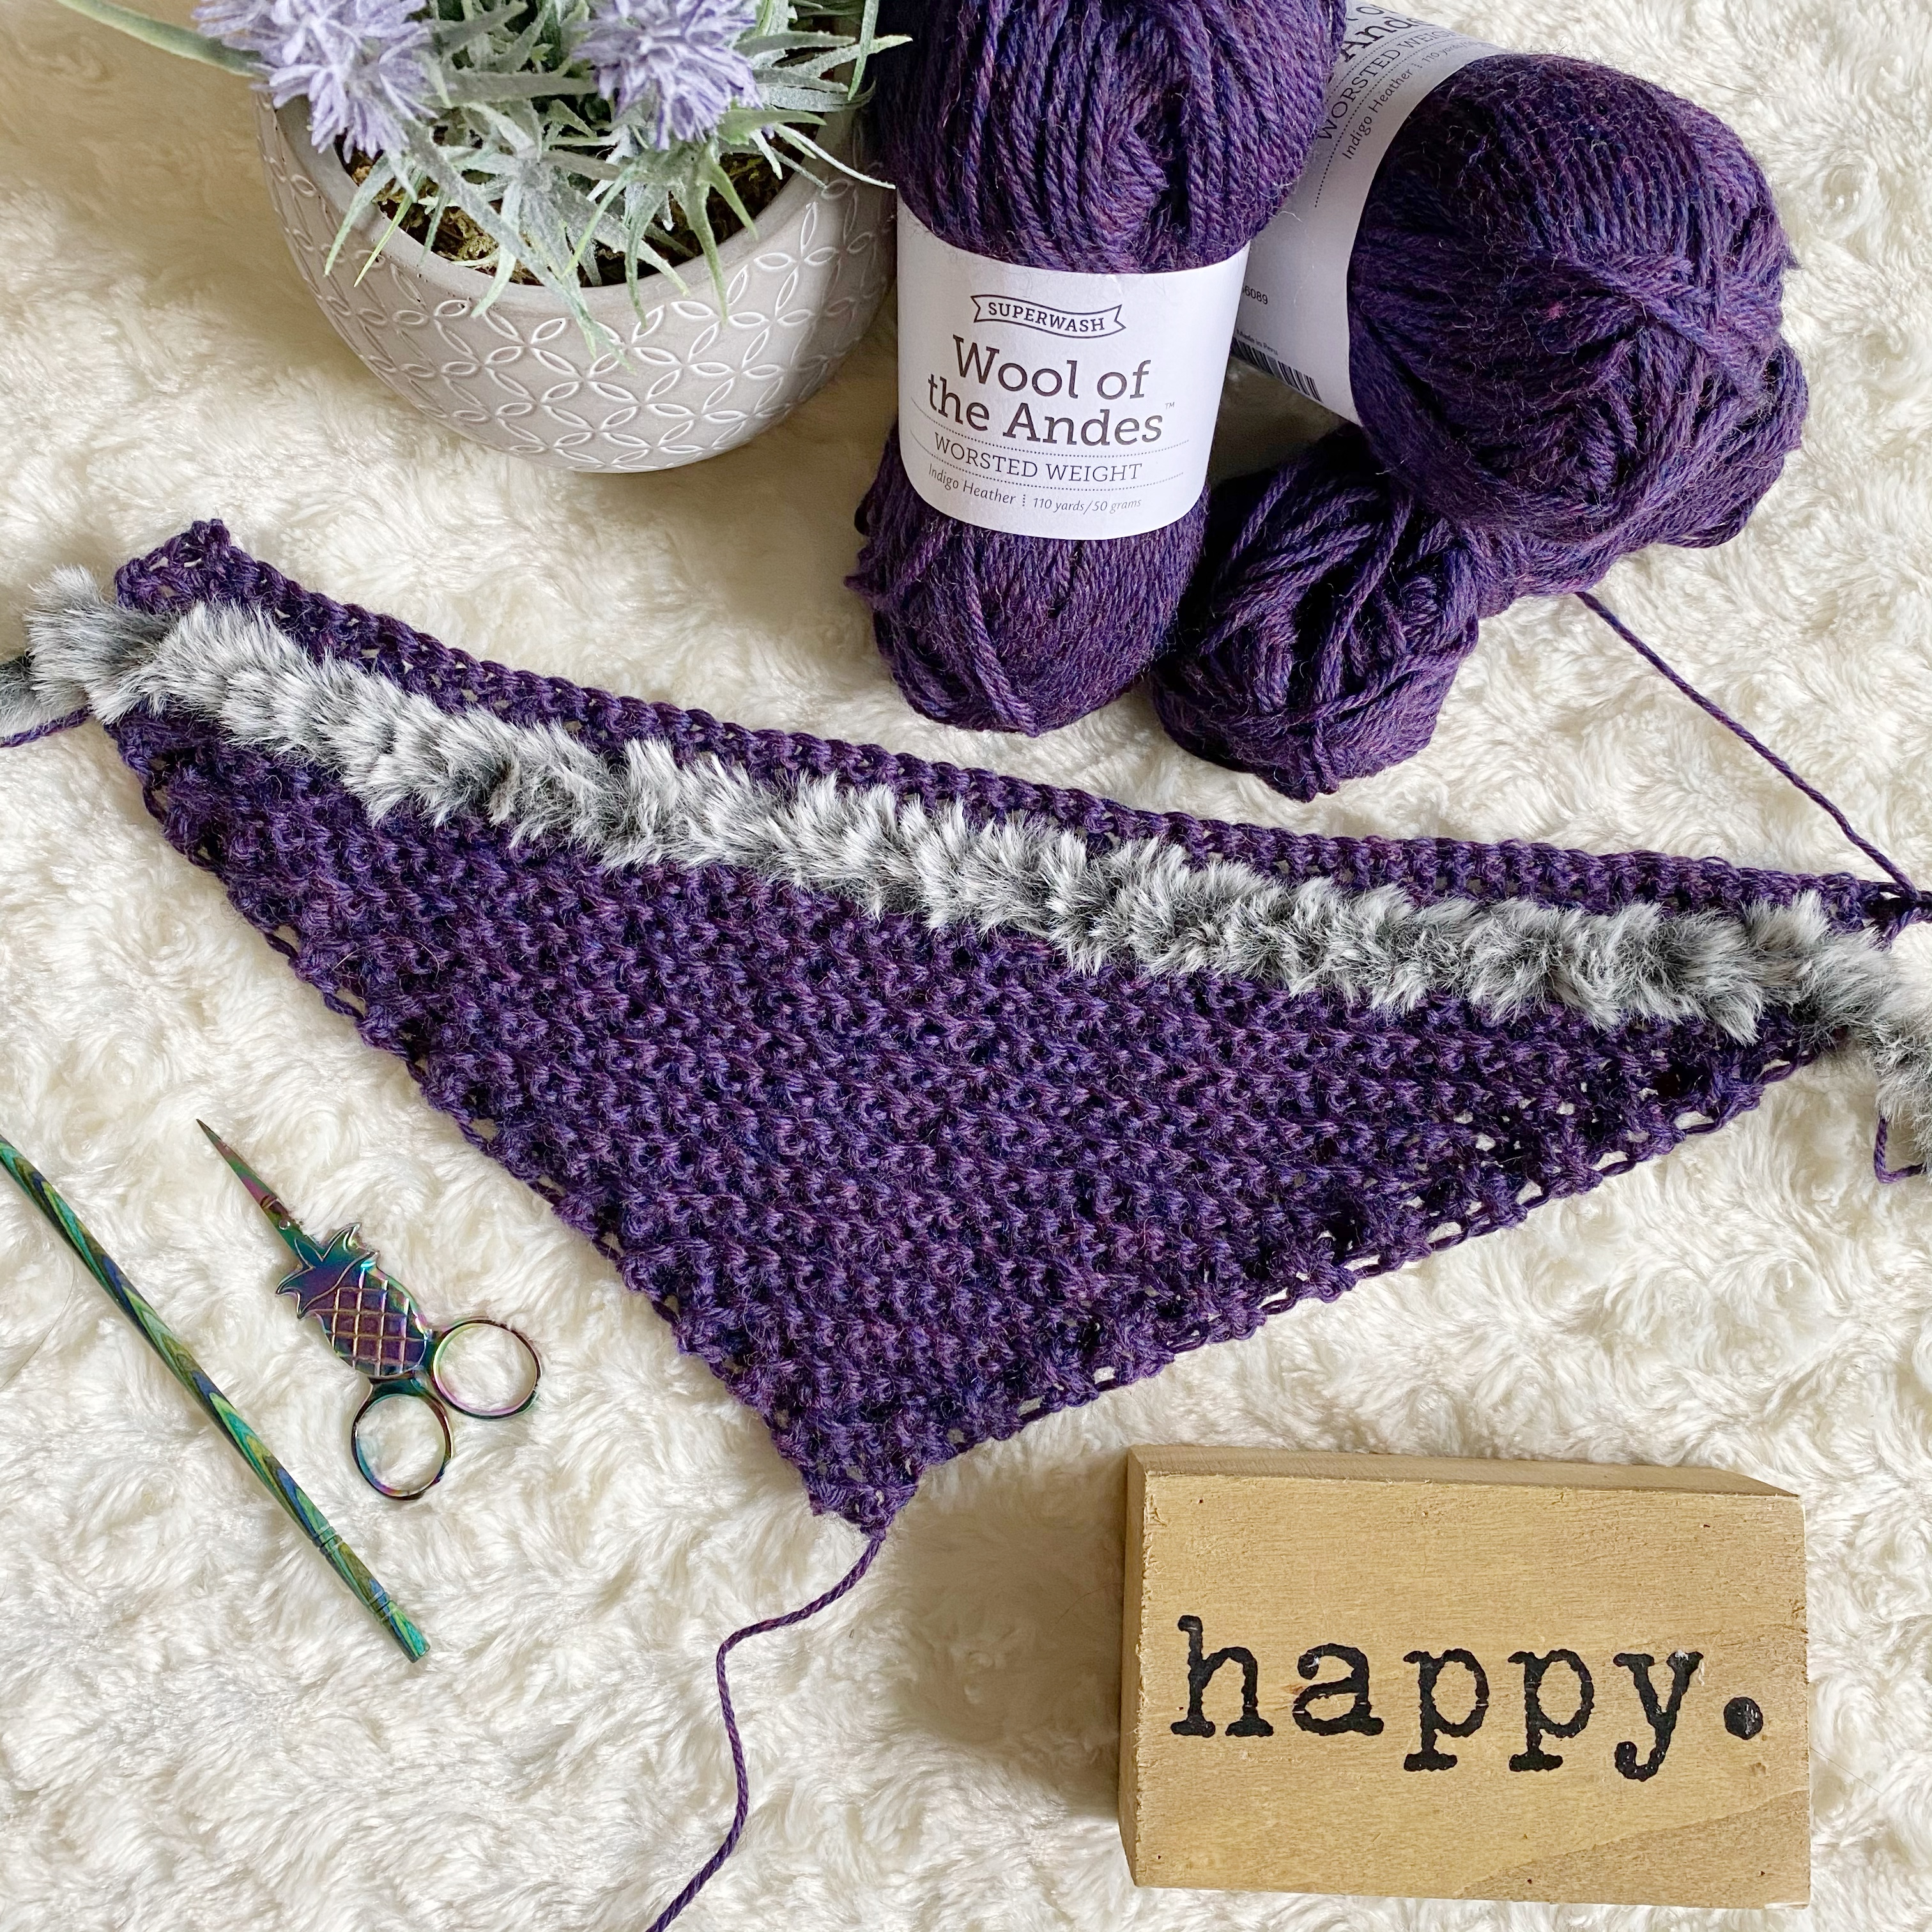
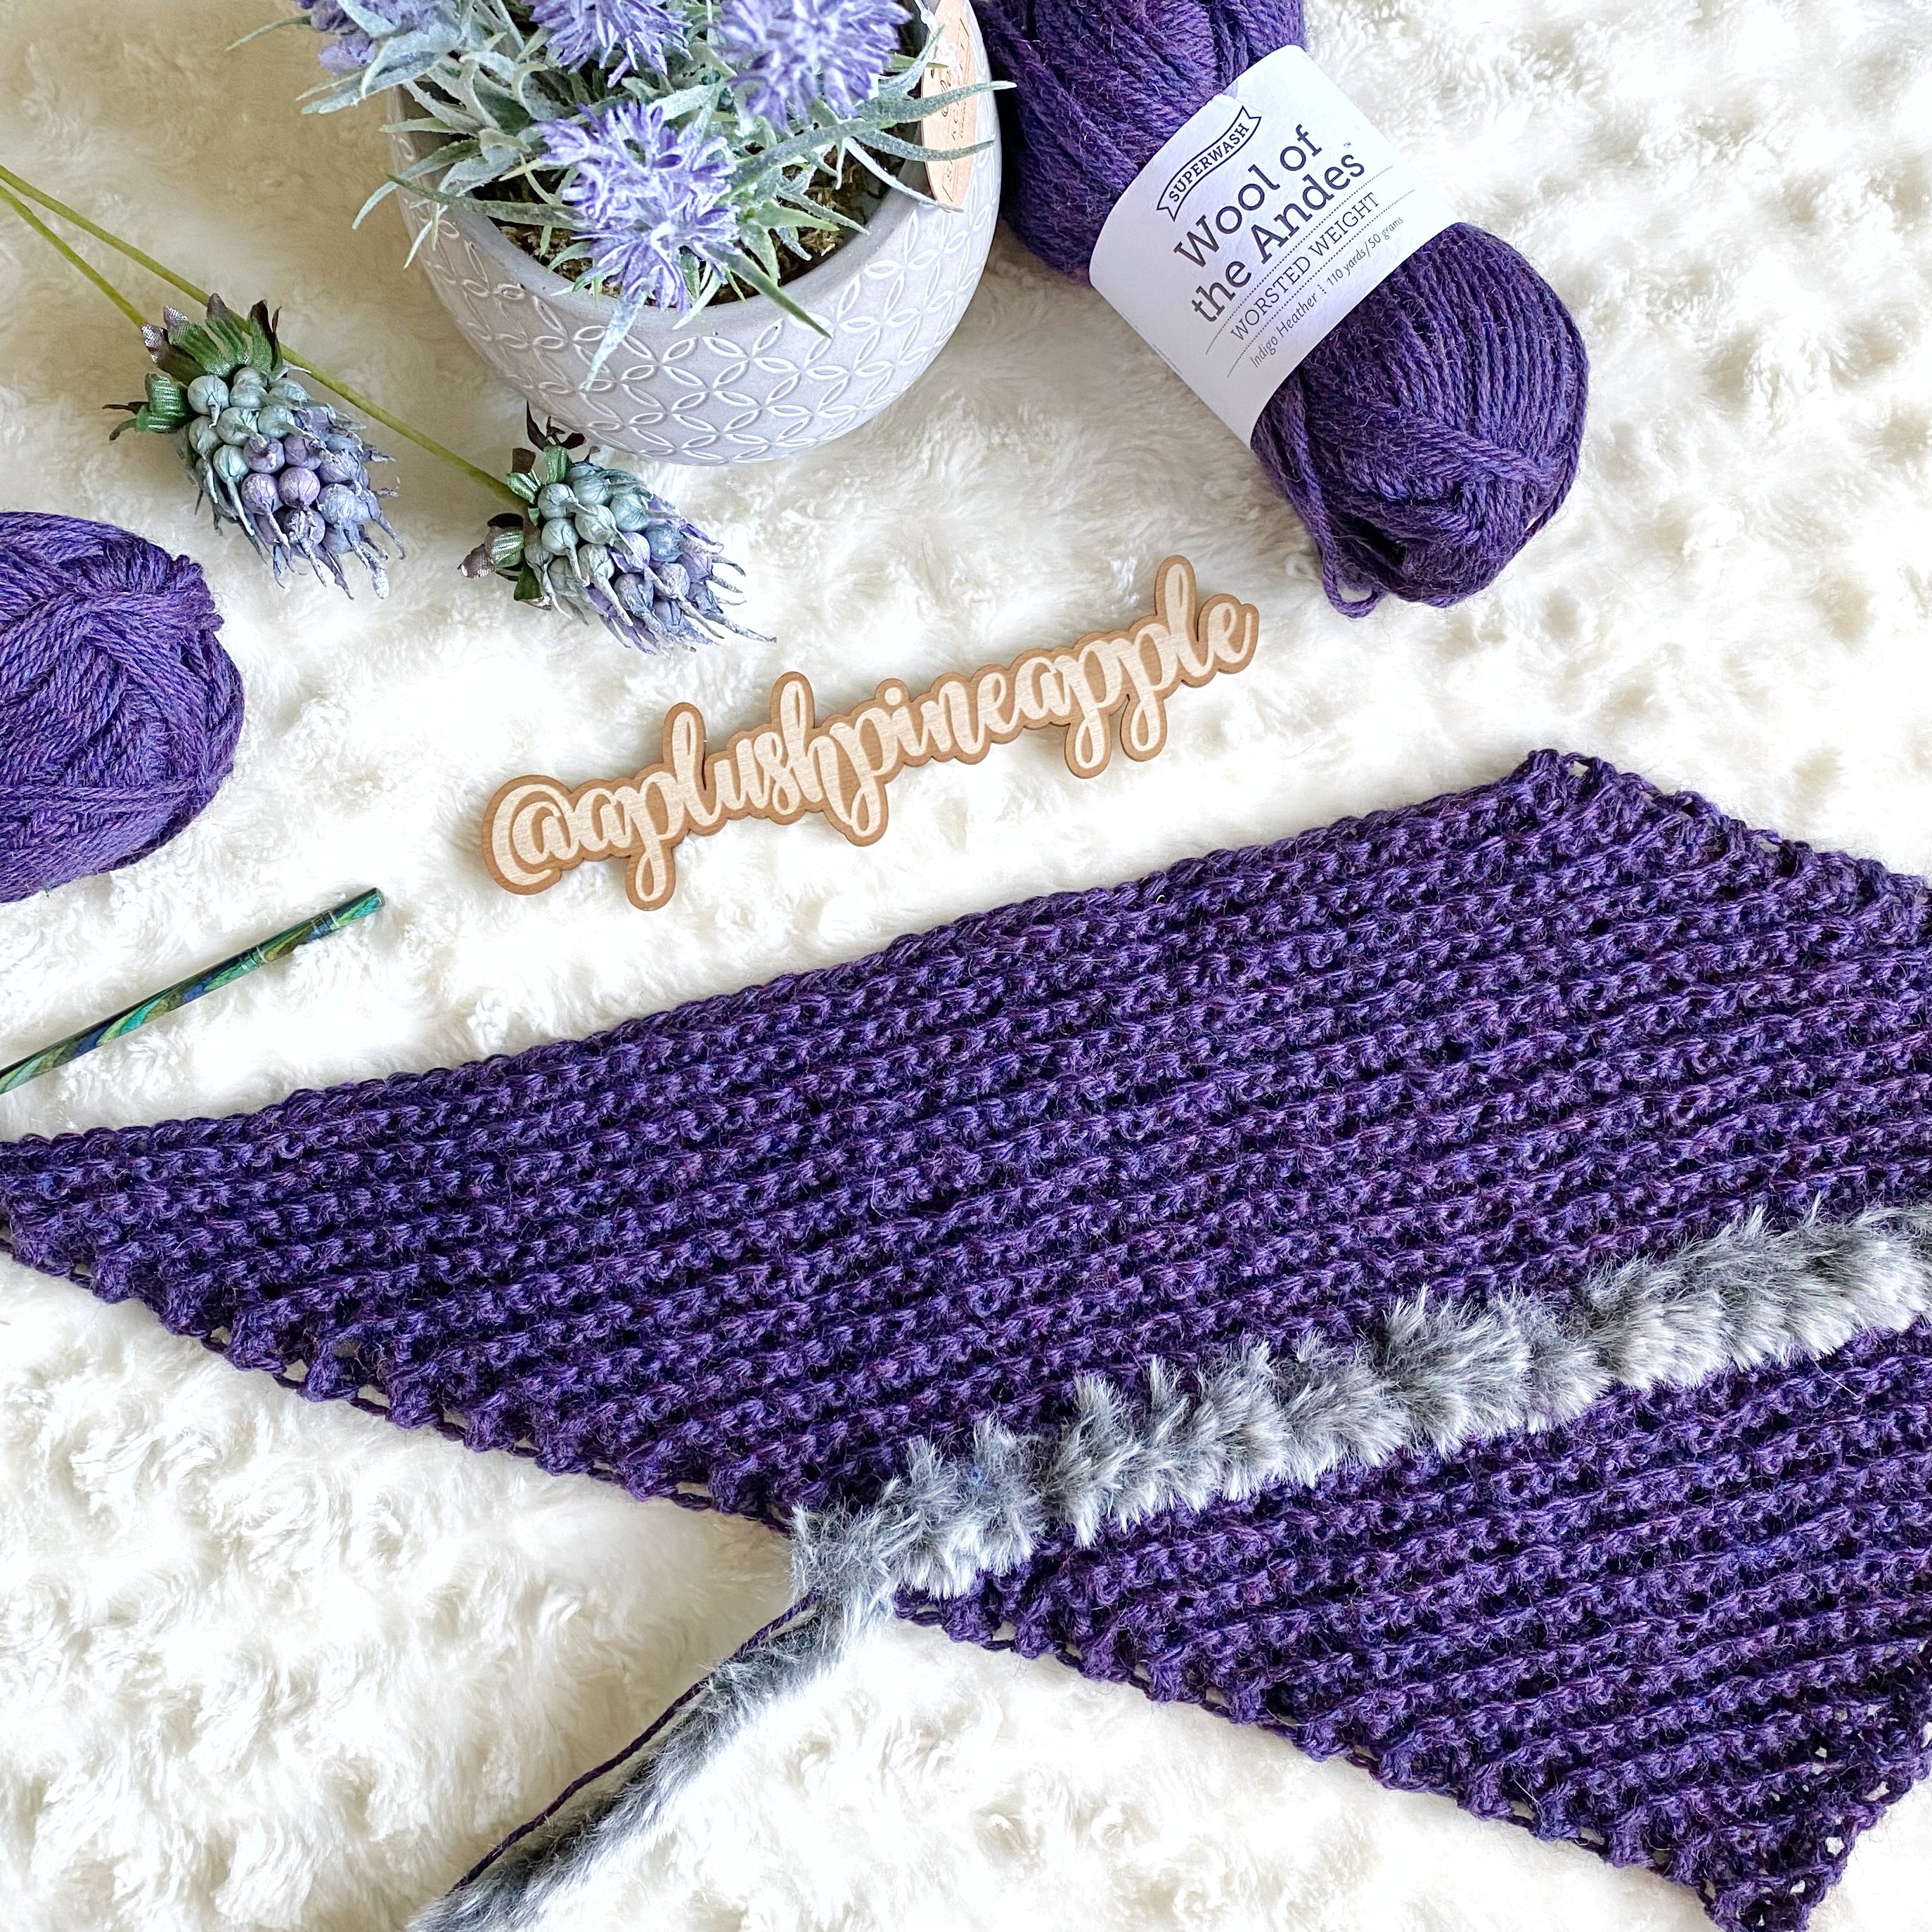
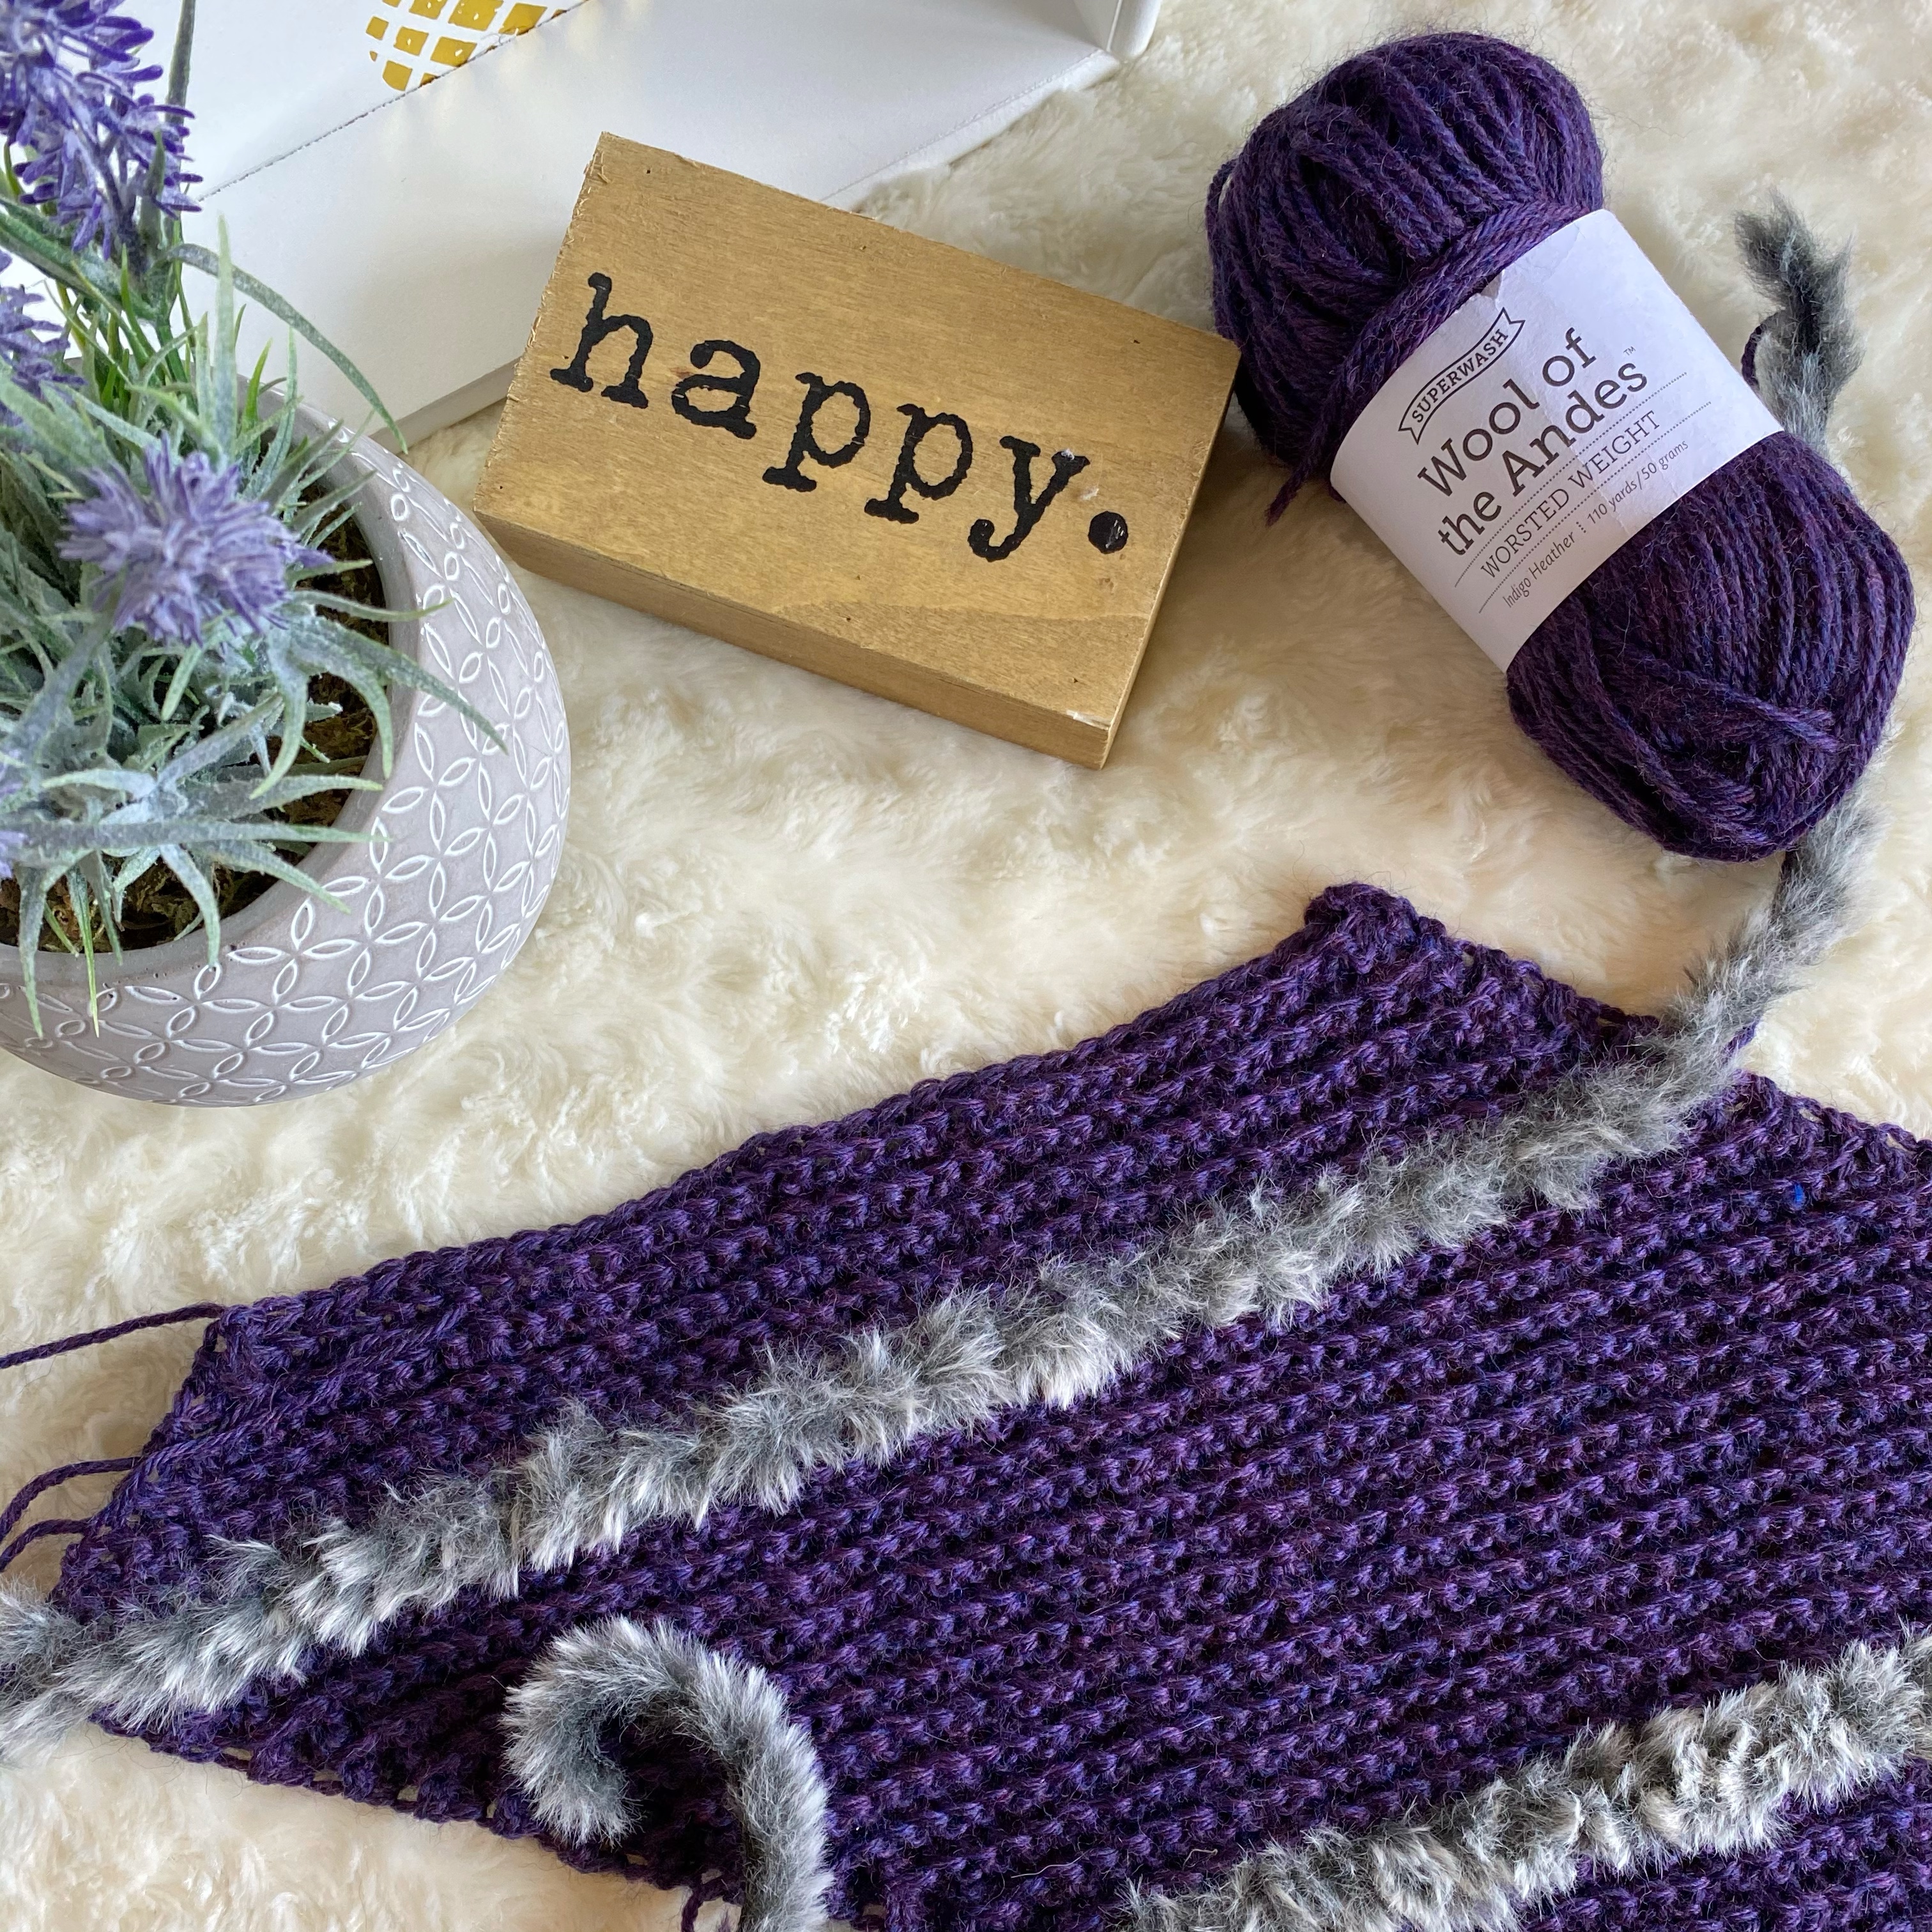
When I chose the yarn for this crochet cowl pattern, I just knew that the end result was going to be UBER COZY. This Wool of the Andes Superwash by We Crochet Official is just absolutely AMAZING! The depth of the color variation gives the finished product so much depth, and let’s face it…wool is just the coziest fiber on the planet. Throw in a few rows of Fable Fur, and this is the project to give you…
…all the warm and fuzzy feels!
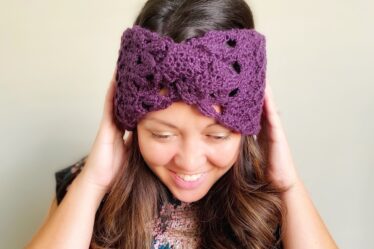
If you like this crochet cowl pattern, you may also want to check out some of the other items in the Kelsi Collection including my best seller, the Kelsi Headband, or the Kelsi Beanie!
Fall Blog Hop 2021
If you are here as part of the Fall Blog Hop by Ned & Mimi and Itchin’ for Some Stitchin’, then you have come to the right place! I am pleased to join up with them to feature this pattern and give you an opportunity to get a free copy of the PDF as well as purchase A WHOLE BUNDLE of amazing crochet patterns at a discounted rate!
The feature day for this pattern is Friday, August 6, from 12:00 AM – 12:00 PM EST. If you are here reading this outside of that timeframe, the PDF will no longer be a free download, BUT you can still purchase the bundle throughout the whole month of August!
You can see the entire roundup of patterns for the first half of the month at Ned & Mimi by tapping the button below!
To download the Kelsi Cowl within the featured time slot, tap the following button!
If you are just joining this blog hop and have missed a few free downloads OR you don’t want to check back every day to snag the next free pattern, you can purchase the ENTIRE BUNDLE which includes 32 fall patterns at a discounted rate of $.37 per pattern! Don’t wait to purchase if you’re interested because after the blog hop, the price of the bundle does increase, so act now to get this amazing deal! Just tap the button below to purchase!
Skill Level – Intermediate
Materials
- Worsted (4) weight yarn and Bulky (5) fur yarn
- Yarn pictured is Wool of the Andes Superwash Worsted and Fable Fur by We Crochet Official
- Approximately 270 yards of worsted
- Approximately 10 yards of fur
- US I9/5.5mm crochet hook (or hook necessary to obtain gauge)
- Tapestry needle
- Scissors
- Measuring tape
Gauge
15 SC x 16 rows = 4” x 4”
Abbreviations
- BLO – Back loop only
- CH – Chain
- FO – Finish off
- SC – Single crochet
- SC DEC – Single crochet decrease (SC 2 stitches together)
- SC INC – Single crochet increase (2 SC in one stitch)
- YO – Yarn over
Measurements
- Finished cowl is approximately 26.5″ circumference x 9″ tall.
Notes
- This crochet cowl pattern is worked as a flat piece (rectangle) back and forth in rows diagonally from corner to corner. It is then seamed down the short sides to form a tube.
- Beginning CHs do not count as a stitch unless otherwise noted.
- Increase rows will have an increase stitch near the beginning and end of the row to build the height of the work. This section will take the shape of a triangle.
- Repeat rows will have an increase stitch near one end and a decrease stitch near the other end to build length while maintaining a diagonal edge.
- Decrease rows will have a decrease stitch near the beginning and end of the row. This section will fill in the remaining triangle portion of the work to form a finished rectangle.
- The finished rectangle will seem like more of a parallelogram when finished. This shape is due to the nature of the stitch. Working in BLO creates an elastic ribbing so this elasticity pulls on the fabric. Stretching the rectangle or blocking before seaming will remedy this problem.
- If you have any difficulty completing this project and would like support, please email me at aplushpineapple@gmail.com.
Special Stitches
Single Crochet Increase – SC INC
This stitch is worked by placing two single crochet stitches into one stitch.
Single Crochet Decrease – SC DEC
This stitch is worked by inserting the hook into the next stitch and pulling up a loop (2 loops on hook), then inserting the hook into the next stitch and pulling up a third loop. Complete the stitch with a yarn over and pull through all three loops.
Single Crochet Back Loop Only – SC BLO
This stitch is worked as a regular SC by inserting the hook into only the back loop of each stitch. It creates a ribbed edge within the work.
Pattern
Increase Rows
Row 1: CH 4, SC in 2nd CH from hook and in every SC across. (3)
Row 2: CH 1, turn, working in BLO for the remainder of the project, SC INC, SC, SC INC. (5)
Row 3: CH 1, turn, SC, SC INC, SC across until 2 stitches remain, SC INC, SC. (7)
Row 4-26: Repeat Row 3 increasing two stitches on every row. Row 26 should have 53 stitches.
*Join fur yarn.*
Row 27: CH 1, turn, SC, *SK 1, SC*, repeat from * to * across. (27)
Note: The rows may curve a bit after adding the fur depending on your tension. Blocking the finished product will remedy this issue.
Repeat Rows
*Join worsted yarn.*
Row 28: CH 1, turn, SC INC in each stitch until 1 stitch remains, SC in last stitch. (53)
Row 29: CH 1, turn, SC, SC DEC, SC across until 2 stitches remain, SC INC, SC. (53)
Row 30: CH 1, turn SC, SC INC, SC across until 3 stitches remain, SC DEC, SC. (53)
Row 31-53: Repeat Rows 29-30.
*Join fur yarn.*
Row 54-80: Repeat Rows 27-53. On Row 56, repeat Row 30 instead of 29. On Row 57 repeat Row 29 instead of 30. Row 56 should begin with an INC and end with a DEC, and Row 57 should begin with a DEC and end with an INC.
*Join fur yarn.*
Row 81: Repeat Row 27.
*Join worsted yarn.*
Row 82: Repeat Row 28.
Decrease Rows
Row 83: CH 1, turn, SC, SC DEC, SC across until 3 stitches remain, SC DEC, SC. (51)
Row 84-106: Repeat Row 83 decreasing two stitches on every row. Row 106 should have 5 stitches.
Row 107: SC DEC, SC, SC DEC. (3)
Cut yarn, FO.
Decrease Rows
You will find that due to the nature of the back loop only stitch, the ribbing pulls in such a way that the rectangle is not straight. To remedy this problem, block your project to the finished measurements.
After blocking, seam the short edges together using a mattress stitch.
Weave in all ends.
If this tutorial helped you, please share it! I would love to see your work! You can tag me on Instagram and Facebook @theplushpineapple. Use the tag #theplushpineapple.

The photographs and pattern contained in this document are the property of A Plush Pineapple. Unauthorized reproduction, in whole or in part, or distribution of this pattern or content is prohibited. ALL FINISHED PRODUCTS created using this pattern may be sold locally or online. If selling finished products online, please give my blog credit for the pattern by posting a link to my website.