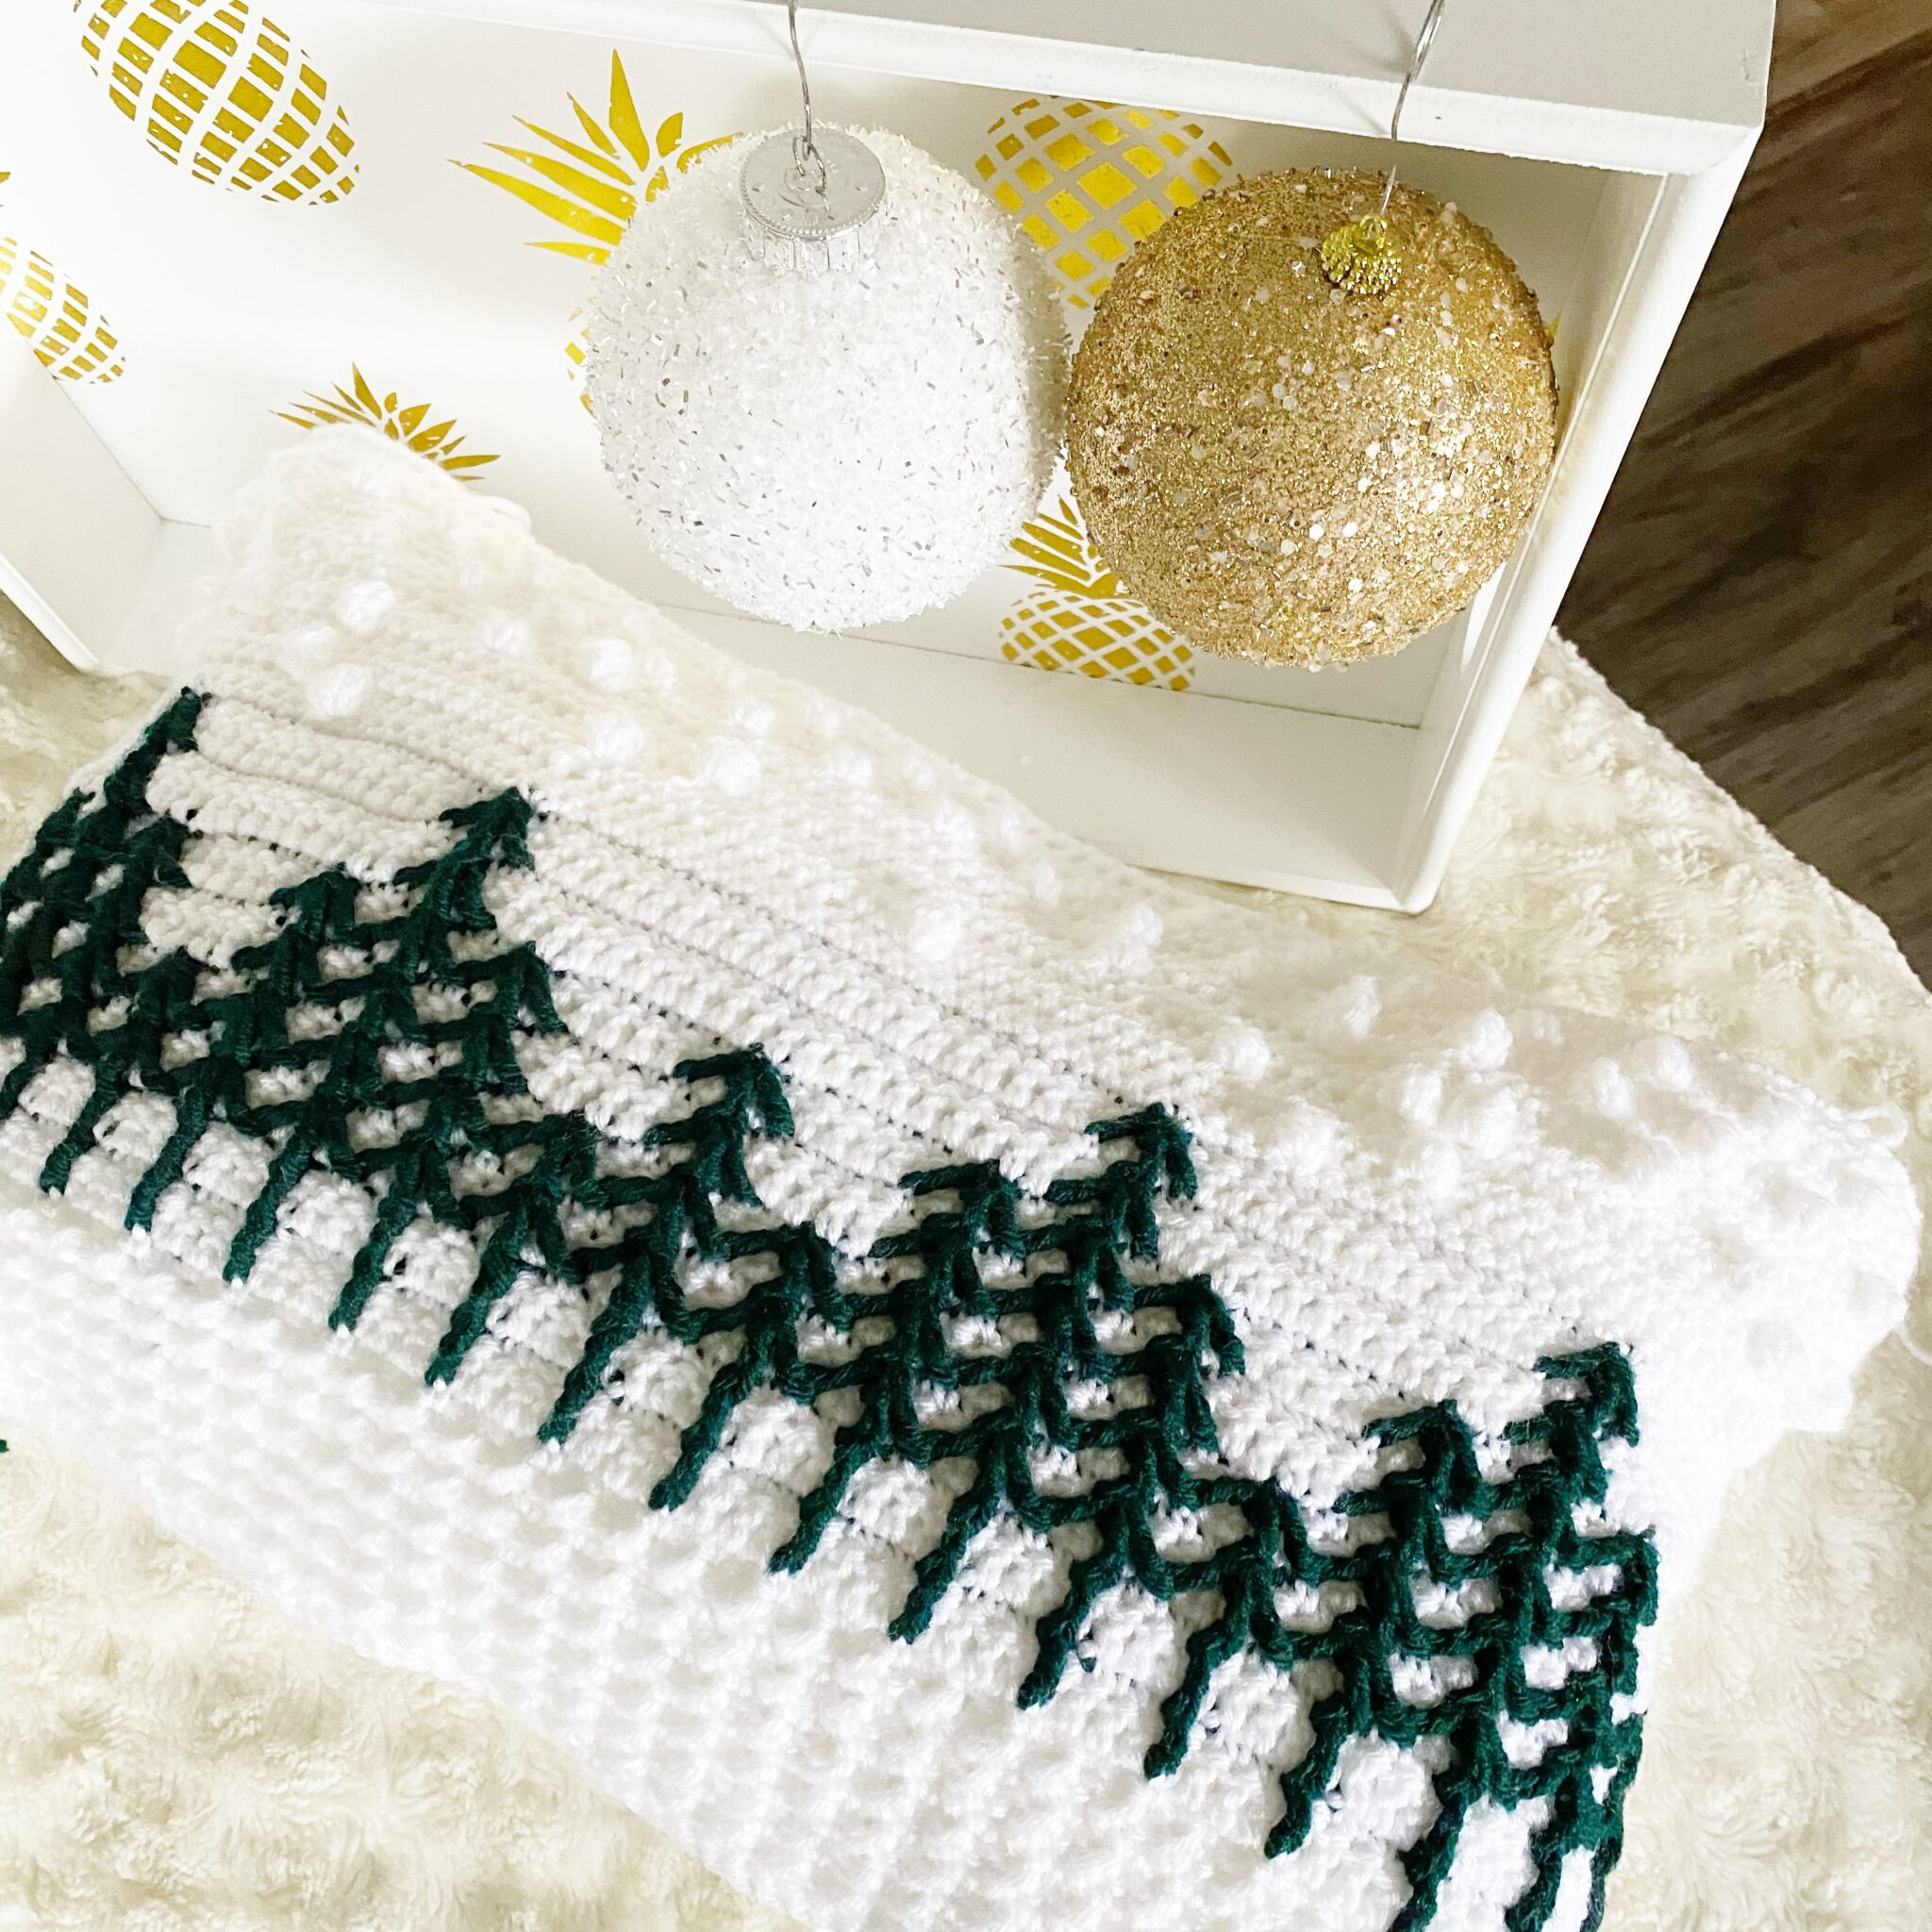
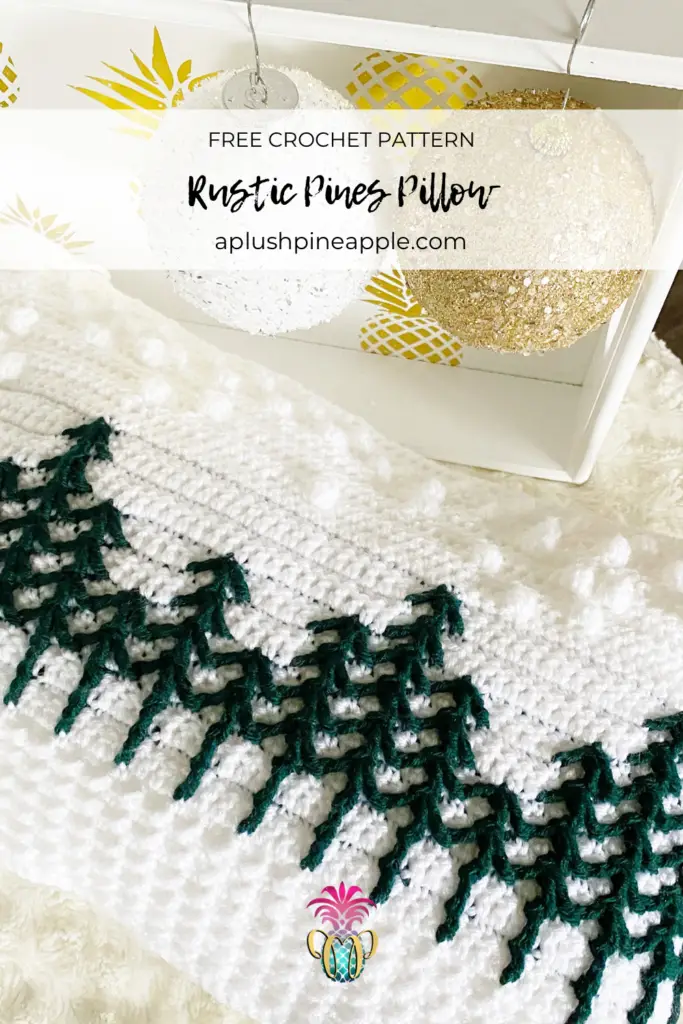
Make a crochet holiday pillow with unique texture that represents a snowy forest perfect for your Christmas decor.
“When you pine for the sunshine of a friendly gaze, for the holidays, you can’t beat home sweet home.”
Terri Guillemets
There is nothing like being home for the holidays!
Have you ever been away from home during a holiday season? Not. fun. Been there, done that. There is just something about being in your own home on Christmas morning to enjoy all of the traditions and comforts of a space where you feel the most at ease.
Since the Rustic Pines Collection went over so well, we decided to design some more patterns with the same stitch combination, but this time, we wanted them to be holiday specific! I came up with a crochet holiday pillow design, and Kelsie of Crafting for Weeks designed a matching stocking. We called it the Home for the Holidays Set, so now you can have coordinated handmade holiday decor to make your space even more inviting and festive.
If you love these designs, you can purchase the ad-free, printer-friendly bundle that includes BOTH the crochet holiday pillow and stocking. When you purchase the bundle, you also get a sheet of printable holiday-themed tags to attach to your makes if you are selling or gifting them, a printable holiday card to include in your handmade gifting this season, and a worksheet to keep track of all of your handmade gift WIPs! There’s plenty of space to write down the designs and patterns you plan on making and gifting this season along with the website/designer’s name for each pattern!
We hope that you enjoy this special edition bundle! The only thing better than home for the holidays is making it…
…handmade for the holidays!
Skill Level – Intermediate
Disclaimer: This post contains affiliate links to the products used in this project. If you make a purchase through any of these links, we will get a small commission at no additional cost to you.
Materials
- Worsted (4) weight yarn – Brava by We Crochet Official is recommended
- Color A – approximately 380 yards
- Color B – approximately 40 yards
- US 7/4.50mm crochet hook (or hook necessary to meet gauge)
- Tapestry needle
- Scissors
- Measuring tape
Abbreviations
- CH – Chain
- Bobble – Bobble stitch
- DC – Double crochet
- FO – Finish off
- FPTR – Front post treble crochet
- FPTR3tog – Front post treble three stitches together
- HDC – Half double crochet
- SC – Single crochet
- SK – Skip
- SL ST – Slip stitch
- YO – Yarn over
Gauge
14 DC x 6 rows = 4″ x 4″
Measurements
24” L x 12” W
Notes
- This crochet holiday pillow is worked flat back and forth in rows from the bottom up. Each panel is worked as a separate piece and then seamed together.
- Beginning CHs do not count as stitches.
- This pattern uses two colors that will be referred to as Color A and Color B. Color A is the main color, and Color B is the contrasting color.
- This pillow is part of the Rustic Pines Collection which includes a beanie, cowl, and stocking pattern by Crafting for Weeks as well as a headband and mittens designed by A Plush Pineapple. You can find the other collection pieces on the respective designer’s blog.
- If you have any difficulty completing this project and would like support, please email me at aplushpineapple@gmail.com.
Special Stitches
FPTR3tog
- YO 2x, insert hook around the post of indicated stitch
- YO, pull up a loop
- YO, pull through two loops 2x (2 loops on hook)
- YO 2x, insert hook around the post of next indicated stitch
- YO, pull up a loop
- YO, pull through two loops 2x (3 loops on hook)
- Repeat previous three steps (4 loops on hook)
- YO, pull through all four loops
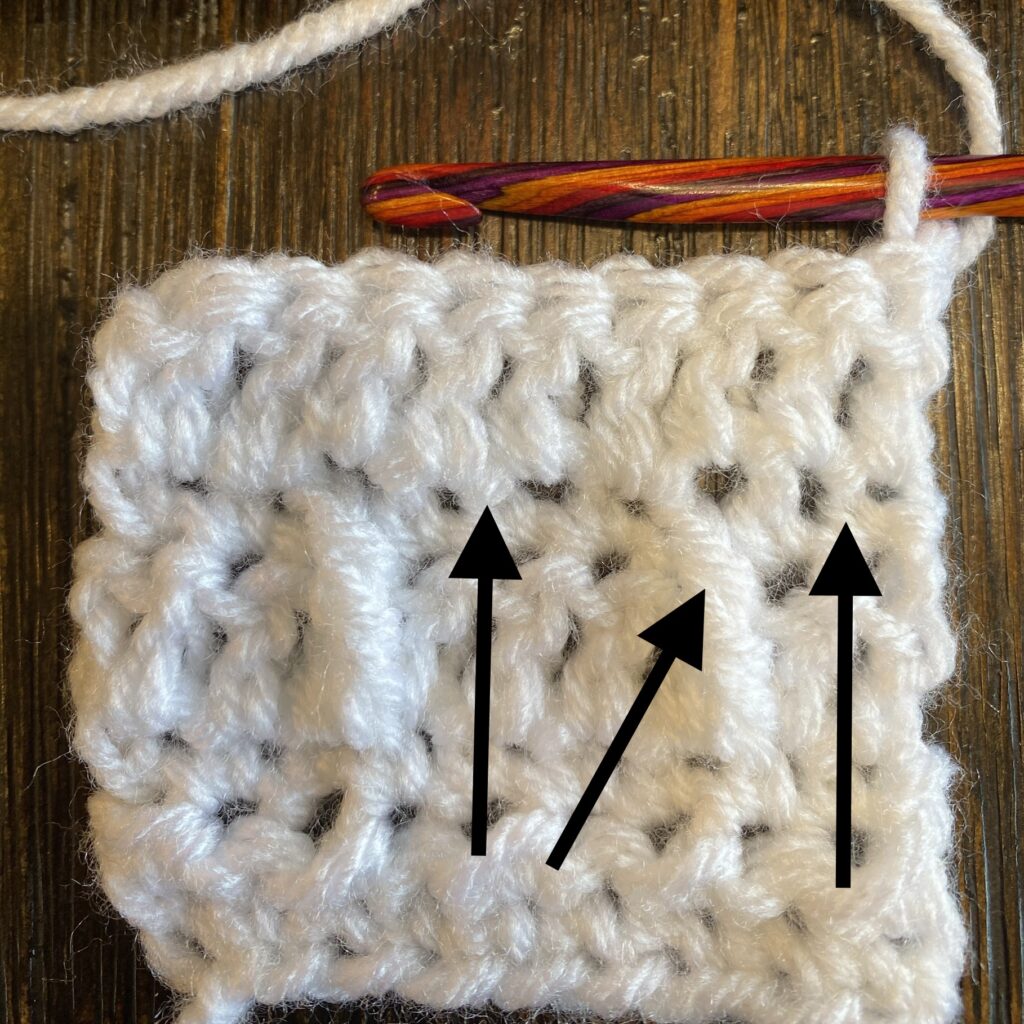
Crunch Stitch
The crunch stitch consists of working a HDC and a SL ST alternately. When working more than one row of this stitch, it is important to remember that a HDC is always worked into a SL ST from the previous row and vice versa. If this sequence is altered, then there is an error in the stitch count.
Pine Stitch
This crochet holiday pillow pattern utilizes a new stitch pattern developed by Pineapple & Pine. This stitch is worked by using a FPTR3tog to create the look of a tree trunk and two branches. You can find a full video tutorial for this stitch pattern below.
Bobble Stitch
- YO, insert hook into desired stitch and pull up a loop (3 loops on hook).
- YO, pull through two loops (2 loops on hook).
- YO, insert hook back into the same stitch and pull up a loop (4 loops on hook).
- YO, pull through two loops (3 loops on hook).
- YO, insert hook back into the same stitch and pull up a loop (5 loops on hook).
- YO, pull through two loops (4 loops on hook).
- YO, insert hook back into the same stitch and pull up a loop (6 loops on hook).
- YO, pull through two loops (5 loops on hook).
- YO, pull through all five loops.
Pattern – Front Panel (Make one)
Row 1: CH 78, working in the back bump of the CH, SC in 2nd CH from hook and in each CH across. (77)
Crunch Stitch
*Keep in mind that you should always be placing a HDC into a SL ST from the previous row and vice versa. If this sequence is altered, your stitch count is off.*
Row 2: CH 1, turn, *HDC, SL ST*, repeat from * to * across row, HDC in the last stitch. (77)
Row 3: CH 1, turn, *SL ST, HDC*, repeat from * to * across row, SL ST in the last stitch. (77)
Row 4-13: Repeat Rows 2-3 alternately.
Row 14: CH 1, turn, SC in each stitch across. (77)
Pine Stitch
Row 15: CH 2, turn, DC in each stitch across. (77)
*To achieve the contrasting color effect, work the FPTR stitches in Color B. Complete the stitch prior to a color change by pulling the new color through. Carry Color B throughout the Row by working the SC stitches around the strand.*
Row 16: CH 1, turn, SC 2, *FPTR around the post of the SC stitch below next DC, on current row SK 1, SC 3*, repeat from * to * across row until 3 stitches remain (ending repeat on a FPTR), on current row SK 1, SC 2. (19 FPTR / 58 SC)
Row 17: Repeat Row 15.
Row 18: CH 1, turn, SC 2, *FPTR around the post of the FPTR from two rows back, on current row SK 1, SC 3*, repeat from * to * across row until 3 stitches remain (ending repeat on a FPTR), on current row SK 1, SC 2. (19 FPTR / 58 SC)
Row 19: Repeat Row 15.
Row 20: CH 1, turn, SC 2, begin FPTR3tog around the 1st SC post from previous SC row, work the 2nd post around the FPTR from previous row, on previous SC row SK 1 SC and finish 3rd post around next SC post, *on main row, SK 1, SC 3, begin FPTR3tog around same SC post as last FPTR stitch, work the 2nd post around the FPTR from previous row, on previous SC row SK 1 SC and finish 3rd post around next SC post, repeat from * to * across row until 3 stitches remain, *Begin FPTR3tog around same SC post as last FPTR stitch, work the 2nd post around the FPTR from previous row, finish 3rd post around the last SC post from previous SC row, SK 1, SC 2. (19 FPTR3tog / 58 SC)
*On repeats of row 20, be sure to insert hook behind only the middle post when working the 2nd post of a FPTR3tog. Do not insert the hook around all three cables.*
*When working the third cable of each FPTR3tog, you should always be working around the middle SC post of the three SC between each “tree.”
*From this point on, the abbreviation PINE STITCH will refer to a FPTR3tog worked in the same manner as Row 20. When starting a new PINE STITCH, begin the FPTR3tog in the previous SC row around the post from two SC stitches back. When starting a consecutive PINE STITCH, begin the FPTR3tog around the same SC post as previous FPTR stitch.
Row 21-22: Repeat Rows 15 & 20.
Row 23: Repeat Row 15.
Row 24: CH 1, turn, SC 6, *PINE STITCH, [SK 1, SC 3, PINE STITCH] 2x, SK 1, SC 7*, repeat from * to *, PINE STITCH, SK 1, SC 7, repeat from * to *, PINE STITCH, [SK 1, SC 3, PINE STITCH] 2x, SK 1, SC 6. (13 FPTR3tog / 64 SC)
Row 25-26: Repeat Rows 15 & 24.
Row 27: Repeat Row 15.
Row 28: CH 1, turn, SC 10, *PINE STITCH, SK 1, SC 15*, PINE STITCH, SK 1, SC 23, repeat from * to *, PINE STITCH, SK 1, SC 10. (4 FPTR3tog, 73 SC)
Row 29-30: Repeat Rows 15 & 28.
Row 31: CH 1, turn, SC in each stitch across. (77)
Row 32: CH 1, turn, HDC 4, Bobble, HDC 17, Bobble, HDC 36, Bobble, HDC 17. (77)
Row 33: CH 1, turn, HDC 14, Bobble, HDC 24, Bobble, HDC 17, Bobble, HDC 19. (77)
Row 34: CH 1, turn, HDC 5, Bobble, HDC 19, Bobble, HDC 23, Bobble, HDC 21, Bobble, HDC 5. (77)
Row 35: CH 1, turn, HDC 6, Bobble, HDC 3, Bobble, HDC 4, Bobble HDC 14, Bobble, HDC 25, Bobble, HDC, Bobble, HDC 9, Bobble, HDC 5, Bobble, HDC 2. (77)
Row 36: CH 1, turn, HDC 12, Bobble, HDC 17, Bobble, HDC 24, Bobble, HDC 21. (77)
Row 37: CH 1, turn, HDC 24, Bobble, HDC 28, Bobble, HDC 23. (77)
Row 38: CH 1, turn, HDC 2, *Bobble, HDC 3*, repeat from * to * until 3 stitches remain, Bobble, HDC 2. (77)
Row 39: CH 1, turn, HDC in each stitch across. (77)
Row 40: CH 1, turn, HDC 4, *Bobble, HDC 3*, repeat from * to * until 5 stitches remain, Bobble, HDC 4. (77)
Row 41-42: Repeat Row 39.
Pattern – Back Panel (Make one)
Row 1: CH 78, working in the back bump of the CH, SC in 2nd CH from hook and in each CH across. (77)
Row 2: CH 1, turn, HDC in each stitch across. (77)
Row 3-36: Repeat Row 2. Row 37: CH 1, turn, SC in each stitch across. (77)
Seaming
You may choose to block your panels before seaming.
Lay the two panels right sides up side-by-side. I chose to begin seaming on one of the short sides. Using the mattress stitch, seam the panels together being sure to line the stitches/rows up as you go. This will give you a nice invisible seam. When you have one side left to seam, insert the pillow form and seam last side.
If you make this crochet holiday pillow, please share it! I would love to see your work! You can tag me on Instagram and Facebook @theplushpineapple. Use the tags #aplushpineapple and #rusticpinespillow.

The photographs and pattern contained in this document are the property of A Plush Pineapple. Unauthorized reproduction, in whole or in part, or distribution of this pattern or content is prohibited. ALL FINISHED PRODUCTS created using this pattern may be sold locally or online. If selling finished products online, please give my blog credit for the pattern by posting a link to my website.