
“Do not free a camel of the burden of his hump; you may be freeing him from being a camel.”
G. K. Chesterton
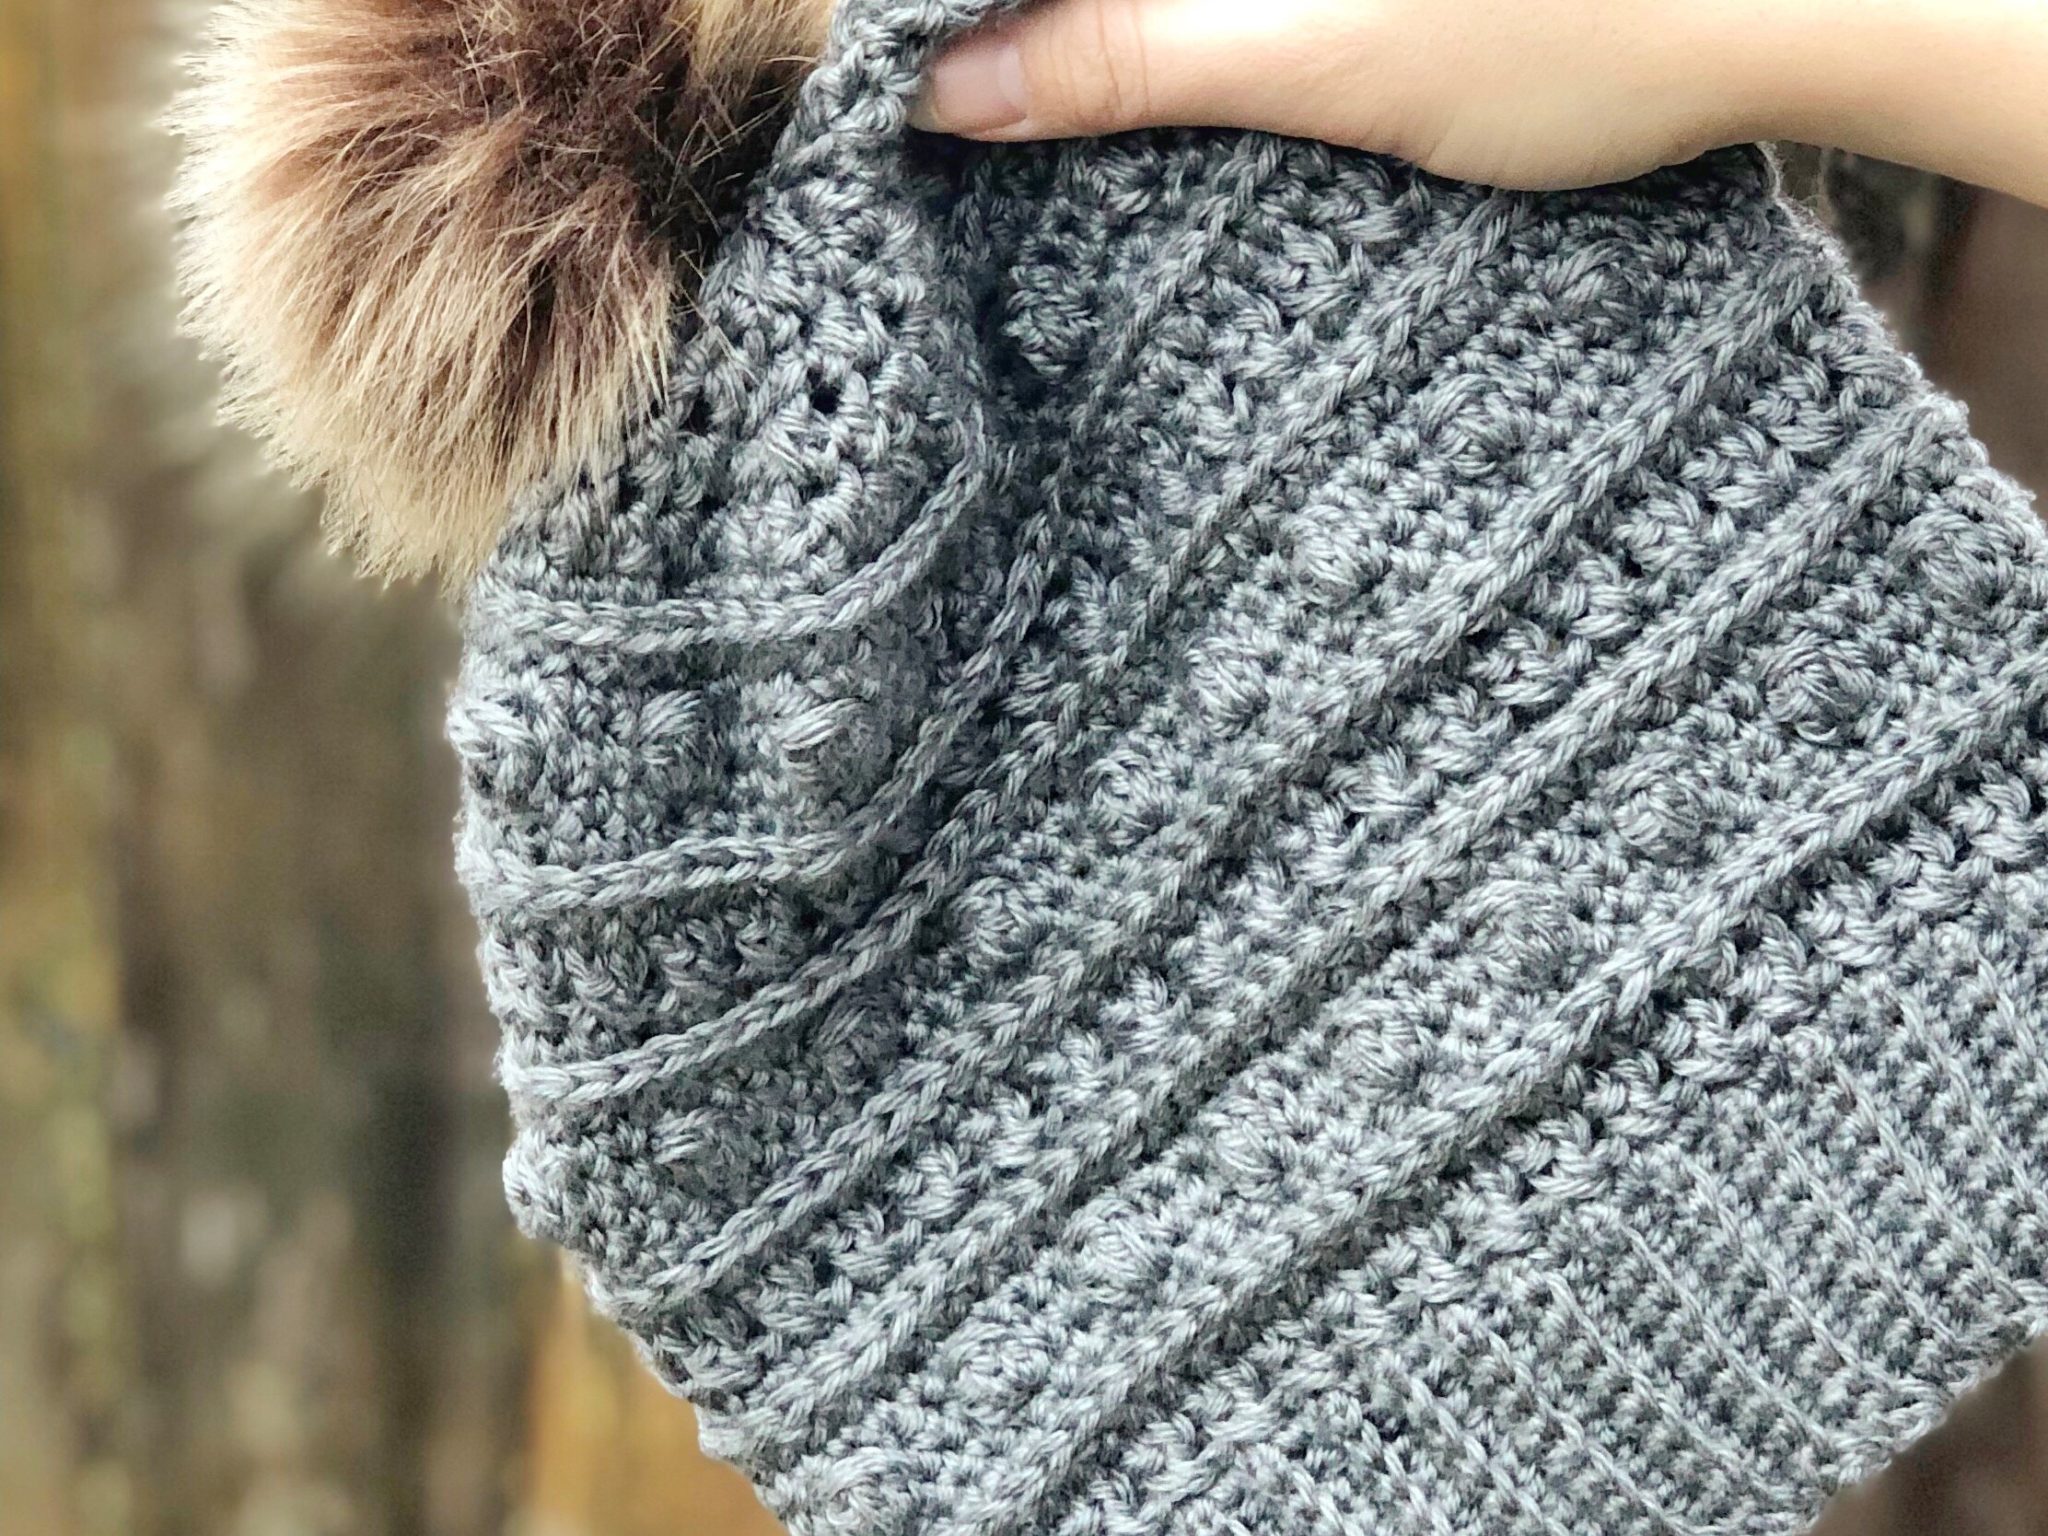
Looking for a stitch that provides lateral texture and divides spaces in your design?
The camel stitch (also known as working in the third loop) is a great stitch to use to incorporate either of these features into your work! If you are anything like me, you like clean breaks and divisions as well as organization in your designs. I always have to make sure there is symmetry and equivalency throughout my patterns. The camel stitch provides a dividing line or just provides a nice strip of lateral texture.
Do you hate it when different foods touch on your plate? If you do, you might also hate it when a designs runs together and there is no break or division. When you incorporate the camel stitch or work through the back loop, it pushes the top of the stitches from the previous row to the front of the work and gives the surface a nice straight line of texture. This line can serve as added texture, but it can also separate areas of design.
Trying to design a quilt that has different designs throughout? Or maybe you are working on scarf that needs a line of separation between different areas of texture? The camel stitch can easily be incorporated to break up certain areas and divide sections in your designs.
Whether you are just looking for a variety of texture or needing to separate spaces in your project, the camel stitch will…
…carry that load.

Skill Level – Easy
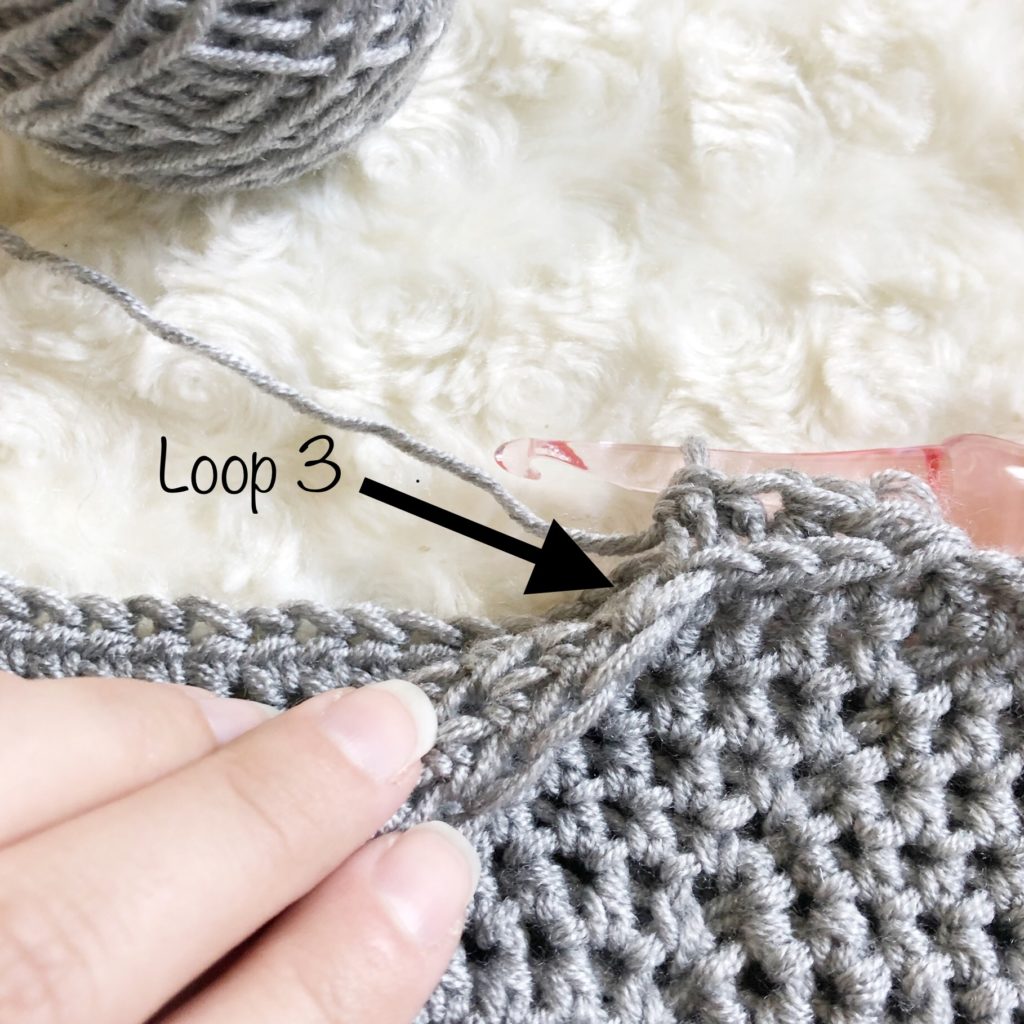
Step One – Understanding the Stitches
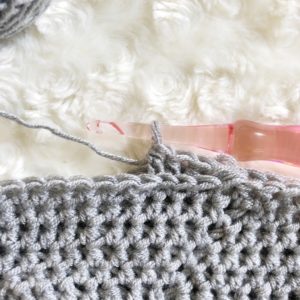
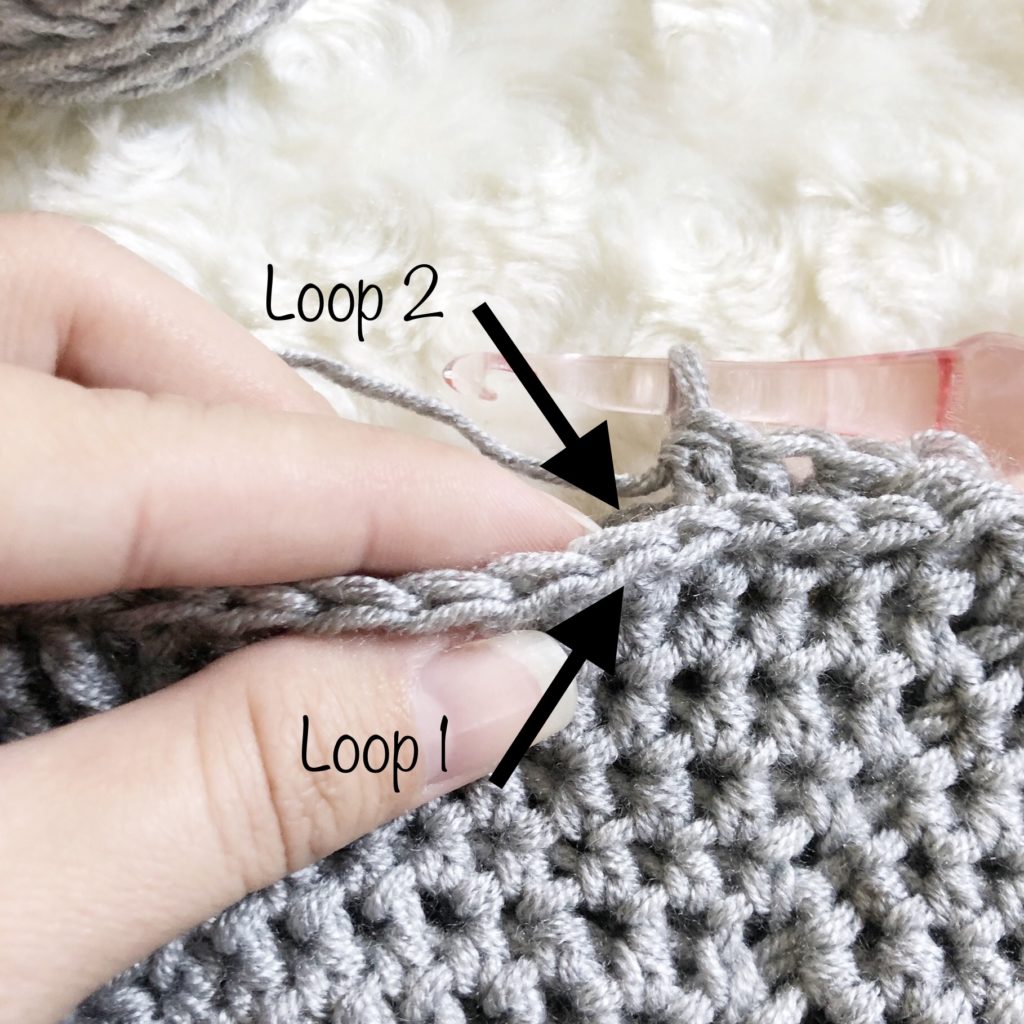
To begin the camel stitch, you must first understand the construction of basic crochet stitches. The camel stitch is typically used when working in the round because the loop that you work through is on the back side of the stitches from the previous row. It must also be worked on rounds that were previously worked in HDC or DC or there will not be a third loop to work through. The pictures below will show the loops that are made in typical HDC and DC construction.
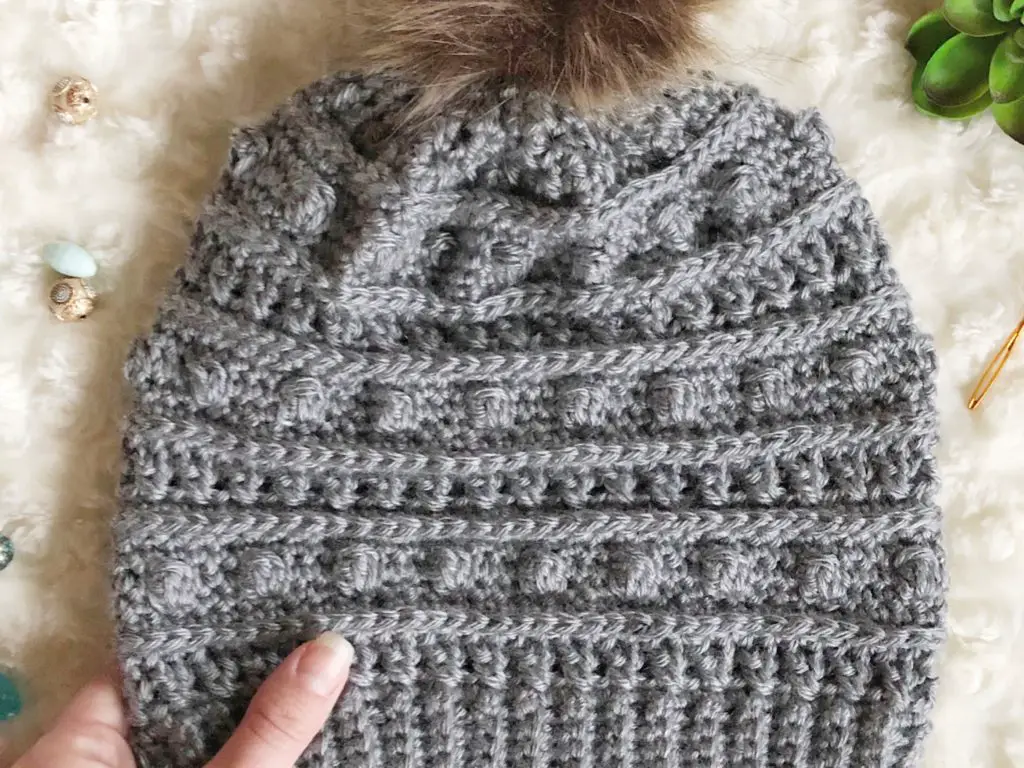
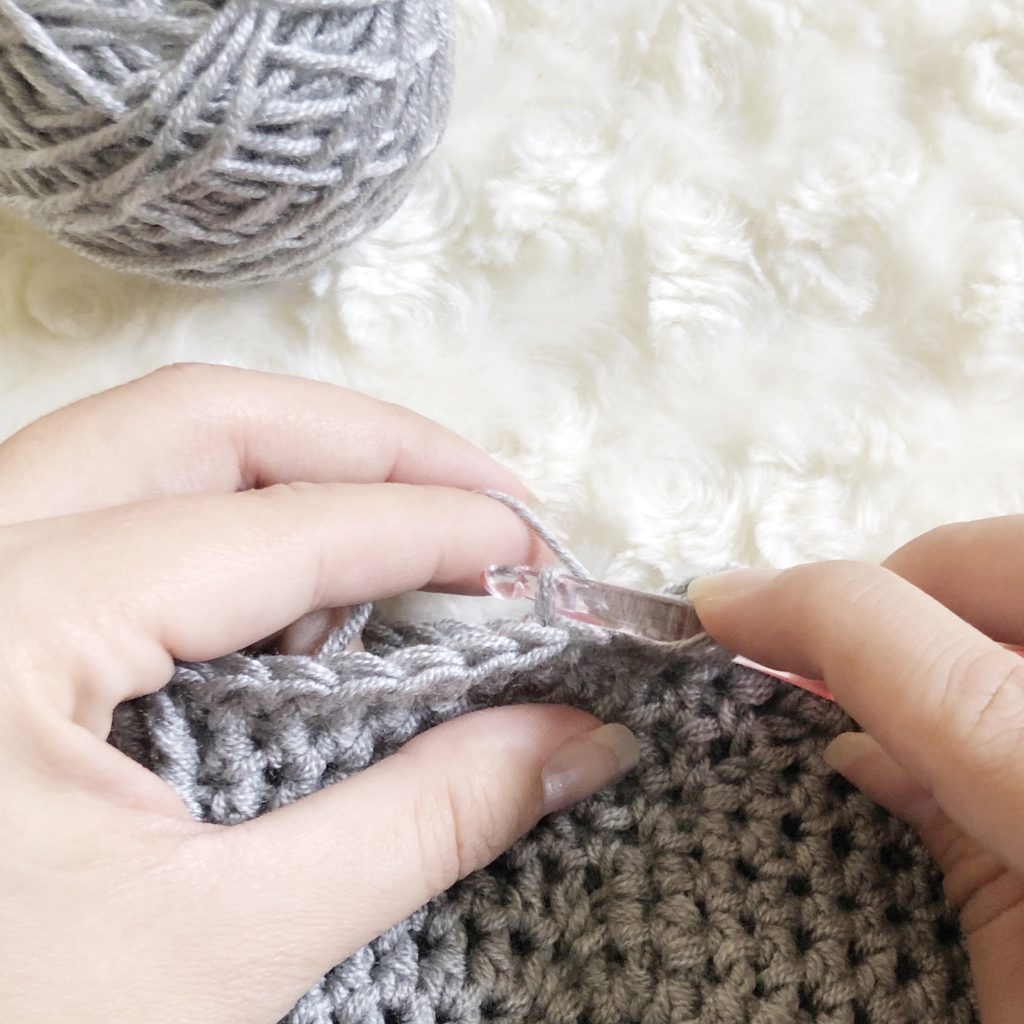
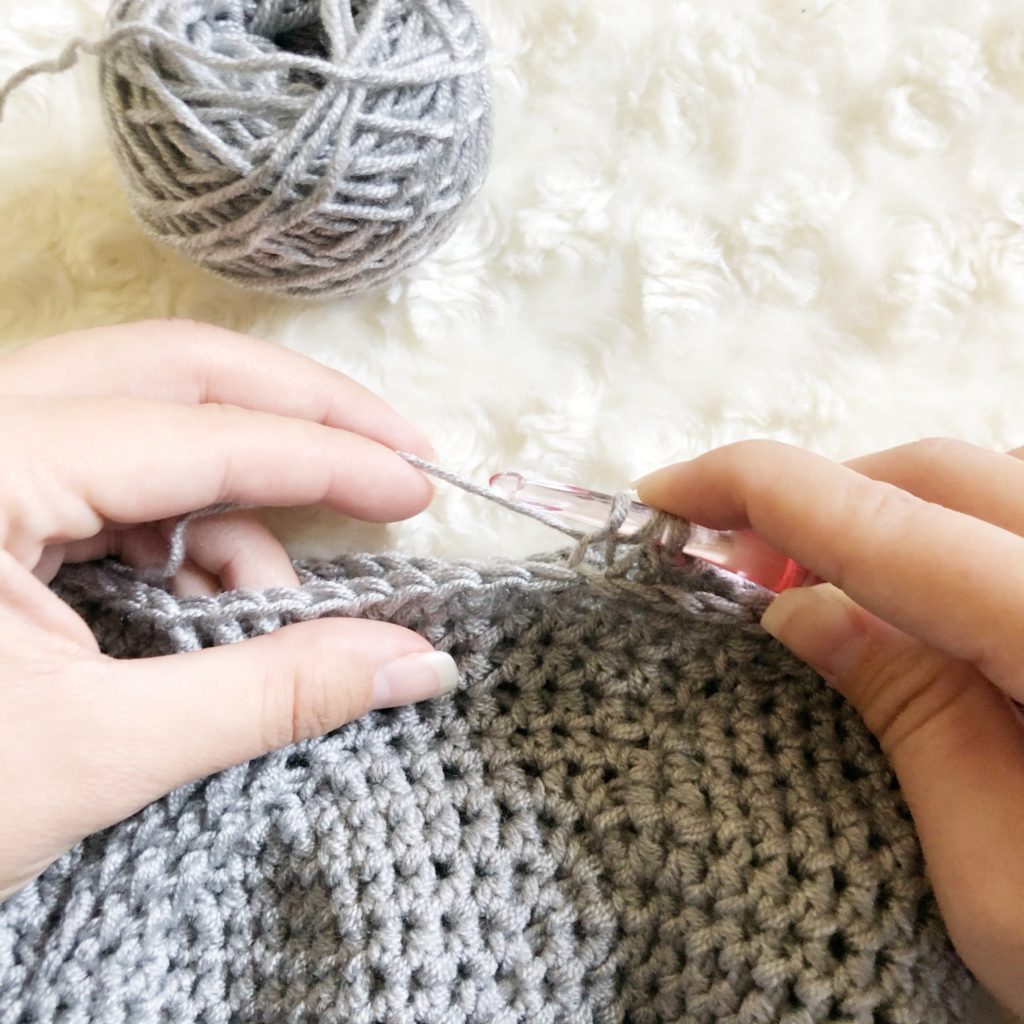
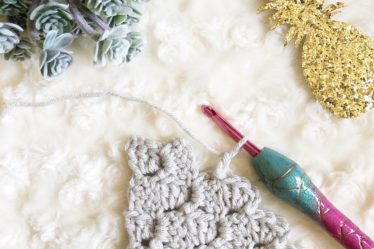
Step Two – Completing the Stitches
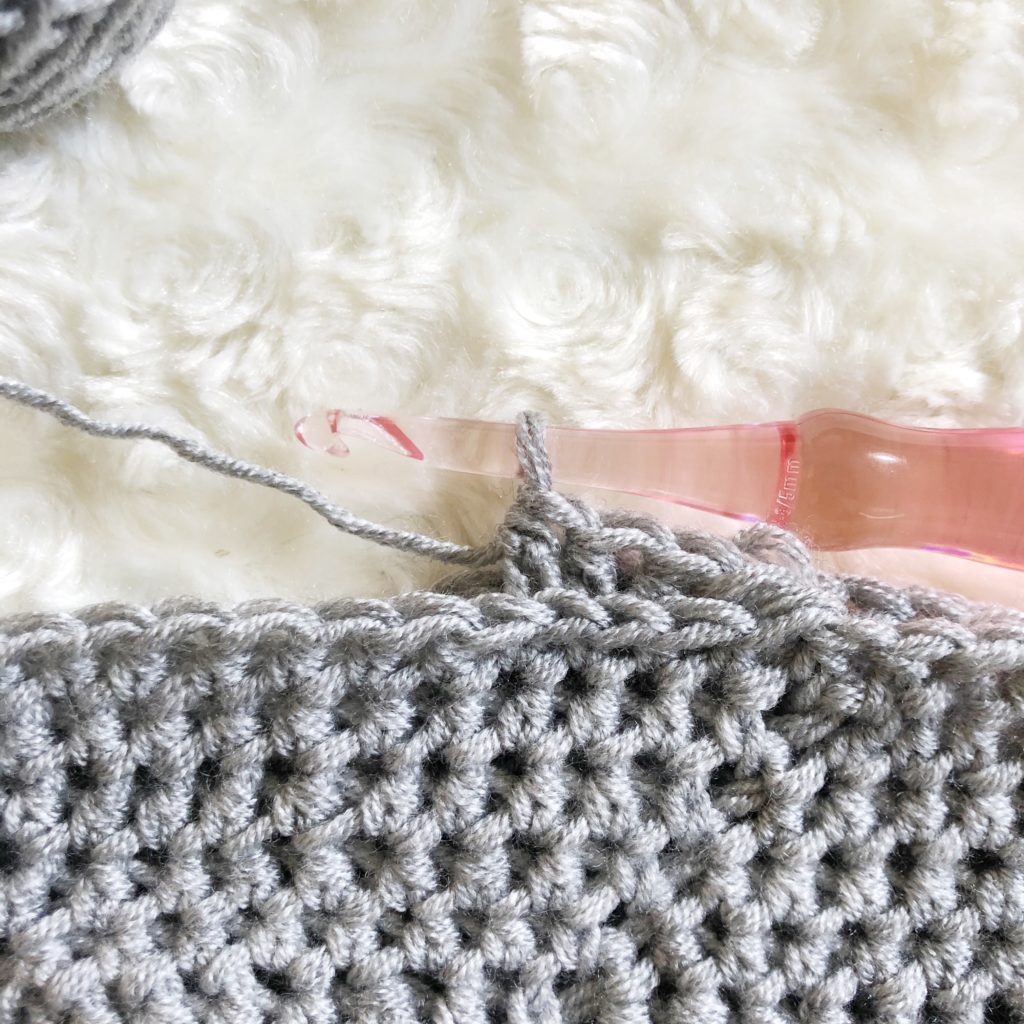
In the picture above, you can see the ridge that is beginning to form after just a few camel stitches!
If this tutorial helped you, please share it! I would love to see your work! You can tag me on Instagram and Facebook @theplushpineapple. Use the tag #theplushpineapple.
Also, be sure to check out some of my other stitch tutorials including How to Achieve an Invisible Seam and How to Crochet C2C!
“Much love, sunshine, and pineapples”
Sarah


[…] The last special stitch is the Camel stitch, also known as crochet in third loop. Basically you will be working your stitches along the back side of a hdc row. Instead of inserting your hook below the front and back loops of a stitch, you will be ignoring those and working your stitches in the bar right behind the back loop. My friend Sarah, over at The Plush Pineapple has a more detailed tutorial on this stitch if you’d like to check it out here. […]
Thank you for linking to my tutorial!