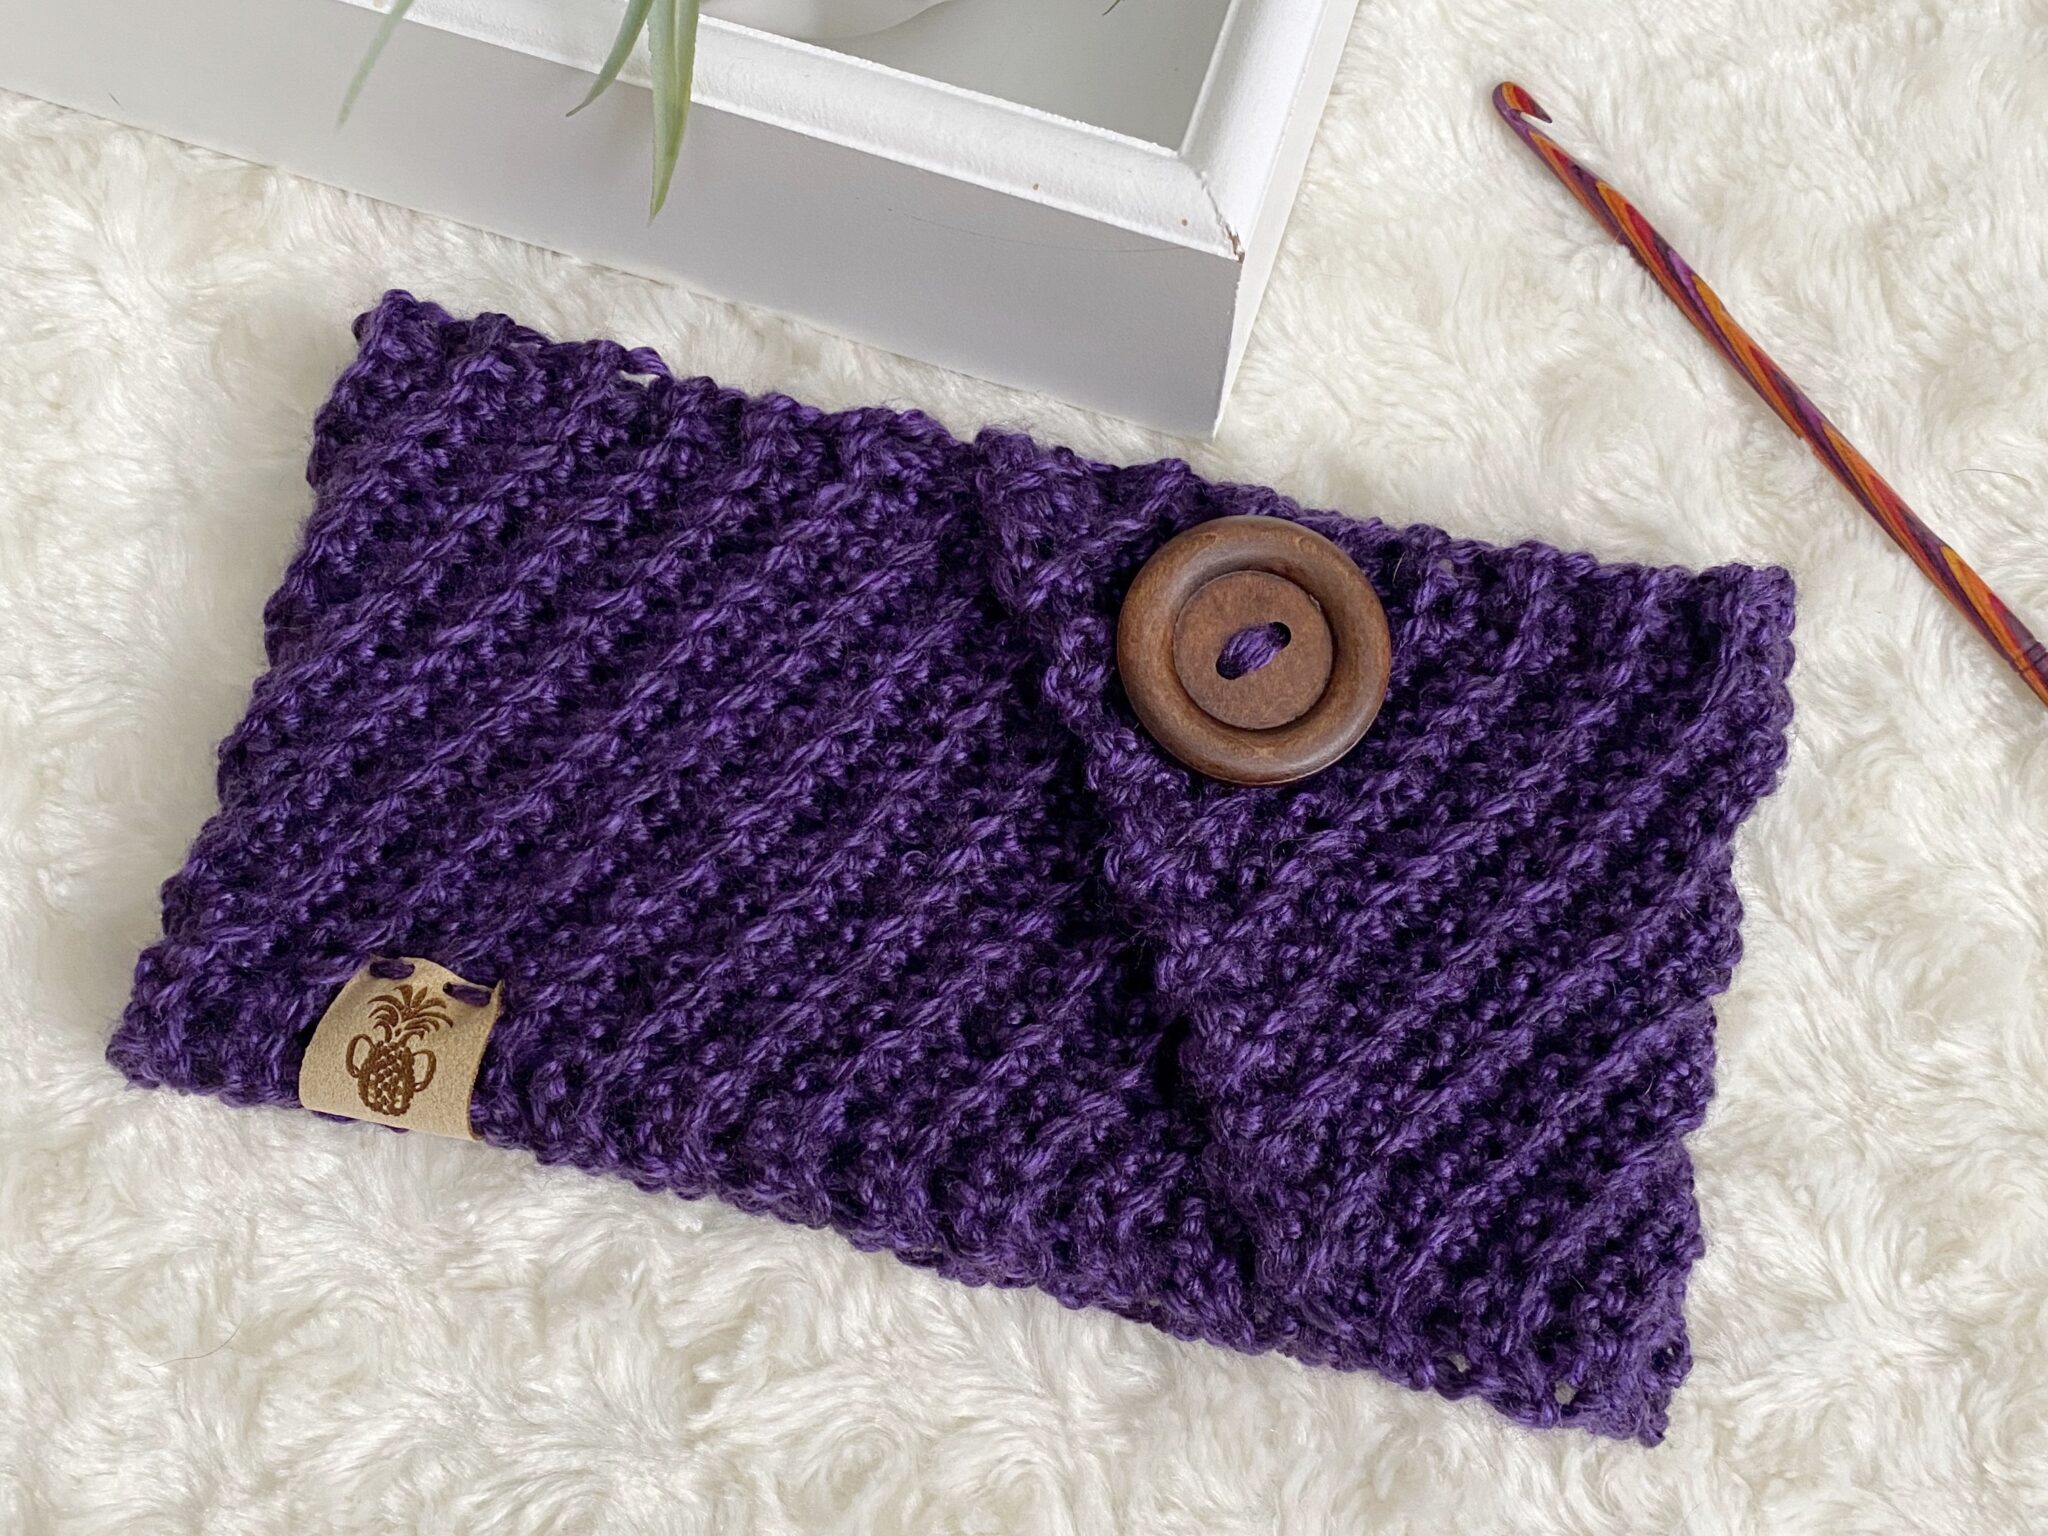
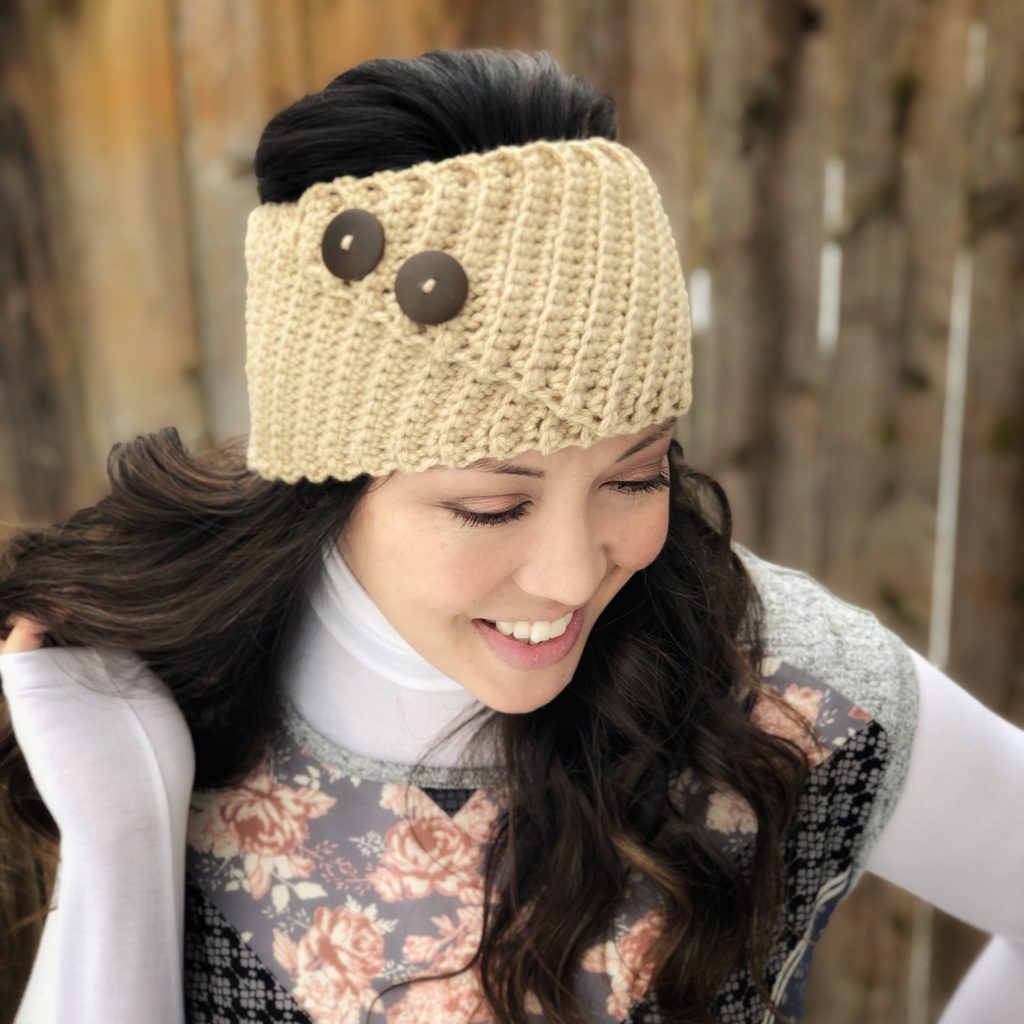
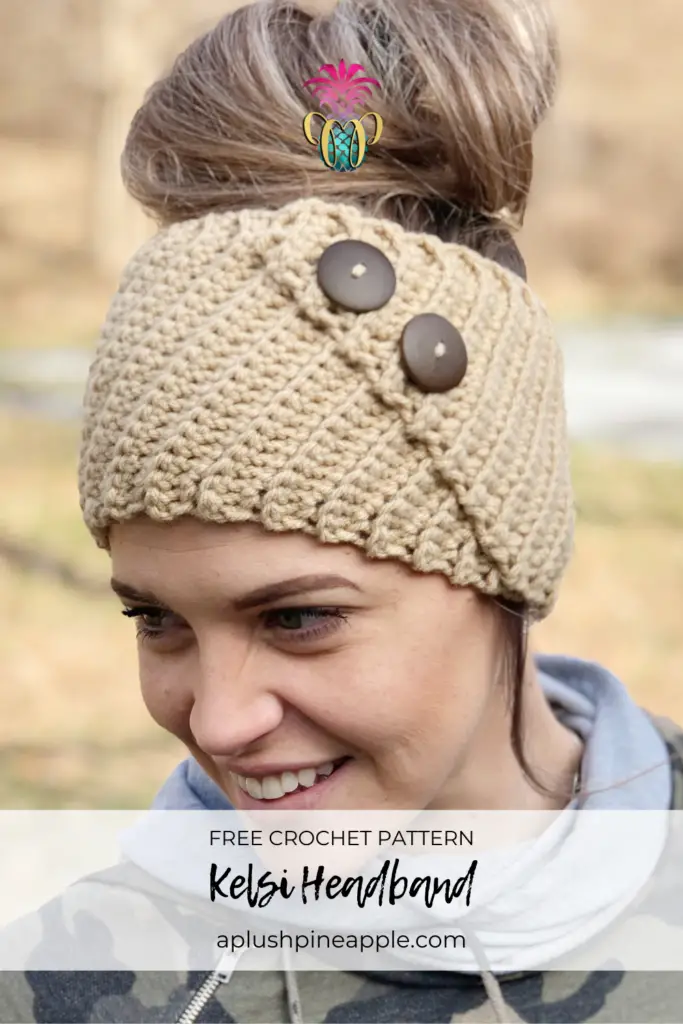
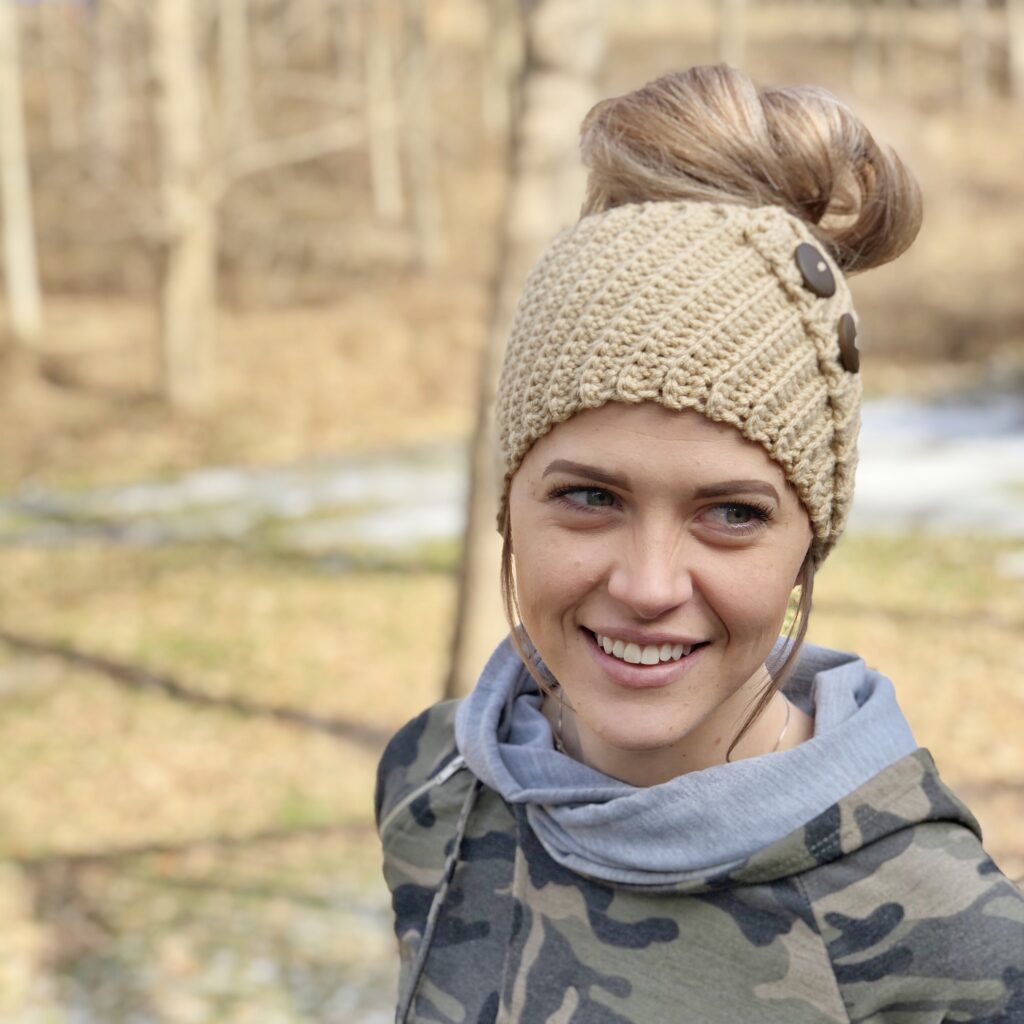
Make a beautiful crochet headband with diagonal ribbing texture and two decorative buttons with this free crochet headband pattern!
“Be yourself today. You look beautiful like that.”
Unknown
When your sister asks you to make her a headband, you make her ALL THE THINGS and then name them all after her!
Before we jump into this crochet headband pattern, let me fill you in on a little detail about me. I’m an only child. Yep, that’s a big contributing factor to my wild, creative imagination. I was the child that played board games alone, for instance, and I also became quite the master of 90’s era video games.
When I married my husband, I gained two sisters who have adopted me into the family as if I had always been a part of it. Not too long after I designed The Heather Beanie, my sister Kelsi asked me if I could design her a crochet headband.
Of course, I was yet again thrilled to take on another designing opportunity! I wanted this crochet headband pattern to fit her sense of style. Therefore, we browsed several pictures and ideas before coming up with this diagonal ribbing design. As a result of a few trials and a whole lot of error, The Kelsi Headband became…
…my second original design!
Skill Level – Beginner
Materials
- Worsted (4) weight yarn – Recommended yarn: Caron Simply Soft
- US I9/5.50mm crochet hook
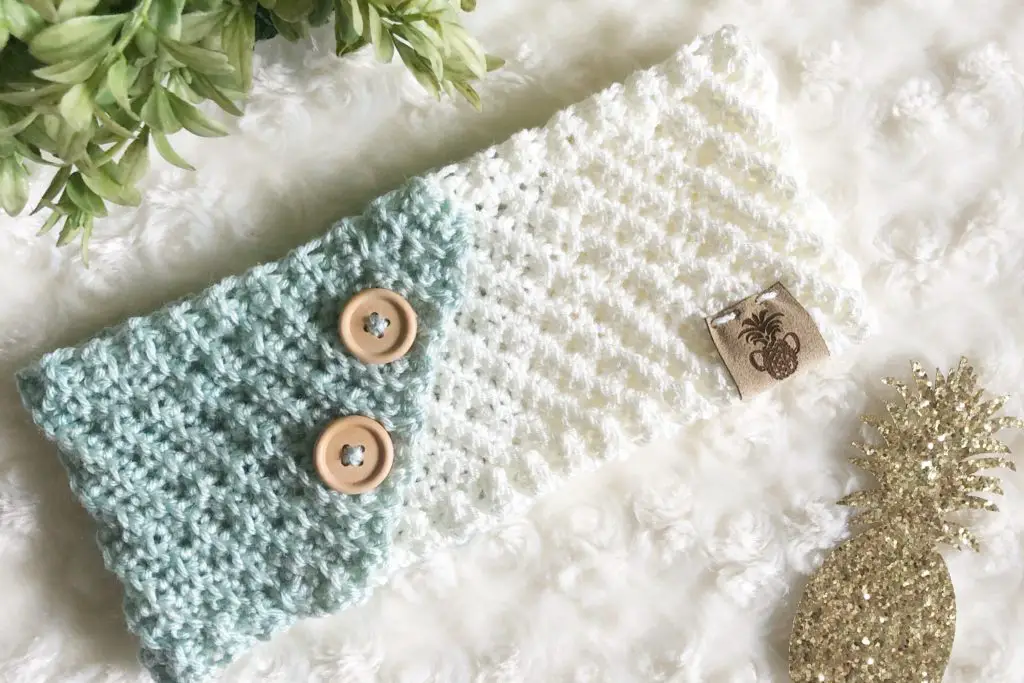
- Buttons
- Tapestry needle
- Scissors
Abbreviations
- CH – Chain
- SC – Single crochet
- BLO – Back loop only
- Sl St – Slip stitch
Notes
- The headband is worked as a flat piece from corner to corner. It is seamed together with approximately two inches of overlap when finished. Optional: Two decorative buttons can be sewn near the top of the headband where the ends overlap.
- The entire headband is worked in BLO.
- Beginning chains DO NOT count as a stitch.
- Repeat rows consist of a decrease at the beginning of each row and an increase at the end of each row in order to maintain a diagonal edge as the piece gets longer.
- I chose NOT to SC evenly around the entire outside edge as a design preference, but you do you! If you want a SC trim around the whole piece, add that step in before tying off.
Pattern
Increase Rows
Row 1: CH 4, SC in 2nd CH from hook and in every SC across. (3)
Row 2: CH 1, turn, working in BLO for the remainder of the project, 2 SC in first stitch, SC in next stitch, 2 SC in last stitch. (5)
Row 3: CH 1, turn, SC in every stitch across. (5)
Row 4: CH 1, turn, SC in first stitch, 2 SC in next stitch, SC across until 2 stitches remain, 2 SC in second-to-last stitch, SC in last stitch. (7)
Row 5: CH 1, turn, SC in every stitch across (7)
Row 6-19: Repeat Rows 4 and 5 increasing two stitches on every even row. Row 18 and 19 should have 21 stitches.
Repeat Rows
Row 20: CH 1, turn, SC in first stitch, SC2tog (decrease), SC across until 2 stitches remain, 2 SC (increase) in second-to-last stitch, SC in last stitch. (21)
Row 21: CH 1, turn, SC in every stitch across. (21)
Repeat rows 20 and 21 until piece measures approximately 18 inches (or desired length) along the straight edge of the work ending on an odd row.
Decrease Rows
Row 22: CH 1, turn, SC in first stitch, SC2tog, SC across until 3 stitches remain, SC2tog, SC. (19)
Row 23: CH 1, turn, SC in every stitch across. (19)
Row 24-37: Repeat Rows 22 and 23 decreasing two stitches on every even row. Row 37 should have 5 stitches.
Row 38: CH 1, turn, SC2tog, SC, SC2tog. (3)
Optional (not pictured): Before tying off, CH 1, SC evenly around entire piece, join with a Sl St to beginning SC.
Tie off, leaving a long tail for sewing.
Finishing
Sew the ends together with approximately 2 inches of overlap and lining up the ridges from the rows. I chose to sew the top and bottom points down and the underneath edge, but I did NOT sew the top edge down to the headband.
Optional: Sew two decorative buttons near the top of the headband where the edge comes to a point.
Weave in all ends, and you’re finished!
I hope you enjoyed this crochet headband pattern! It’s a perfect quick and easy make particularly for fall prep or for a quick gift!
If you make this headband, please share it! I would love to see your work! You can tag me on Instagram and Facebook @theplushpineapple. Use the tags #theplushpineapple and #kelsiheadband.

The photographs and pattern contained in this document are the property of The Plush Pineapple. Unauthorized reproduction, in whole or in part, or distribution of this pattern or content is prohibited. ALL FINISHED PRODUCTS created using this pattern may be sold locally or online. If selling finished products online, please give my blog credit for the pattern by posting a link to my website.