“Love is like a pineapple, sweet and undefinable.”
Piet Hein
When you get a new home office chair, then you make a matching crochet pillow to go with it!
My home decor is chock full of pineapples, but I didn’t have a pineapple pillow! What? A crochet designer who loves pineapples but doesn’t have her own crochet pillow for her home office? Sounds like a capital offense indeed…
If you love C2C Crochet, then raise your hand! I, for one, especially LOVE C2C crochet! There are so many benefits of this method! First of all, it is fast and mindless once you master it and find your rhythm. Also, the designs that can be made are ENDLESS! (Have you seen some of the detailed pixel graphghans??? Incredible!) It also works up SUPER QUICKLY! Because this crochet method moves so fluidly, it almost feels like no time at all to make a C2C crochet blanket let alone a C2C crochet pillow!
After doing a C2C pattern test for a fellow designer, I then knew I needed to design a C2C pineapple crochet pillow. Since the pineapple is such a signature icon for patio furniture, I figured many would love to be able make a crochet pillow for their favorite porch swing or patio chair! So, whose home needs a pineapple crochet pillow? I know that mine could use another one!…
…or two or three or ten!

Skill Level – Intermediate
Materials
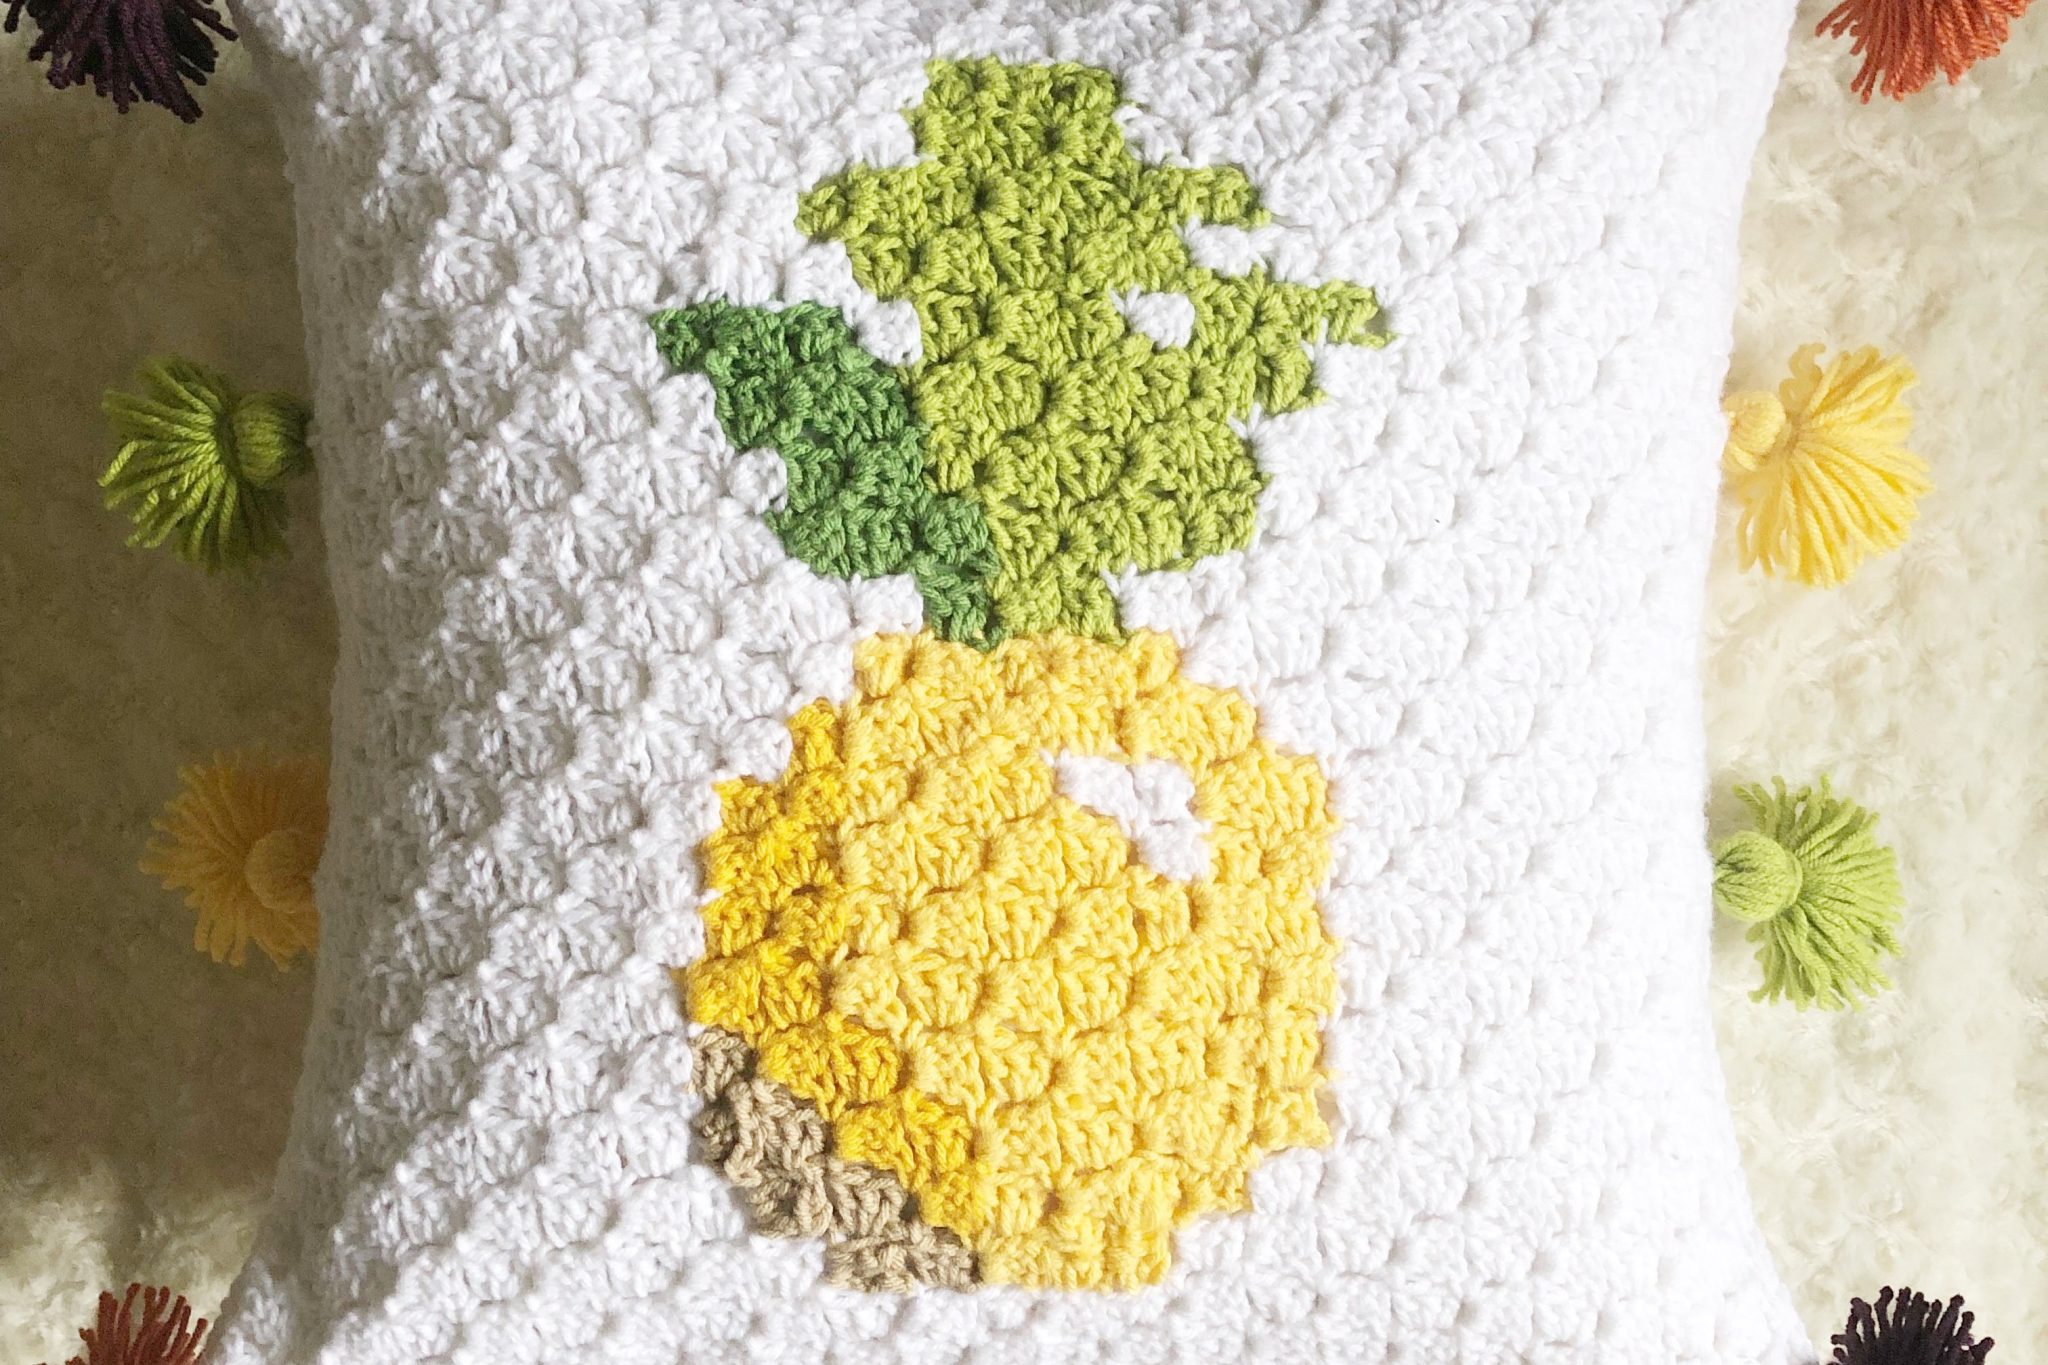
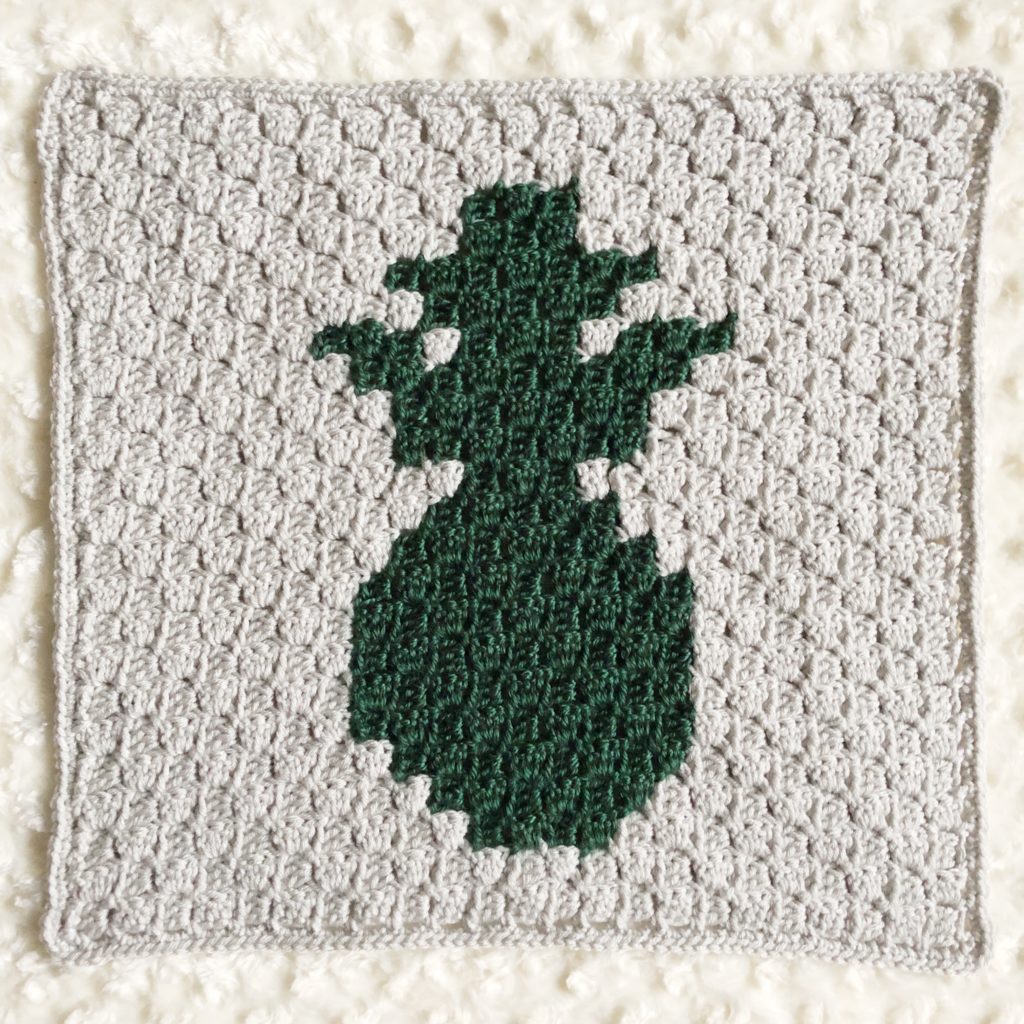
- Worsted (4) weight yarn (Colors in parentheses are the colors shown in the larger picture above. However, you may choose any colors you’d like!)
- Color A (white) – approx 700 yards
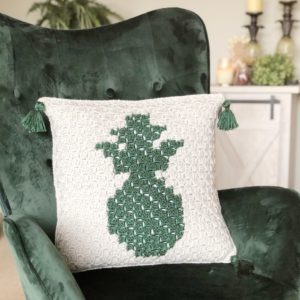
- Color B (tan) – approx 5.5 yards for variegated pattern, approx 82 yards for solid pattern (forest green)
The following colors are needed only for the variegated pattern. If making the solid version, then only two colors are needed.
- Additional yarn colors
- Color-C (dark yellow) – approx 10 yards
- Color-D (light yellow) – approx 32 yards
- Color-E (dark green) – approx 9 yards
- Color-F (light green) – approx 25.5 yards
- US I9/5.50mm crochet hook
- Tapestry needle
- Scissors
- Yarn Bobbins (optional)
- Tassel or Pompom Maker (optional)
- Buttons (optional)
Abbreviations
- CH – Chain
- SC – Single crochet
- DC – Double crochet
- Sl St – Slip stitch
- YO – Yarn over
- WS – Wrong side
- RS – Right side
Special Stitches
- C2C method
Notes
- Gauge: 4” x 4” = 5 tiles x 5 tiles (25 tiles total)
- BE SURE TO CHECK YOUR GAUGE – Gauge is crucial in this project so that the pillow cover fits the desired pillow form.
- This crochet pillow cover is worked in the C2C method. If you are new to this method, then I have provided a beginner’s guide to C2C crochet along with progress photos on my blog.
- A graph is included in the paid PDF version of this pattern that you can find in my Etsy shop.
- The pillow cover consists of three pieces: the front panel and two rectangular panels to make up the envelope back.
- The front panel is 23 tiles x 23 tiles. The larger back panel is 23 tiles x 16 tiles. The smaller back panel is 23 tiles x 12 tiles.
- All three panels are finished with a SC border and then seamed together using the mattress stitch.
- Finished pillow form size is approximately 18 ½” x 18 ½” if following gauge. This fits a 20” x 20” pillow form. (Pillow covers should be slightly smaller than choice of pillow for a snug fit.)
- The pillow can be embellished with tassels or pompoms along the border when finished if desired.
- You may also choose to attach two buttons along the closure to keep the panels securely closed.
Plush Pineapple Pillow C2C Pattern – Variegated
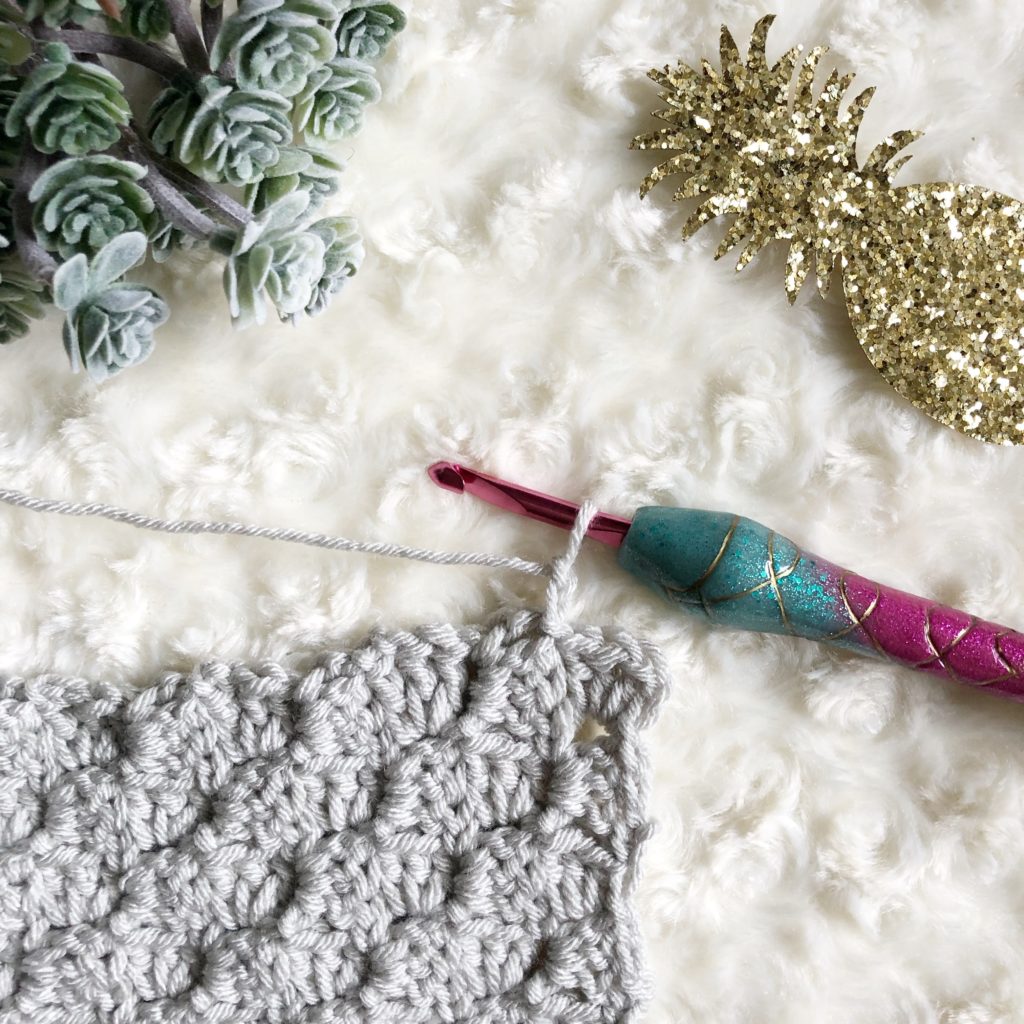
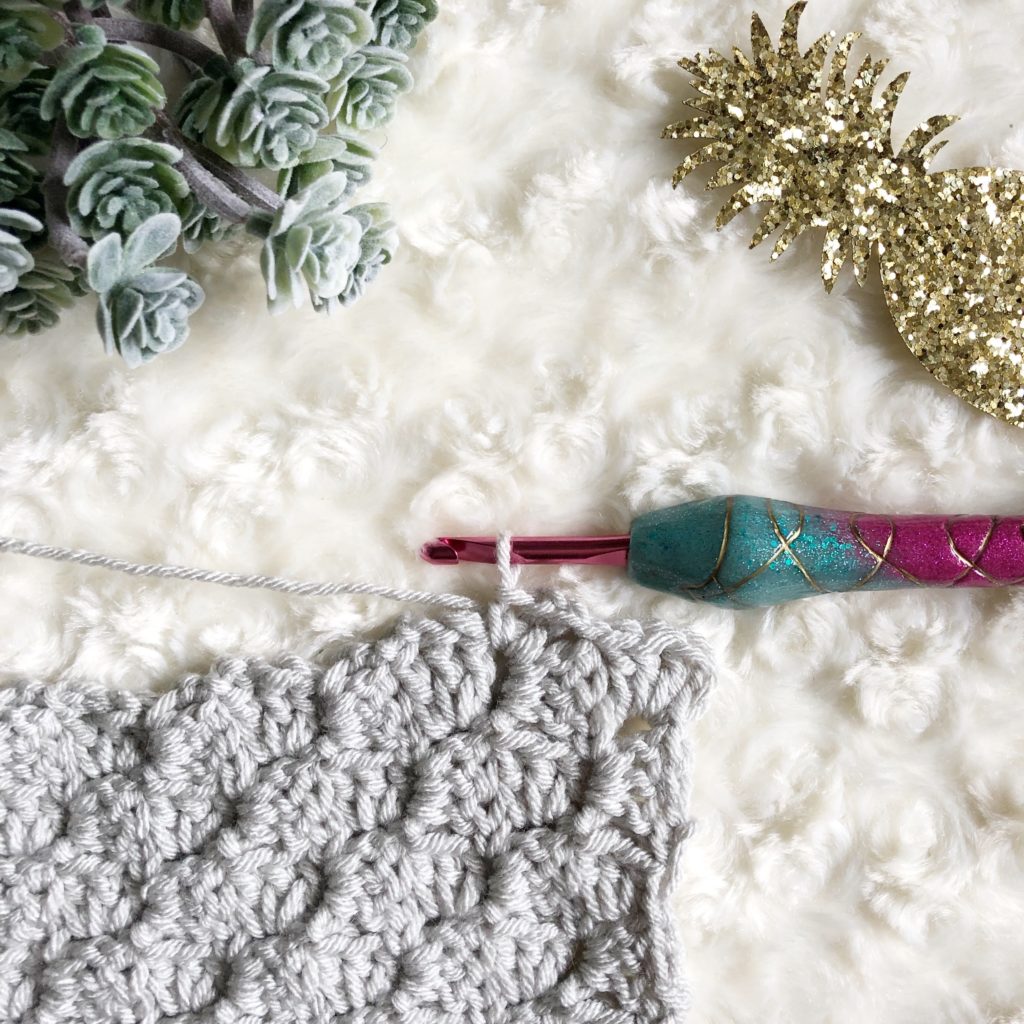
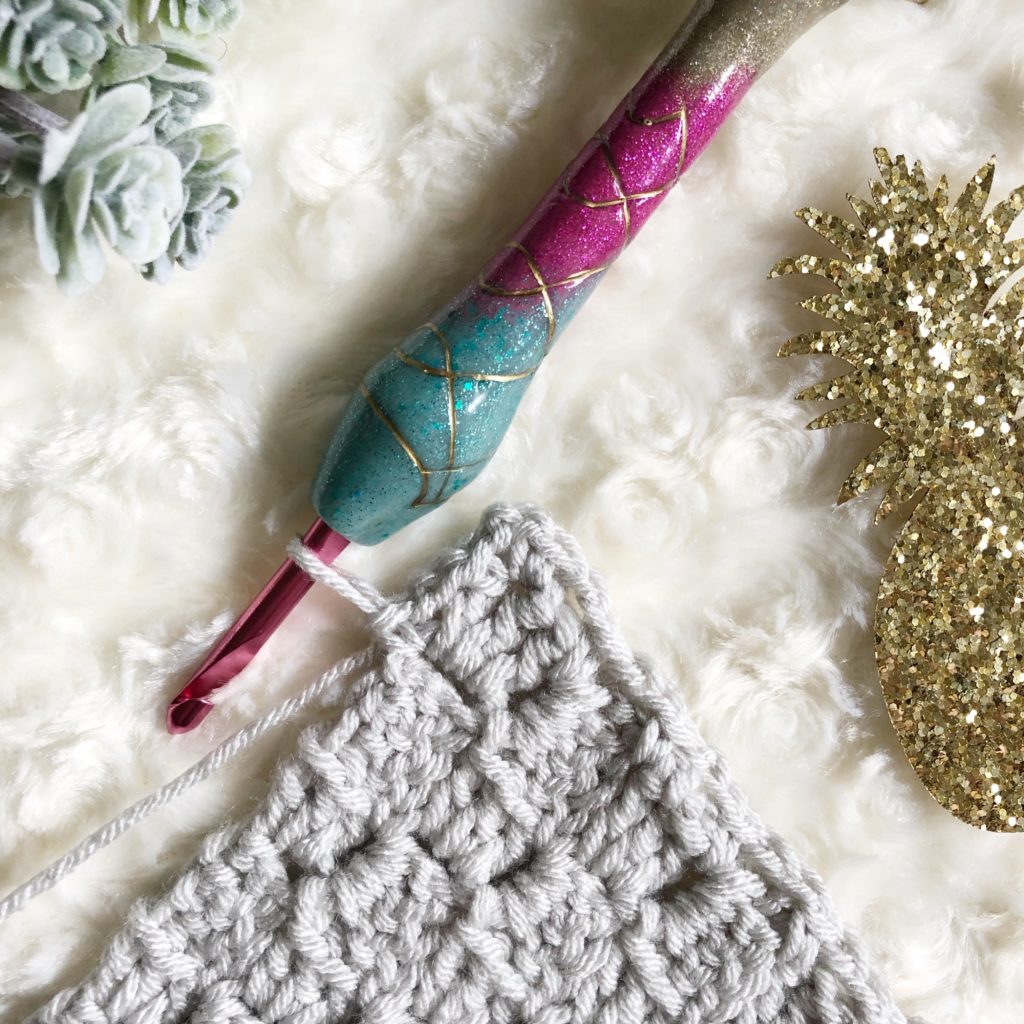
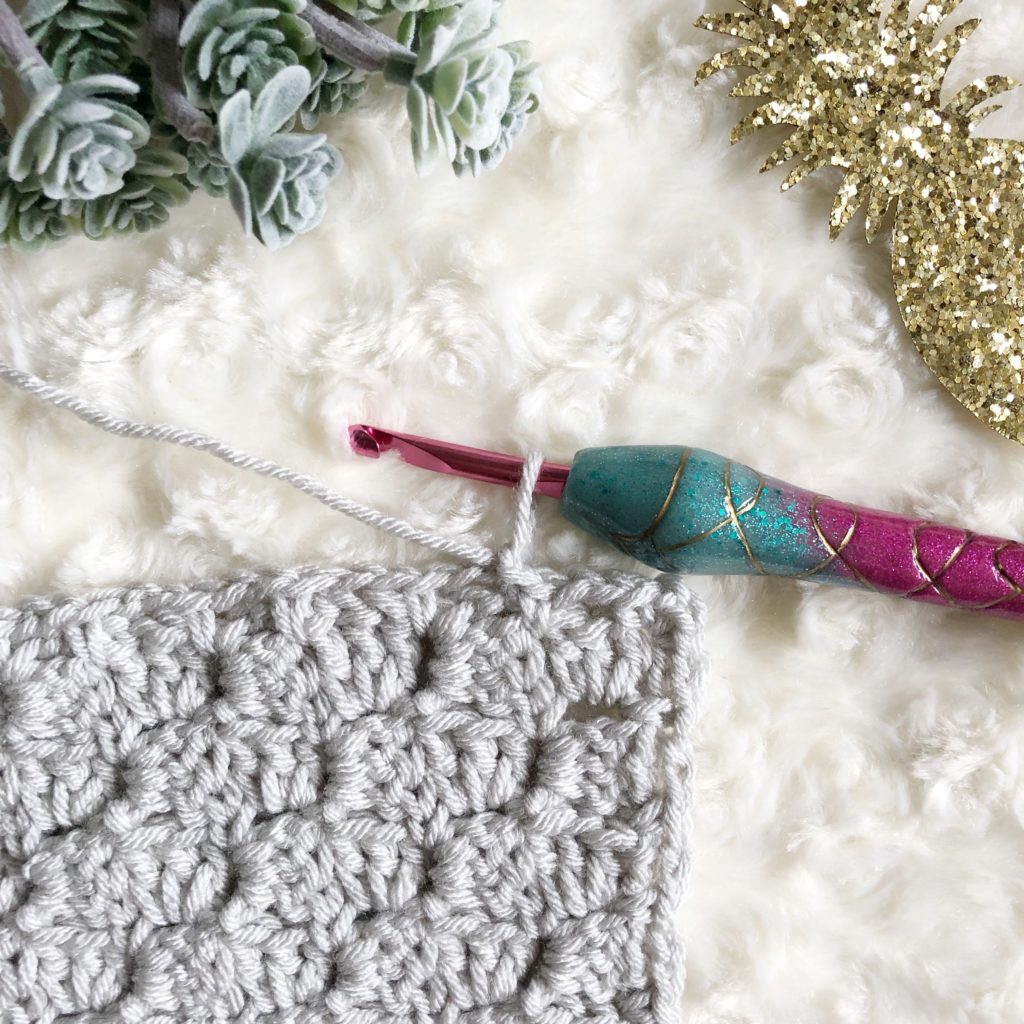
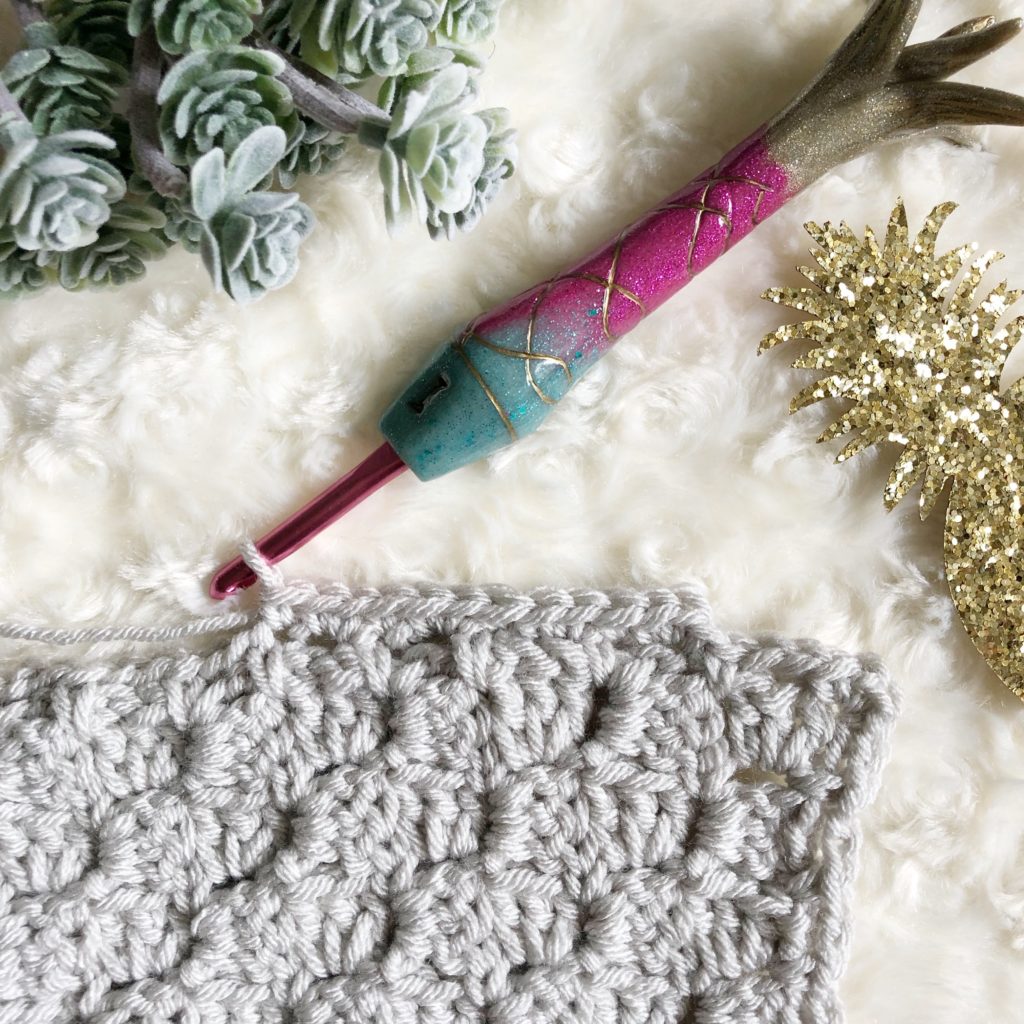
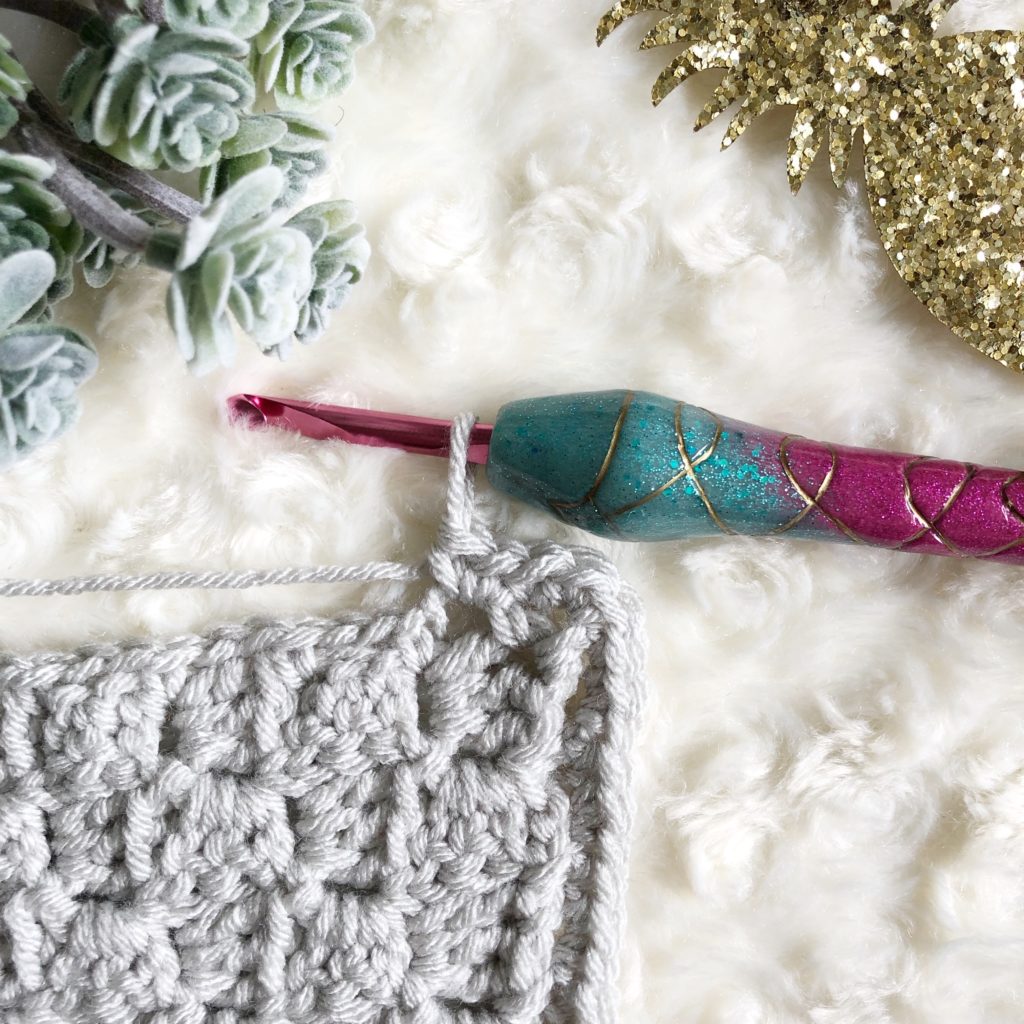
Row 1-11: Using Color A, increase one tile per row as shown in the tutorial.
Color Change Rows
| *Row 12: 2A, 3B, 7A | Begin decrease |
| Row 13: 7A, 4B, 2A | *Row 24: 7A, 4D, 1F, 4E, 6A |
| *Row 14: 2A, 1D, 4C, 7A | Row 25: 6A, 2E, 3F, 3D, 7A |
| Row 15: 7A, 4C, 2D, 2A | *Row 26: 10A, 3F, 7A |
| *Row 16: 2A, 5D, 2C, 7A | Row 27: 4A, 6F, 9A |
| Row 17: 7A, 2C, 5D, 3A | *Row 28: 8A, 6F, 4A |
| *Row 18: 3A, 6D, 1C, 8A | Row 29: 4A, 5F, 8A |
| Row 19: 8A, 1C, 6D, 4A | *Row 30: 8A, 1F, 1A, 3F, 3A |
| *Row 20: 4A, 7D, 9A | Row 31: 2A, 6F, 7A |
| Row 21: 9A, 7D, 5A | *Row 32: 7A, 1F, 1A, 3F, 2A |
| *Row 22: 6A, 2D, 2A, 2D, 1A, 1E, 8A | Row 33: 2A, 1F, 1A, 1F, 1A, 1F, 6A |
| Row 23: 6A, 5E, 2D, 1A, 2D, 7A |
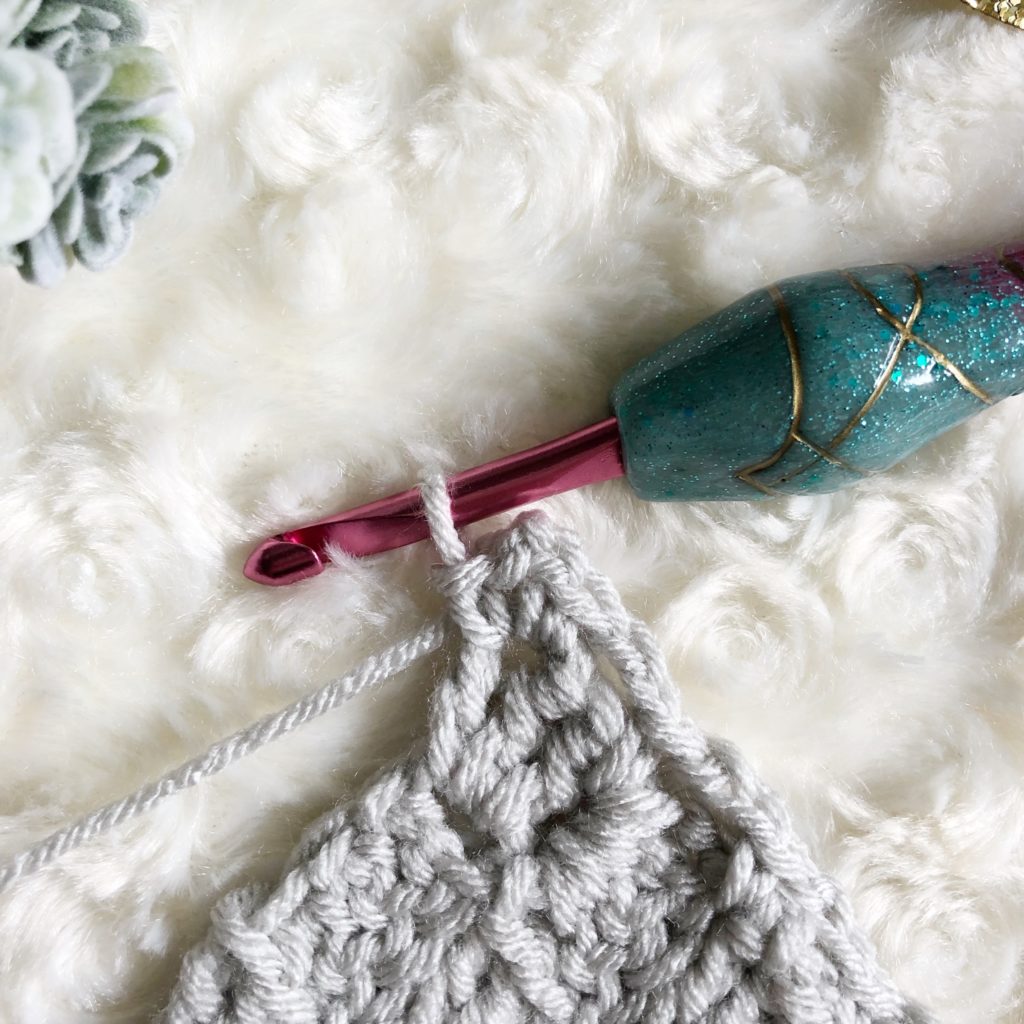
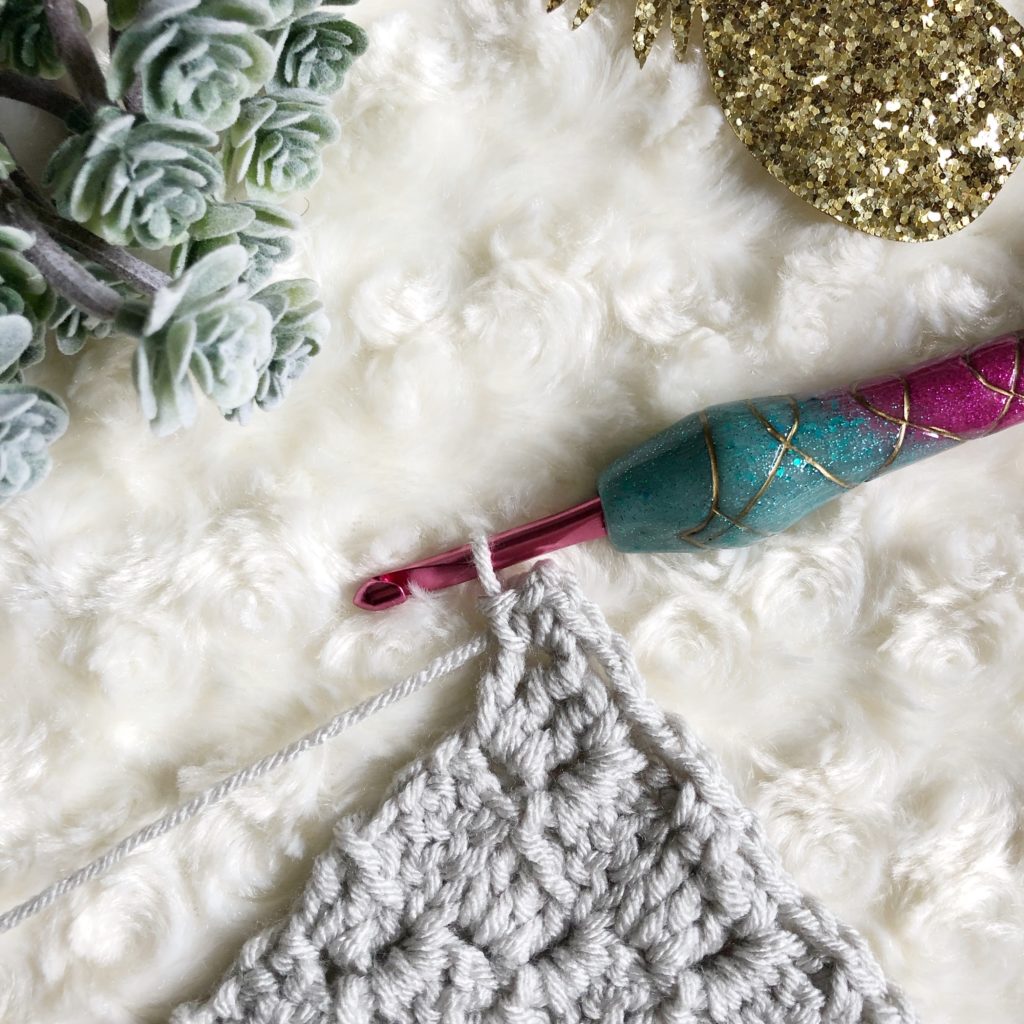
*Row 34-45: Continue to decrease with Color A. Decrease one tile per row.
Do not tie off.
Plush Pineapple Pillow C2C Pattern – Solid
Row 1-11: Using Color A, increase one tile per row as shown in the tutorial.
Color Change Rows
| *Row 12: 2A, 3B, 7A | Begin decrease |
| Row 13: 7A, 4B, 2A | *Row 24: 7A, 9B, 6A |
| *Row 14: 2A, 5B, 7A | Row 25: 6A, 8B, 7A |
| Row 15: 7A, 6B, 2A | *Row 26: 10A, 3B, 7A |
| *Row 16: 2A, 7B, 7A | Row 27: 4A, 6B, 9A |
| Row 17: 7A, 7B, 3A | *Row 28: 8A, 6B, 4A |
| *Row 18: 3A, 7B, 8A | Row 29: 4A, 5B, 8A |
| Row 19: 8A, 7B, 4A | *Row 30: 8A, 1B, 1A, 3B, 3A |
| *Row 20: 4A, 7B, 9A | Row 31: 2A, 6B, 7A |
| Row 21: 9A, 7B, 5A | *Row 32: 7A, 1B, 1A, 3B, 2A |
| *Row 22: 6A, 6B, 1A, 1B, 8A | Row 33: 2A, 1B, 1A, 1B, 1A, 1B, 6A |
| Row 23: 6A, 10B, 7A |
*Row 34-45: Continue to decrease with Color A. Decrease one tile per row.
Do not tie off.
Back Panel 1 (make one)
Row 1-16: Using Color A, increase one tile per row as seen in the tutorial.
Row 17: CH 1, SL ST in each DC of the first tile (3 SL ST), SL ST in CH 2 space, CH 2, 3 DC in CH 2 space. Continue c2c pattern to the end of row, creating a CH 2, 3 DC tile in every CH 2 space including the last one. (16 tiles)
Row 18: CH 5, DC in third CH from hook, DC in the next two CH. Rotate the bottom portion of the work, then SL ST to the next CH 2 space. CH 2, 3 DC in CH 2 space. Continue c2c pattern to the end of row, creating a CH 2, 3 DC tile in every CH 2 space except the last. When you reach the last CH 2 space, SL ST to the CH 2 space ONLY. DO NOT 3 DC IN THE LAST CH 2 SPACE. (16 tiles)
Row 19-23: Repeat Rows 17 and 18 until the long edge reaches 23 tiles.
Row 24-38: Decrease one tile per row. SL ST 3 at the beginning of each row, and SL ST only to the last CH 2 space of each row.
Do not tie off.
Back Panel 2 (make one)
Row 1-12: Using Color A, increase one tile per row as seen in the tutorial.
Row 13: CH 1, SL ST in each DC of the first tile (3 SL ST), SL ST in CH 2 space, CH 2, 3 DC in CH 2 space. Continue c2c pattern to the end of row, creating a CH 2, 3 DC tile in every CH 2 space including the last one. (12 tiles)
Row 14: CH 5, DC in third CH from hook, DC in the next two CH. Rotate the bottom portion of the work, then SL ST to the next CH 2 space. CH 2, 3 DC in CH 2 space. Continue c2c pattern to the end of row, creating a CH 2, 3 DC tile in every CH 2 space except the last. When you reach the last CH 2 space, SL ST to the CH 2 space ONLY. DO NOT 3 DC IN THE LAST CH 2 SPACE. (12 tiles)
Row 15-23: Repeat Rows 13 and 14 until the long edge reaches 23 tiles.
Row 24-34: Decrease one tile per row. SL ST in the first 3 DC at the beginning of each row, and SL ST only to the last CH 2 space of each row.
Do not tie off.
Border
- Add this border to all three panels.
- This border is designed specifically for the purpose of seaming the pieces together with the mattress stitch. You may attempt to use a decorative border, but you will need to use your own seaming method.
Setup Row: After the last SL ST to the final CH 2 space, *CH 2, SC in the space between the next two tiles,* repeat from * to * around.

Chain 2 SC between tiles Repeat

When you reach a corner, SC, CH 2, SC all in the corner.
CH 2 before corner space SC, CH 2, SC in corner space CH 2, SC to next space
When you reach the end, SL ST to the first CH 2 space.
Border Row: CH 1, *2 SC in the CH 2 space, SC in the SC between two tiles,* repeat from * to * around. SL ST to the first SC.
Chain 1 2 SC in CH 2 space SC in SC between tiles Repeat Before corner Corner completed

Seaming
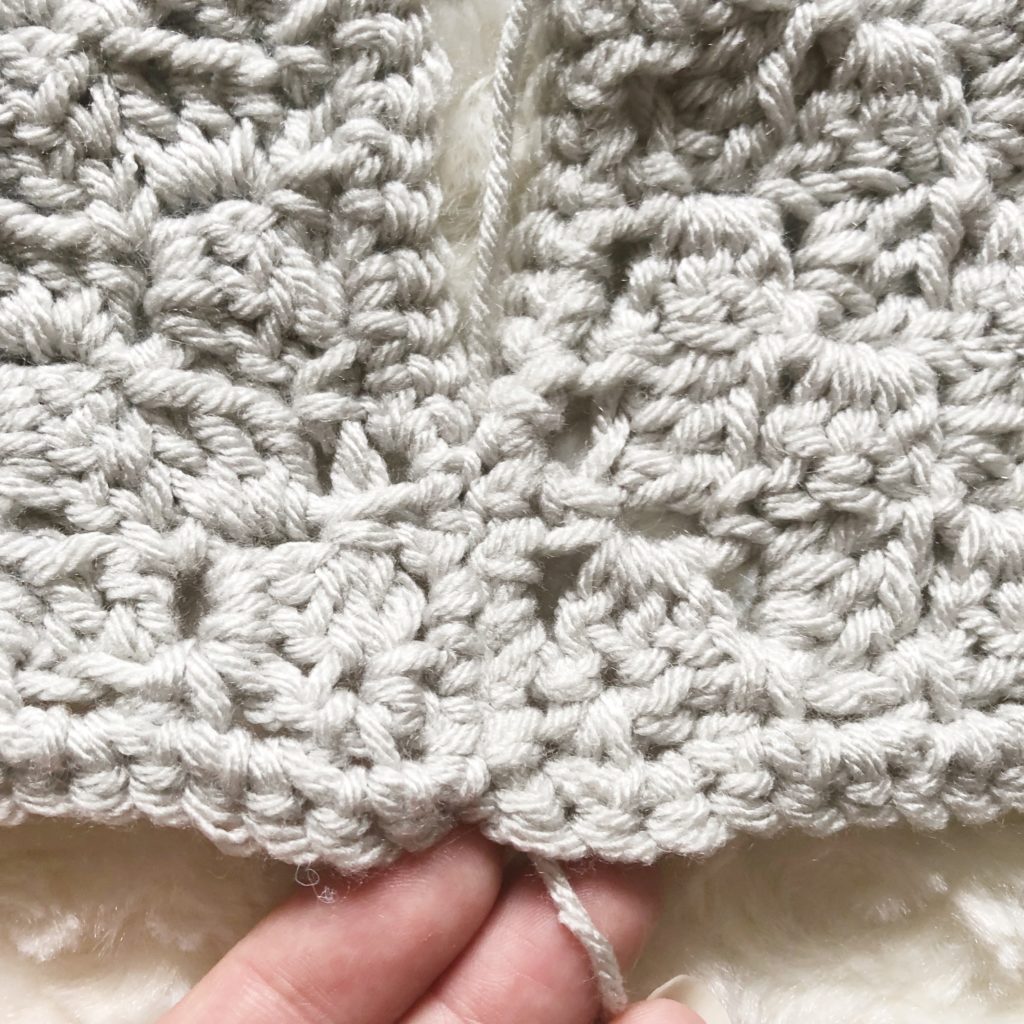
Weave in all ends. Now, you should have three pieces that look like this:
Front Panel (RS) Back Panel (RS) Set up
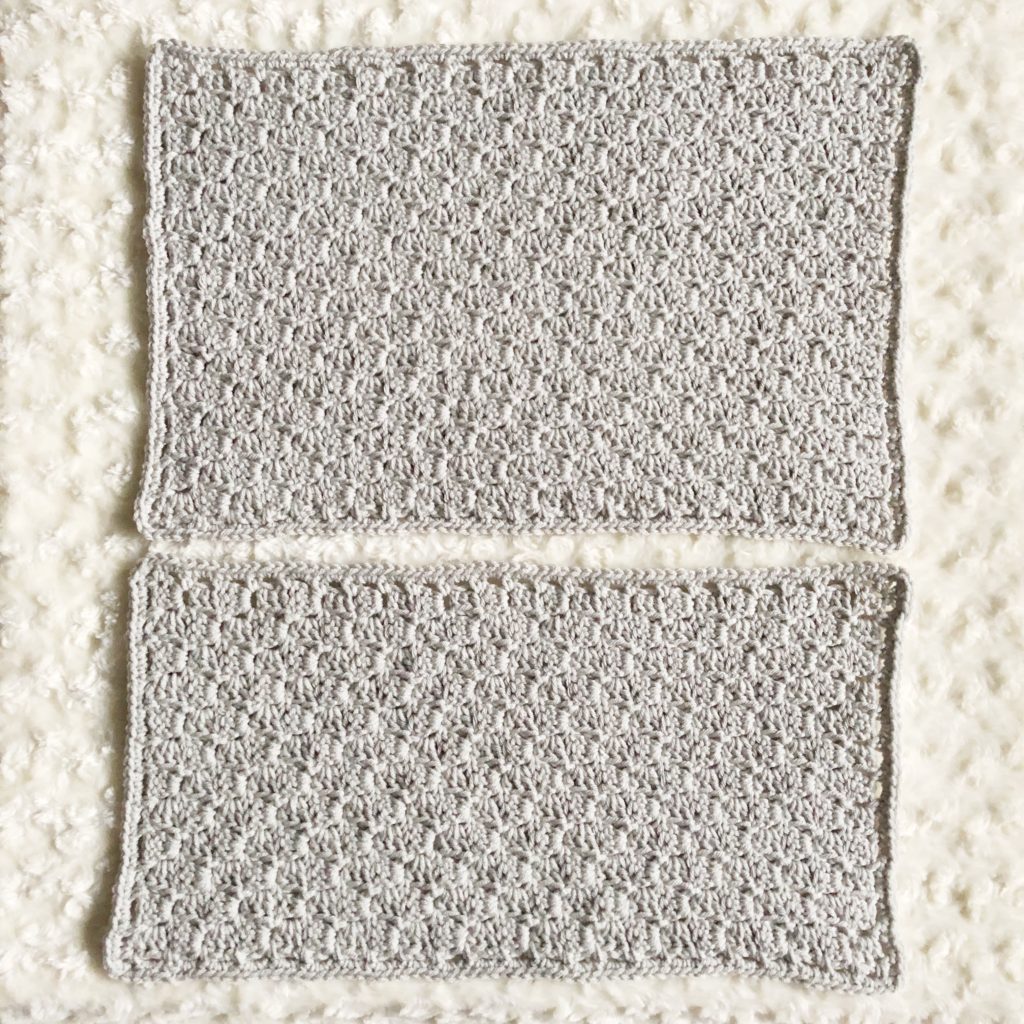
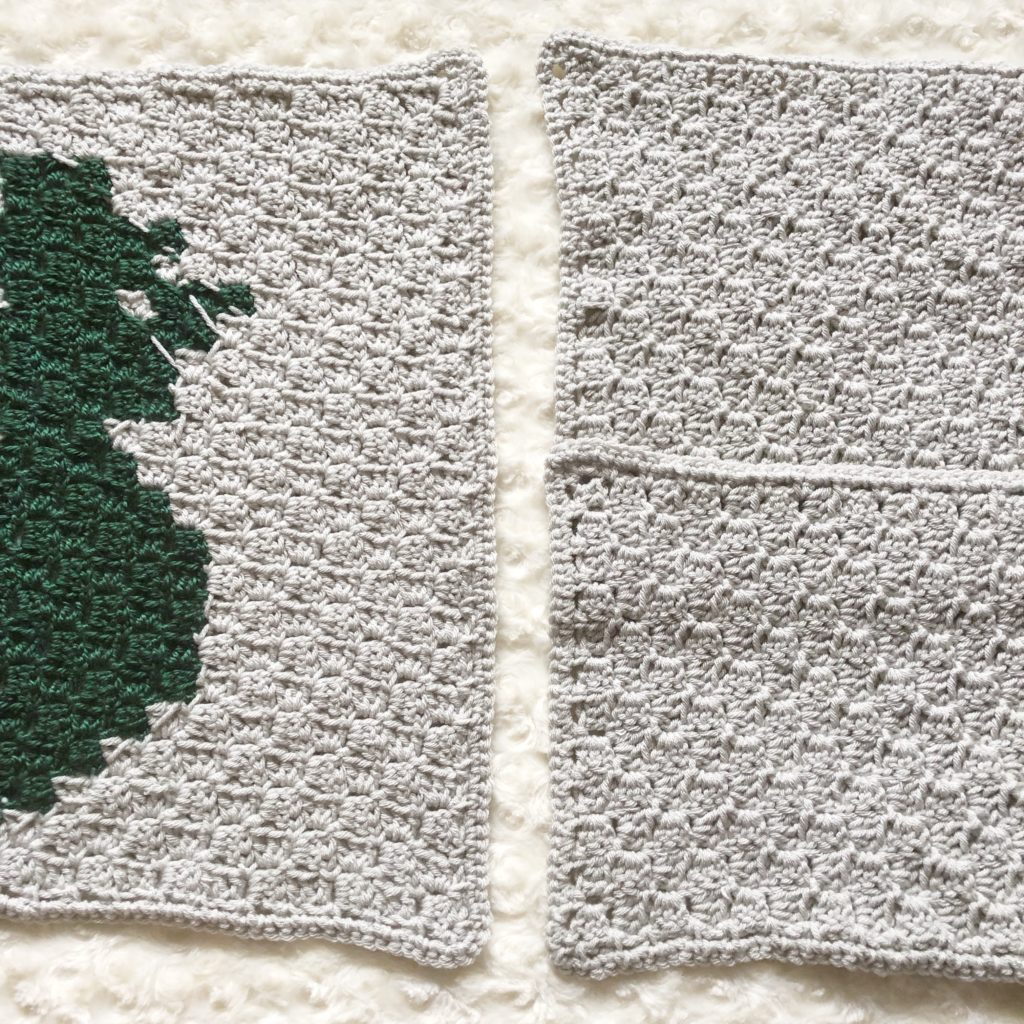
Lay front panel WS up. Position the back two panels so that 4 rows of tiles overlap across the width of the panels. Then lay them WS up next to the front panel. See Set up picture.
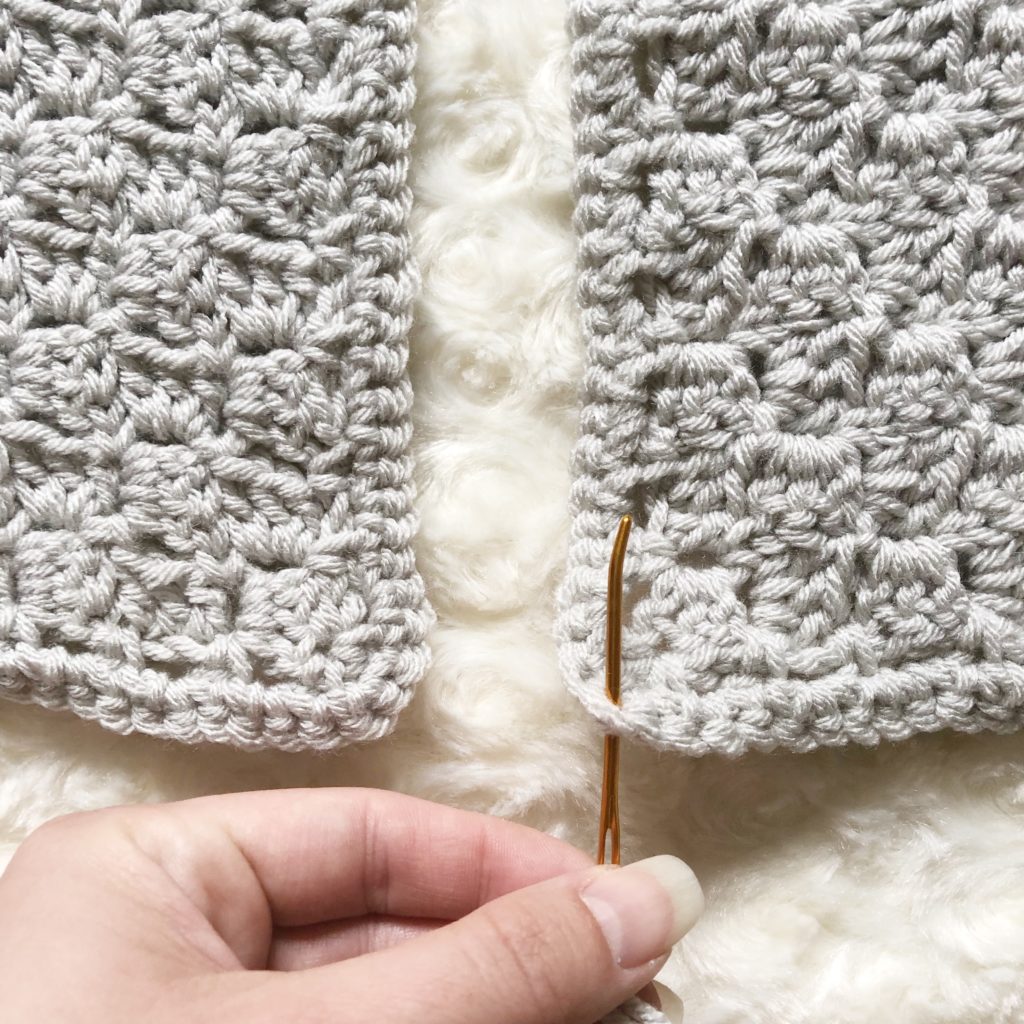
Seam together using the mattress stitch. You may choose to begin seaming at any place on the border that is preferable for you. I chose to begin at a corner.
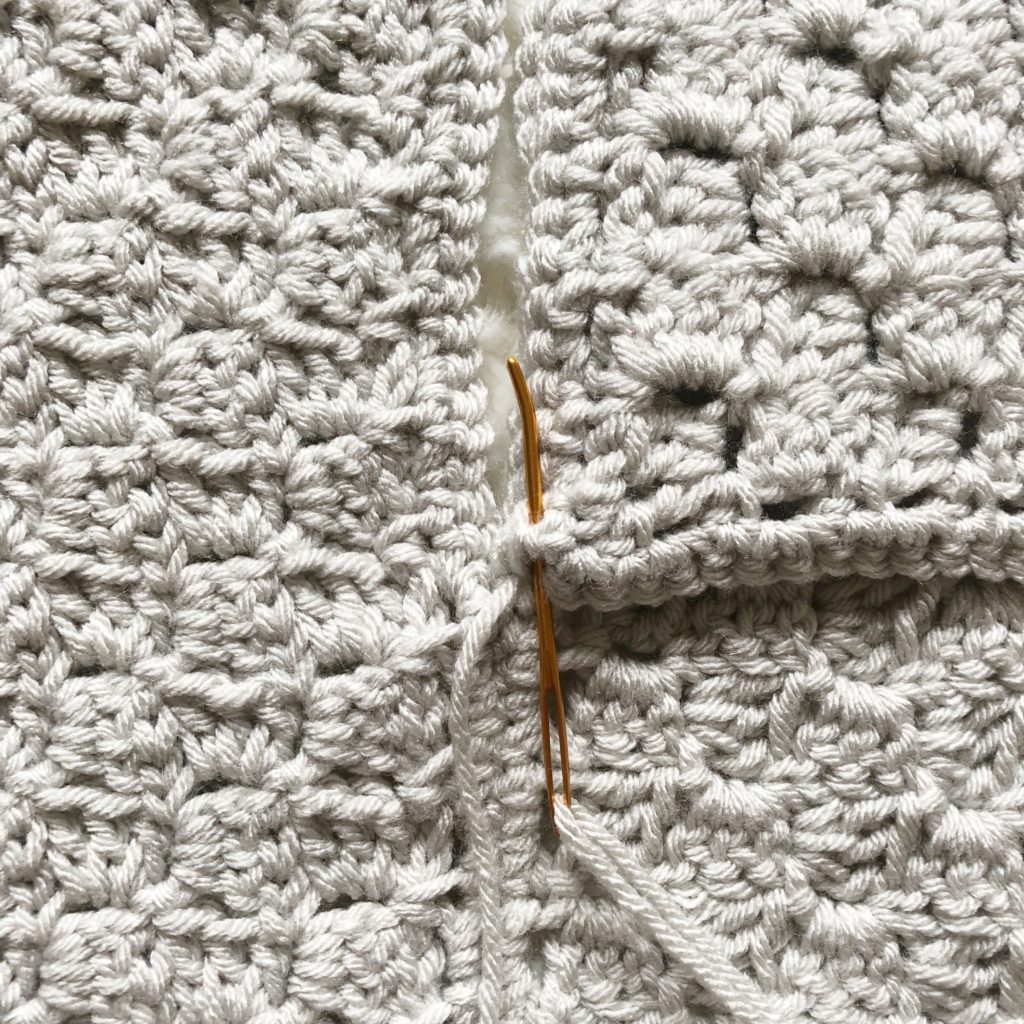
Insert hook under the posts from the first SC on the opposite side. (See Picture A.)
Picture A Pull through the same hole twice. Insert hook into the corner and pull through. Repeat, alternating sides. Pull tight. Continue.

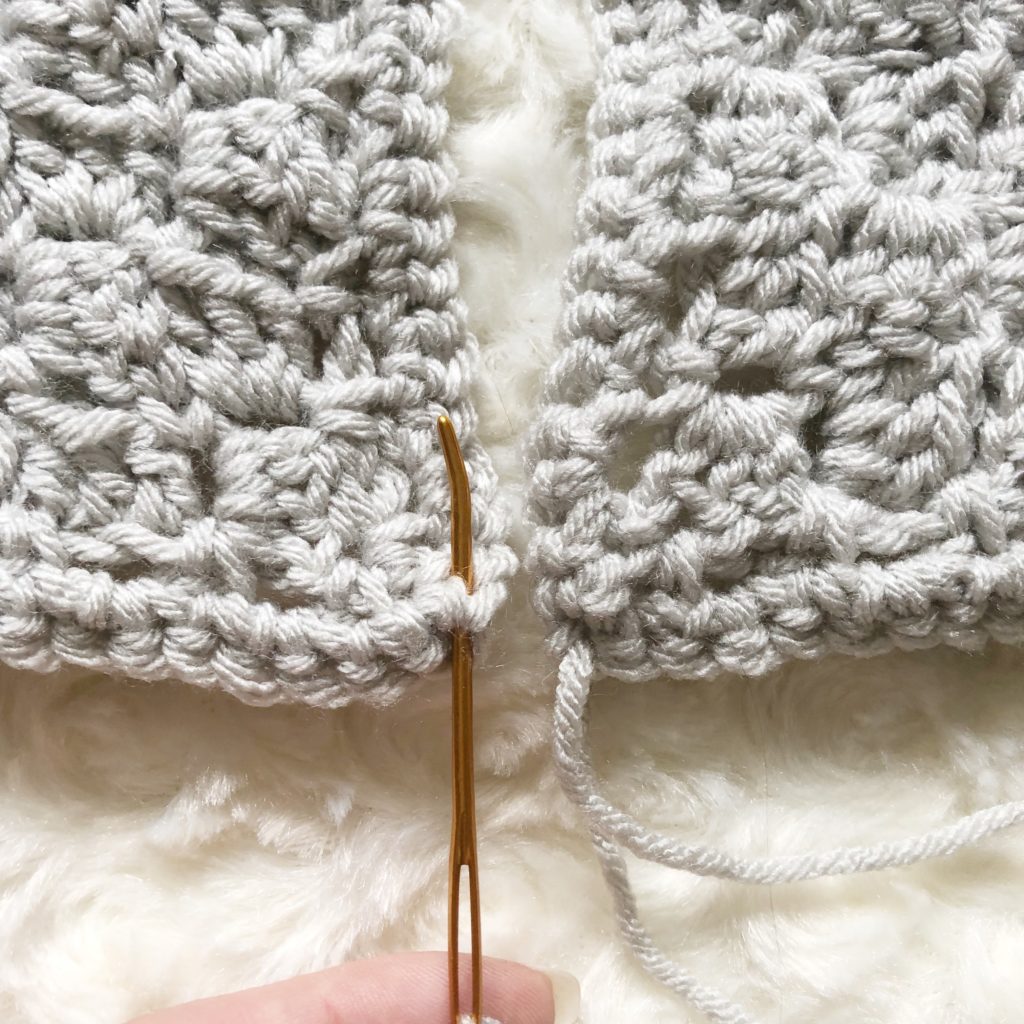
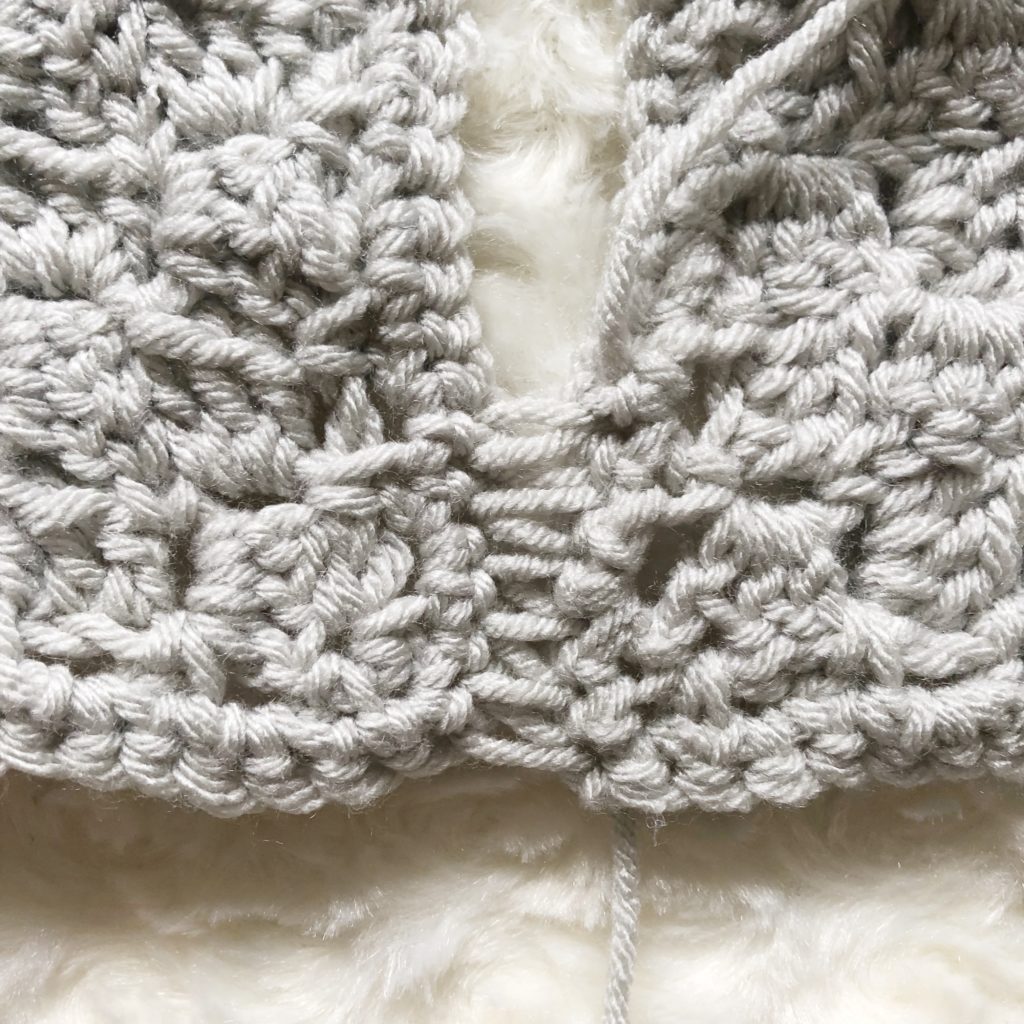
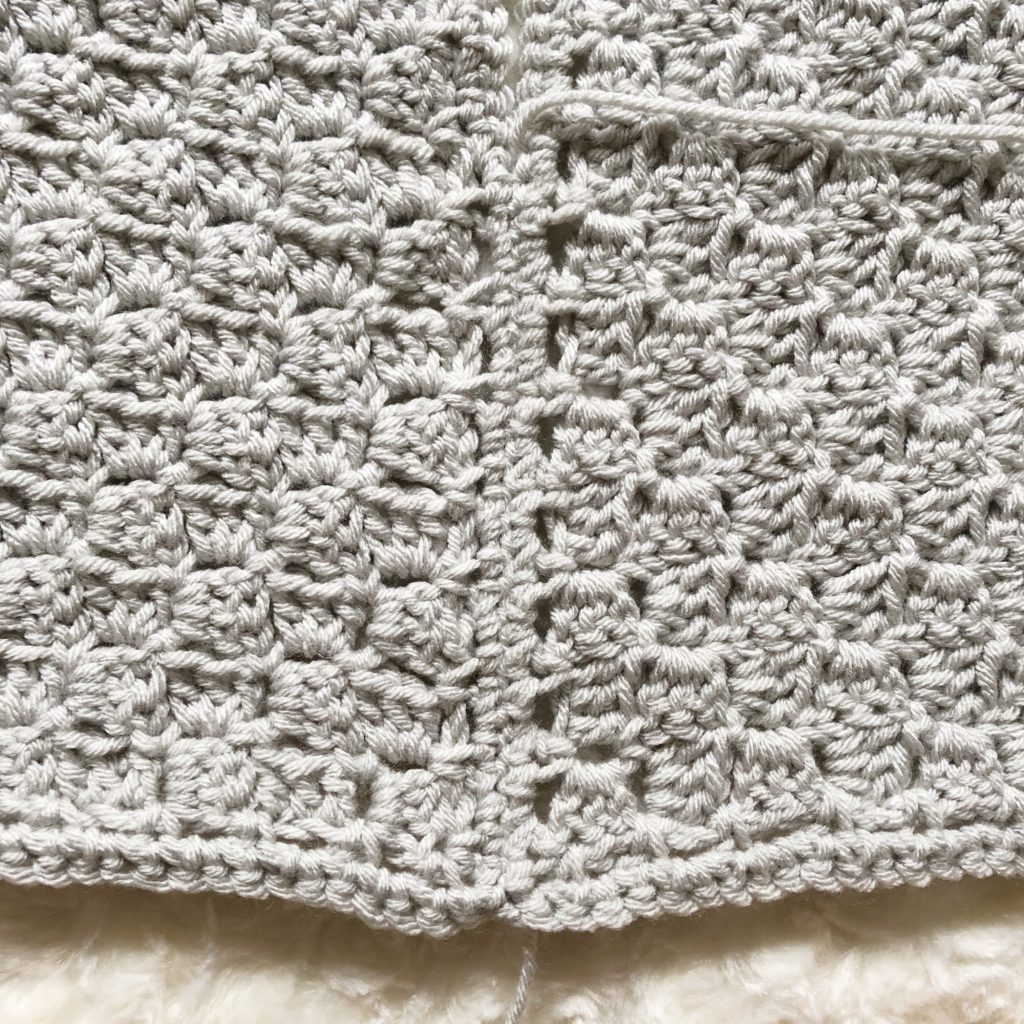
When seaming the overlapped portion, you will need to be sure to grab the posts from both layers. Check your overlap to be sure that you have overlapped four tiles and that the corners match up in length.
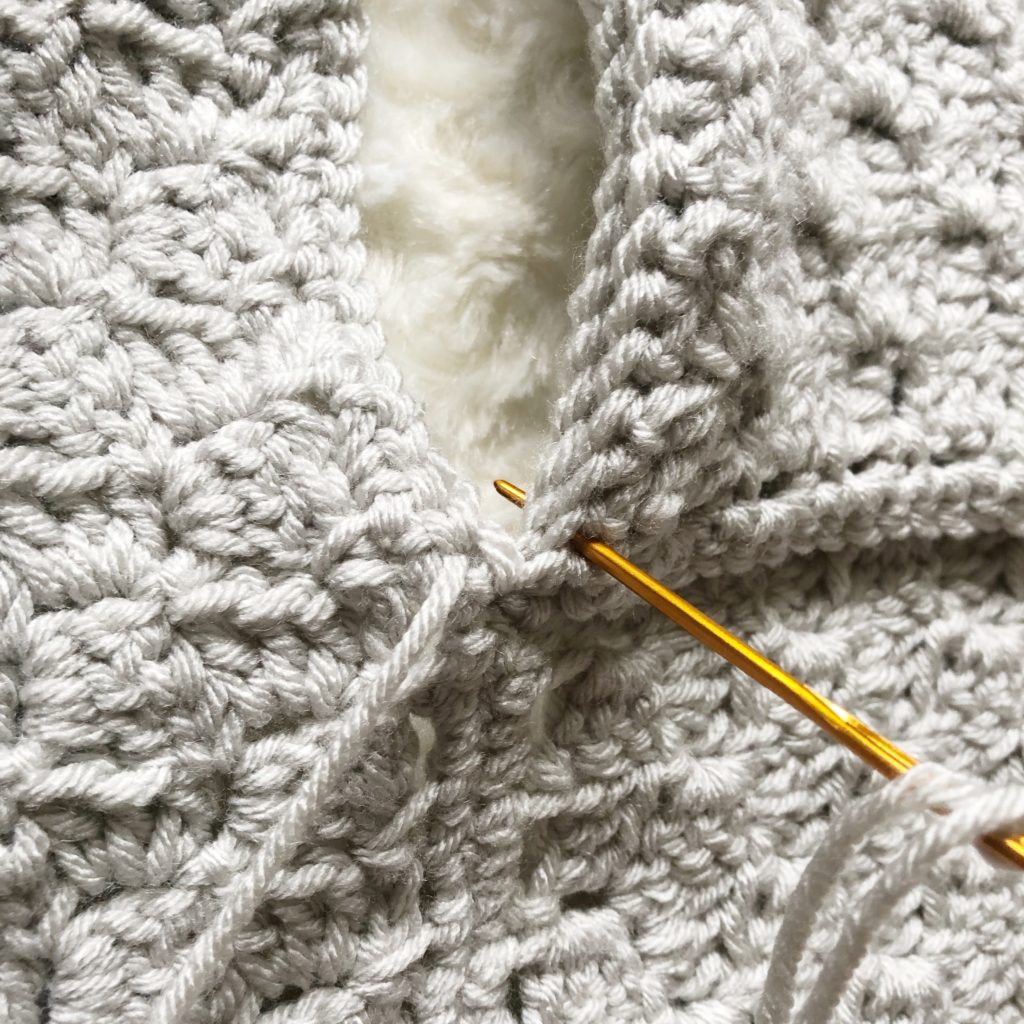
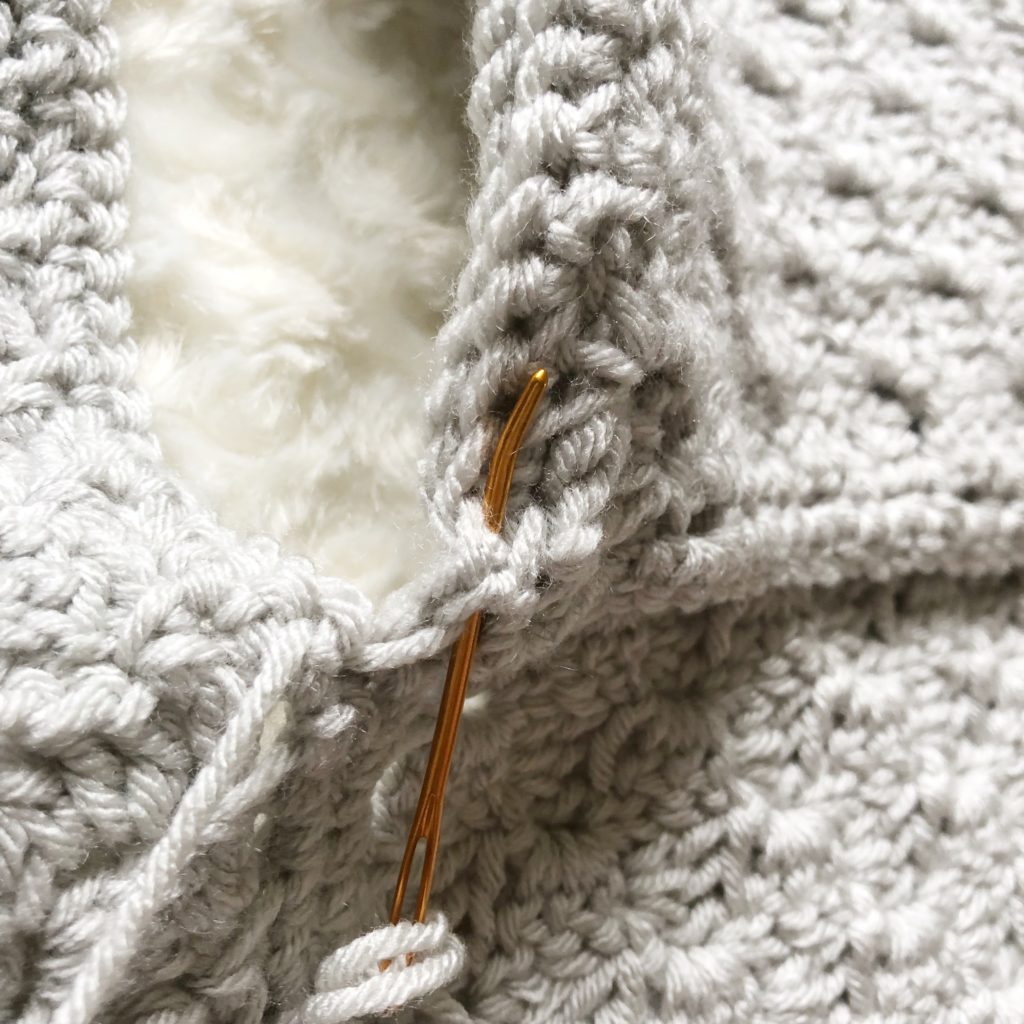
Work needle around both SC posts and back up through to the top. (See picture B.)
Picture B Insert needle through both layers.
Finish off and weave in ends when finished.
Finishing
Buttons are helpful for keeping the back panel shut. I used ¾” buttons and attached them between the 7th and 8th tile from each side on the lower panel.
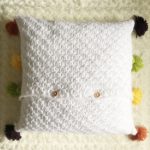
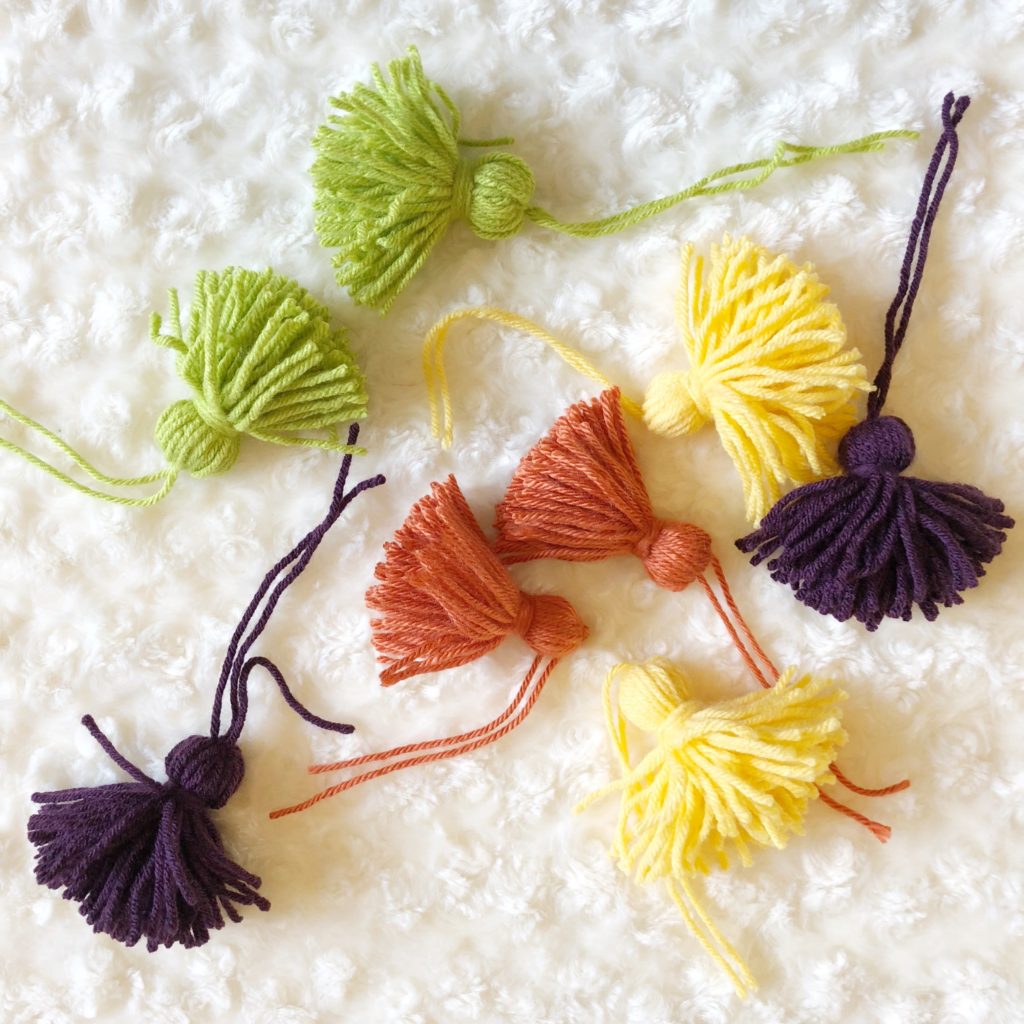
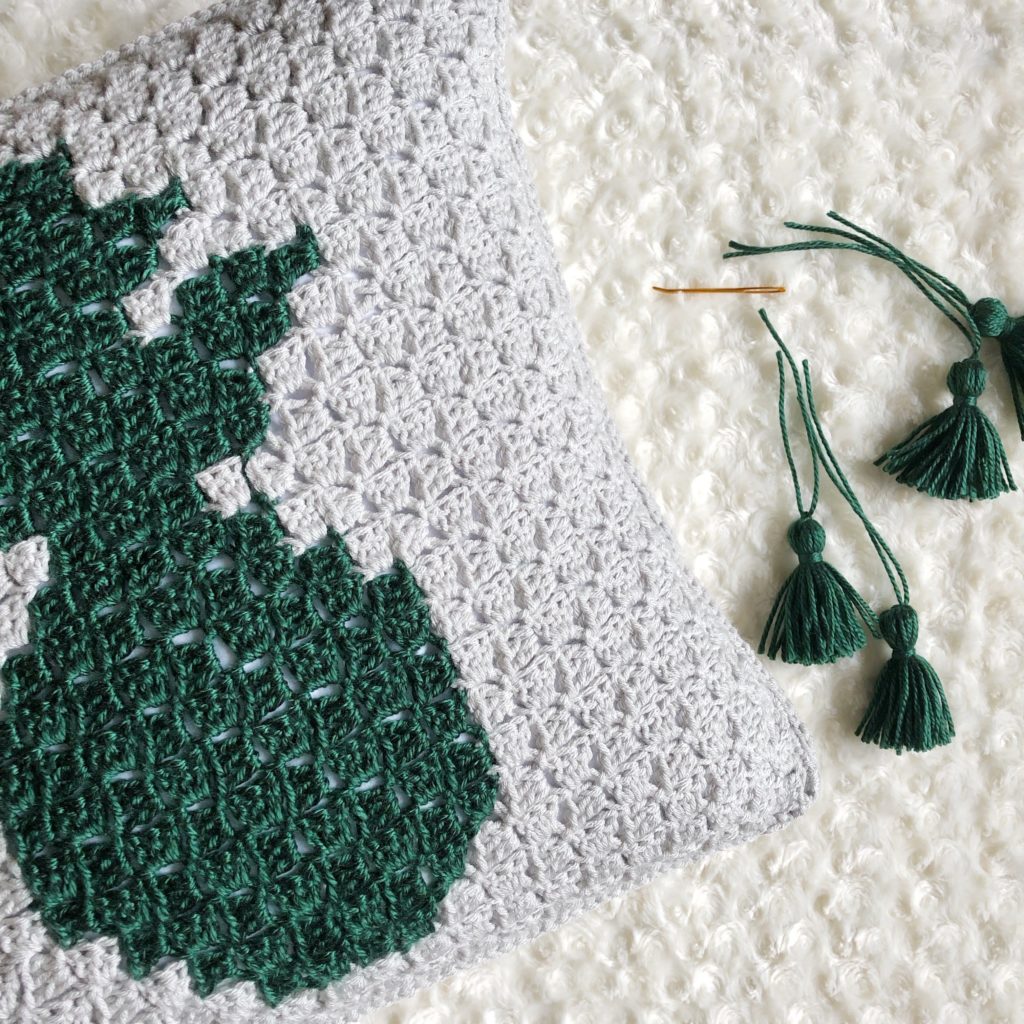
You may choose to embellish your new pillow with either tassels or pompoms. I have tried both! Be creative and make it your own! You can find my tassel tutorial here. The tassels shown are 3 inches in length. When attaching either the tassels or pompoms, I used a surgeon’s knot to ensure that they were attached securely. I threaded the tails through the center of the tassel or pom and then trimmed them to the same length as the surrounding yarn.
If you make this crochet pillow, please share it! I would love to see your work! You can tag me on Instagram and Facebook @theplushpineapple. Use the tags #theplushpineapple and #plushpineapplepillow.
“Much love, sunshine, and pineapples”
Sarah
The photographs and pattern contained in this document are the property of The Plush Pineapple. Unauthorized reproduction, in whole or in part, or distribution of this pattern or content is prohibited. ALL FINISHED PRODUCTS created using this pattern may be sold locally or online. If selling finished products online, please give my blog credit for the pattern by posting a link to my website.