“Nothing haunts us like the purse we didn’t get.”
Me
Well, I’ve designed two patterns, I’m only one free crochet pattern away from a collection!
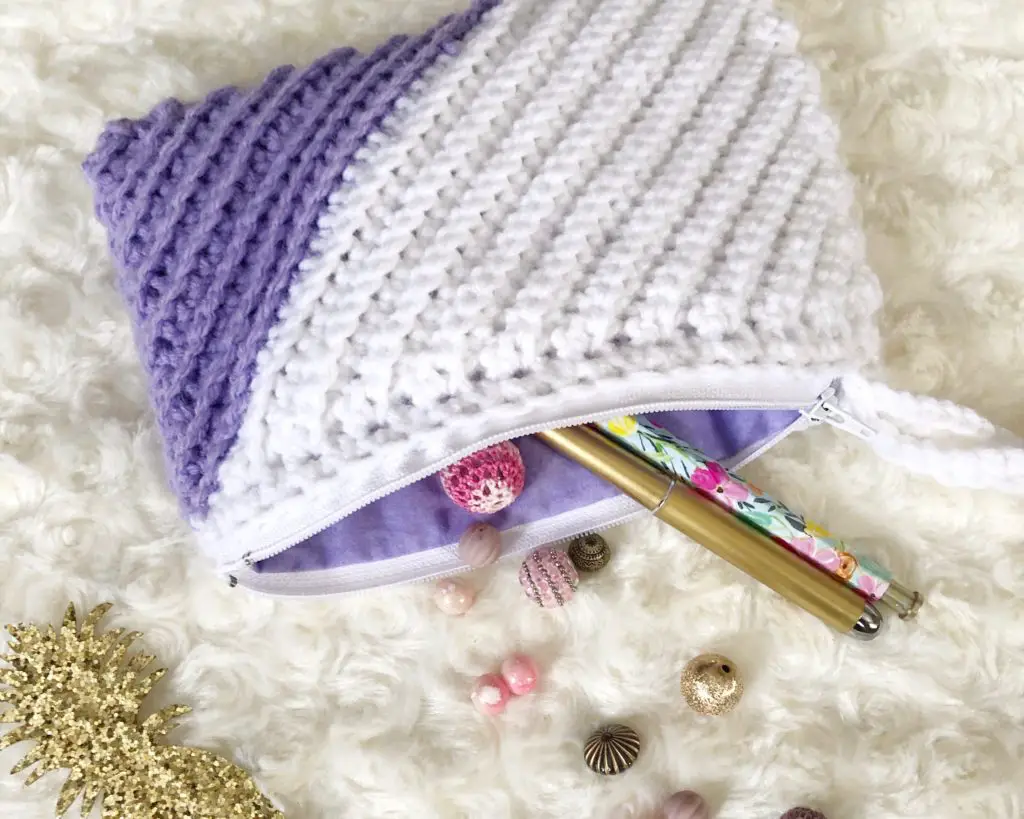
Sitting in my usual spot crocheting a Kelsi Headband, my eye caught sight of my wristlet sitting on my desk, and I thought, “Hey…this stitch detail would look great as a clutch!”
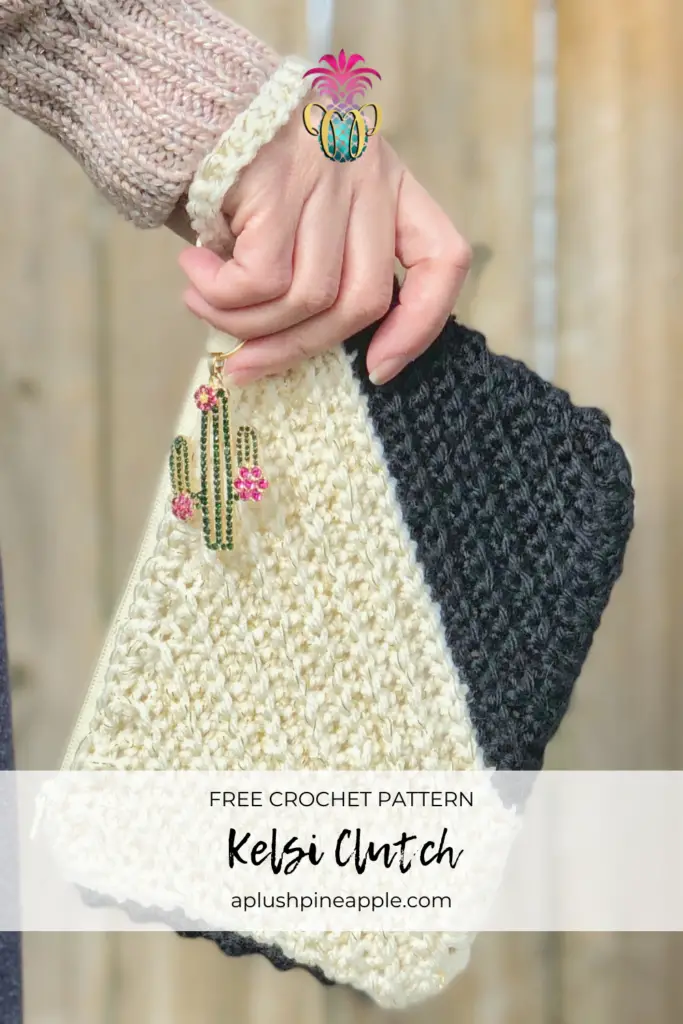
I would have to say that this is where the design train for free crochet patterns started accelerating. Since coming off of the high of releasing my first couple of patterns, the ideas kept on flashing like lightbulbs one right after the other! Another free crochet pattern was about to unfold. As I was designing the Kelsi clutch, I decided to color block quite by instinct while beginning the decreases. I turned that corner and thought, “A contrasting color would look really neat right here.” I posted a sneak peek of the design indicating that I was working on the second free crochet pattern in the Kelsi Collection, and my sister was over the moon! “A collection?!” she squealed in delight.
She likes being famous… 😉

Through the Loop Yarn Craft Blog Hop
Hi, friends! If you are here for your free download as part of the Through the Loop Yarn Craft Blog Hop, then you have come to the right place! Just tap the link below to head over to the Through the Loop Yarn Craft blog and snag the coupon code for the download. Once you have the code, head right on back here to jump over to Ravelry and get your free pattern!
Promotion is only valid from 0:00 AM – 11:59 PM EST, Monday, February 8.


Skill Level – Beginner
Materials
- Worsted (4) weight yarn in two colors
- US I9/5.50mm crochet hook
- Matching fabric (optional)
- 7” zipper (optional)
- Tapestry needle
- Scissors
Abbreviations
- CH – Chain
- SC – Single crochet
- SC2tog – Single crochet two stitches together
- BLO – Back loop only
- Sl St – Slip stitch
Notes
- Clutch is worked as two flat pieces from corner to corner. It is seamed together when finished. Optional: Bag can be lined with a zippered liner.
- The entire clutch is worked in BLO (with the exception of the SC edge).
- Beginning chains DO NOT count as a stitch.
- Repeat rows consist of a decrease at the beginning of each row and an increase at the end of each row or vice versa in order to maintain a diagonal edge as the piece gets longer. The decreases and increases are indicated in red.
- If you have any difficulty completing this project and would like support, please email me at theplushpineappleshop@gmail.com
Pattern
Clutch Body (Make 2)
Increase Rows
Row 1: Using Color A, CH 4, SC in 2nd CH from hook and in every SC across. (3)
Row 2: CH 1, turn, working in BLO for the remainder of the project, 2 SC in first stitch, SC in next stitch, 2 SC in last stitch. (5)
Row 3: CH 1, turn, SC in first stitch, 2 SC (increase) in next stitch, SC across until 2 stitches remain, 2 SC (increase) in second-to-last stitch, SC in last stitch. (7)
Row 4-15: Repeat Row 3 increasing two stitches on every row. Row 15 should have 31 stitches.
Repeat Rows
Row 16: CH 1, turn, SC in first stitch, SC2tog (decrease), SC across until 2 stitches remain, 2 SC (increase) in second-to-last stitch, SC in last stitch. (31)
Row 17: CH 1, turn, SC in first stitch, 2 SC (increase) in next stitch, SC across until 3 stitches remain, SC2tog (decrease), SC in last stitch. (31)
Row 18-23: Repeat Rows 16 and 17. (31)
Decrease Rows
Row 24: Using Color B, CH 1, turn, SC in first stitch, SC2tog (decrease), SC across until 3 stitches remain, SC2tog (decrease), SC. (29)
Row 25-36: Repeat Row 24 decreasing two stitches on every row. Row 36 should have 5 stitches.
Row 37: CH 1, turn, SC2tog, SC, SC2tog. (3)
Border
Before tying off, Ch 1, SC through both loops evenly around entire edge using Color A and Color B respectively, Sl St to beginning SC to join.
Tie off, leaving a long tail for sewing.
Using the posts from the SC edge, seam the two panels together using mattress stitch. (You may use any preferred method of seaming. Mattress stitch is just the one that I chose.)
Strap
Using Color A, CH 31, SC into the 2nd back hump stitch from hook and in every hump across. (30) Tie off, leaving a long tail for sewing. Sew each end of the strap to the top inside corner of the bag.
You may choose to add a zippered liner to your purse for a finished look! Check out my tutorial on adding a lining to your bags if you need help accomplishing this!
If you make this clutch, please share it! I would love to see your work! You can tag me on Instagram and Facebook @theplushpineapple. Use the tags #theplushpineapple and #kelsiclutch.
“Much love, sunshine, and pineapples”
Sarah
The photographs and pattern contained in this document are the property of The Plush Pineapple. Unauthorized reproduction, in whole or in part, or distribution of this pattern or content is prohibited. ALL FINISHED PRODUCTS created using this pattern may be sold locally or online. If selling finished products online, please give my blog credit for the pattern by posting a link to my website.