
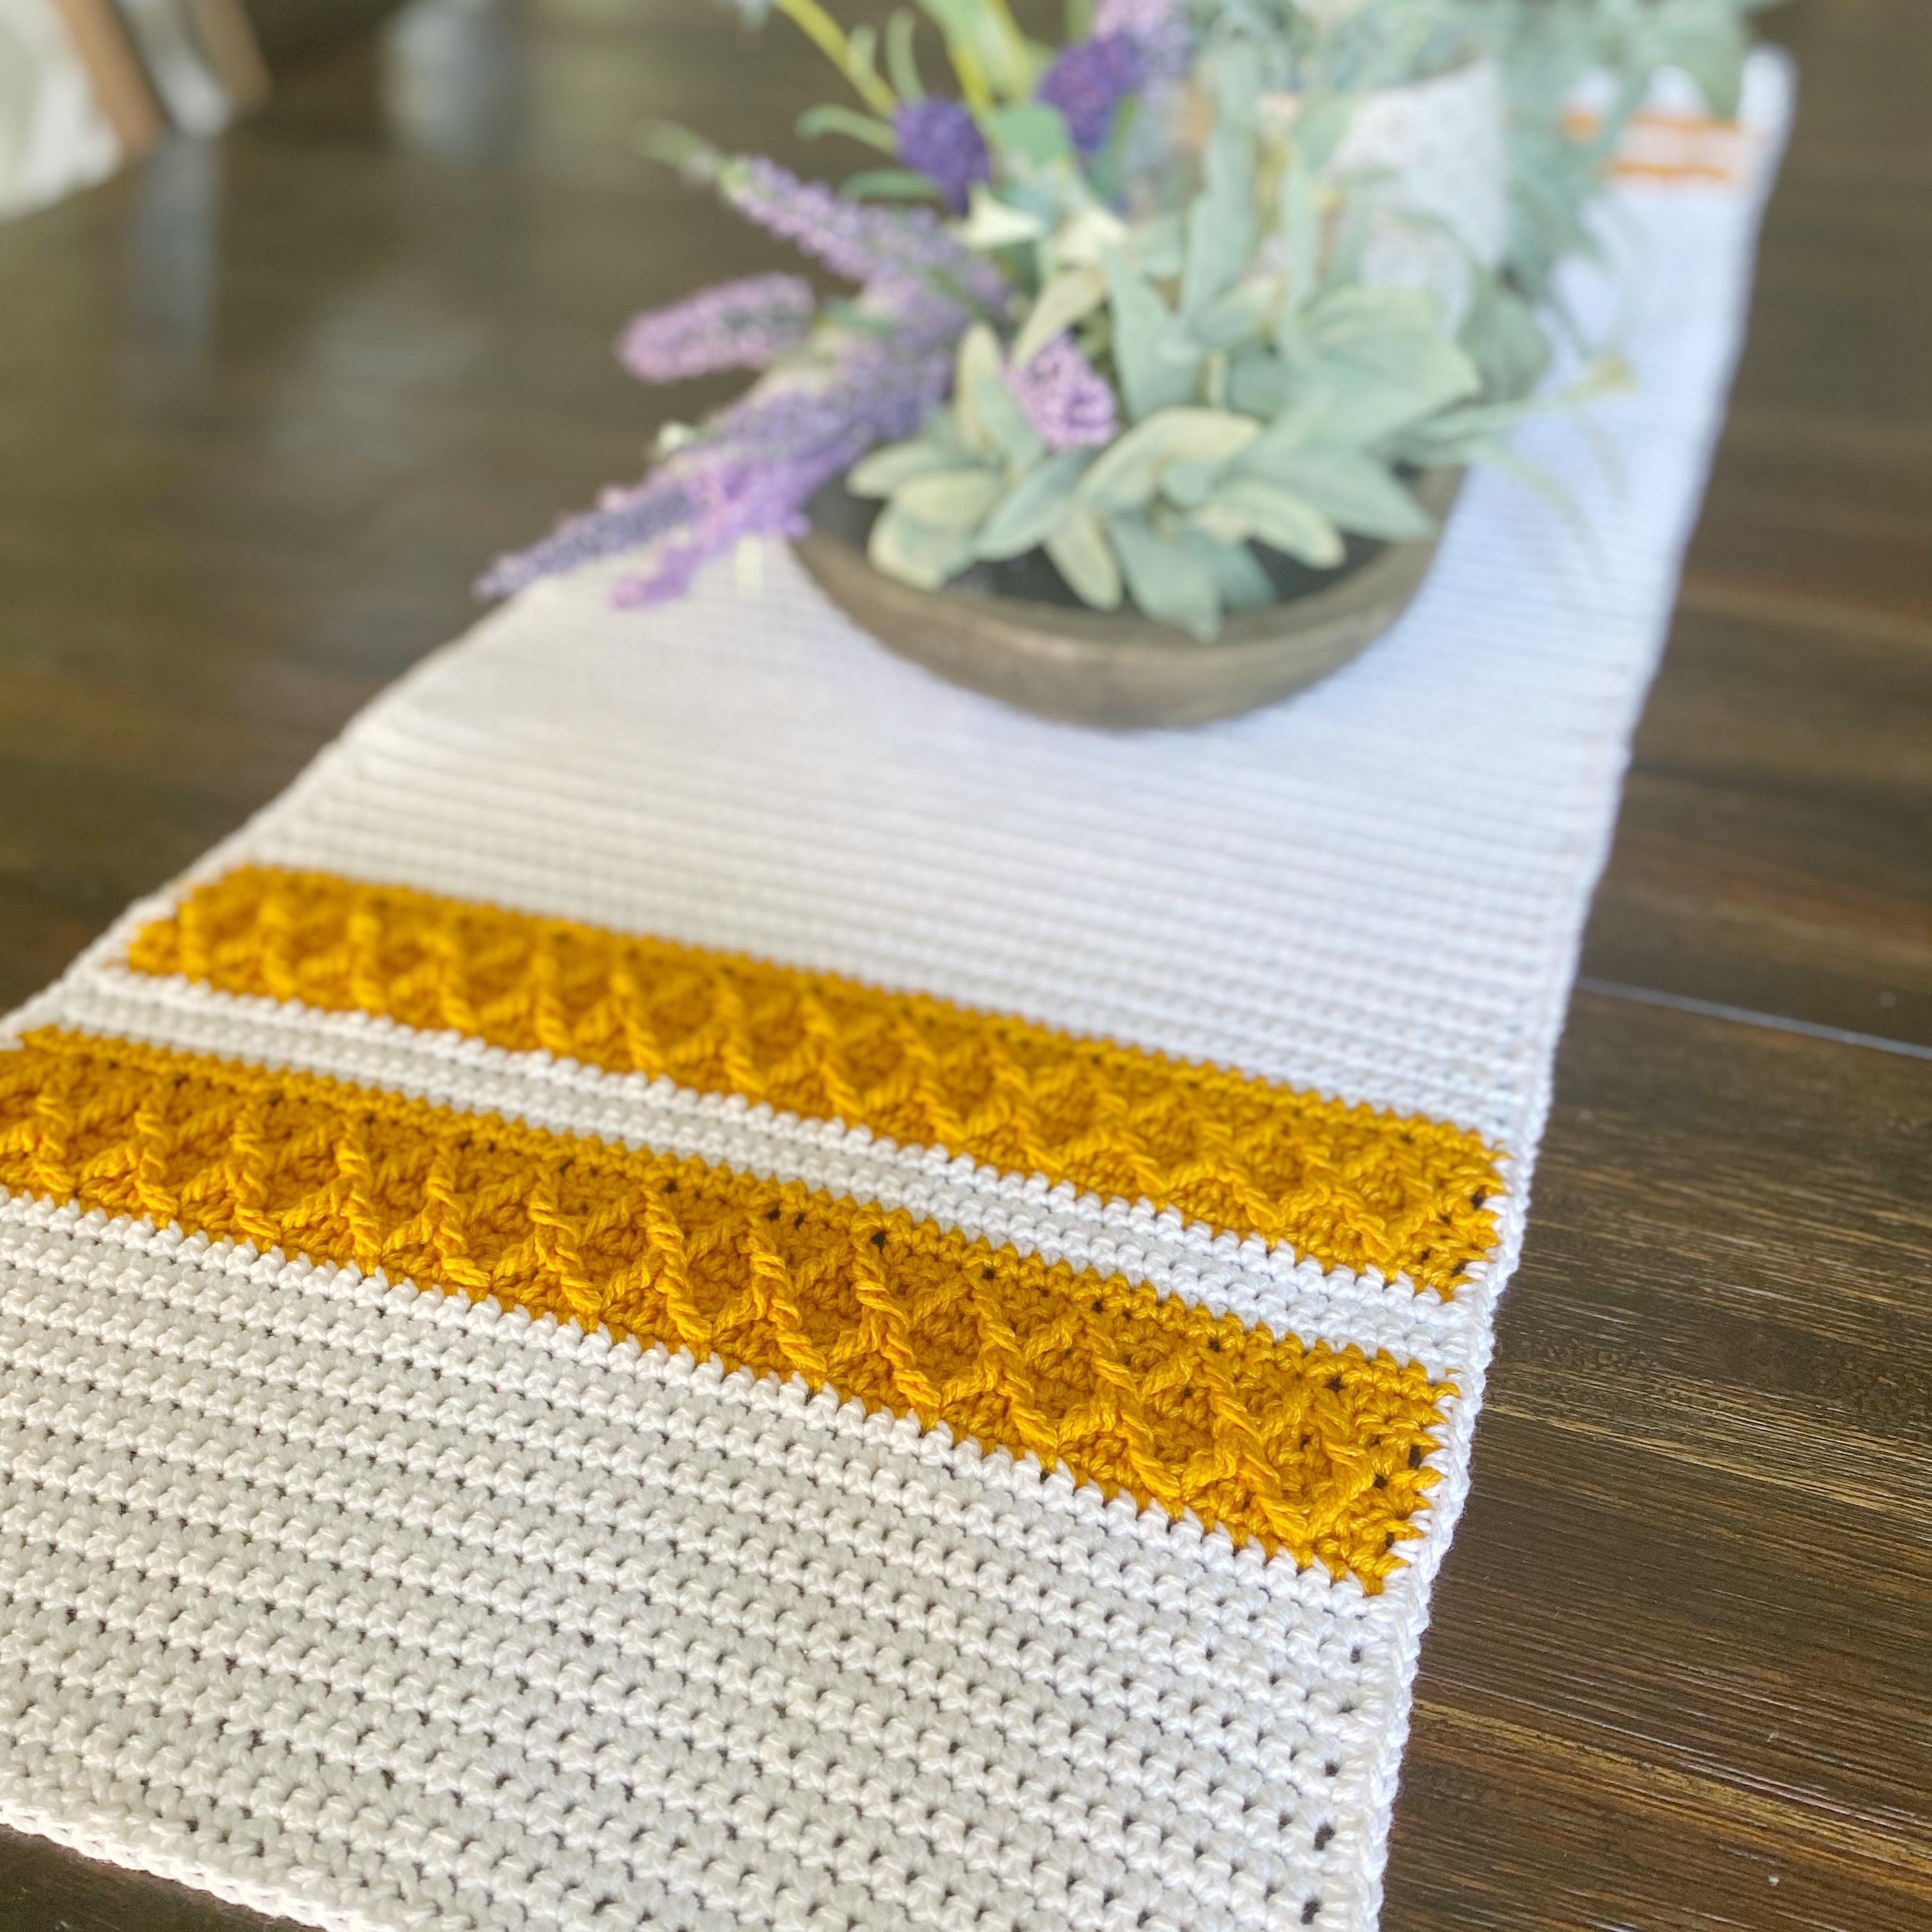
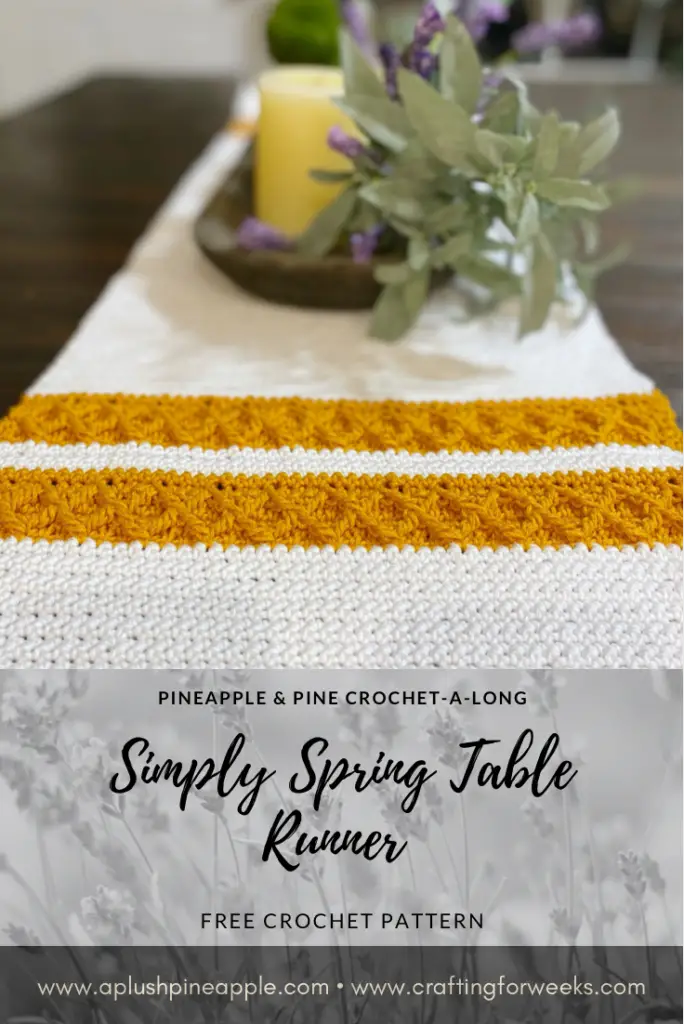
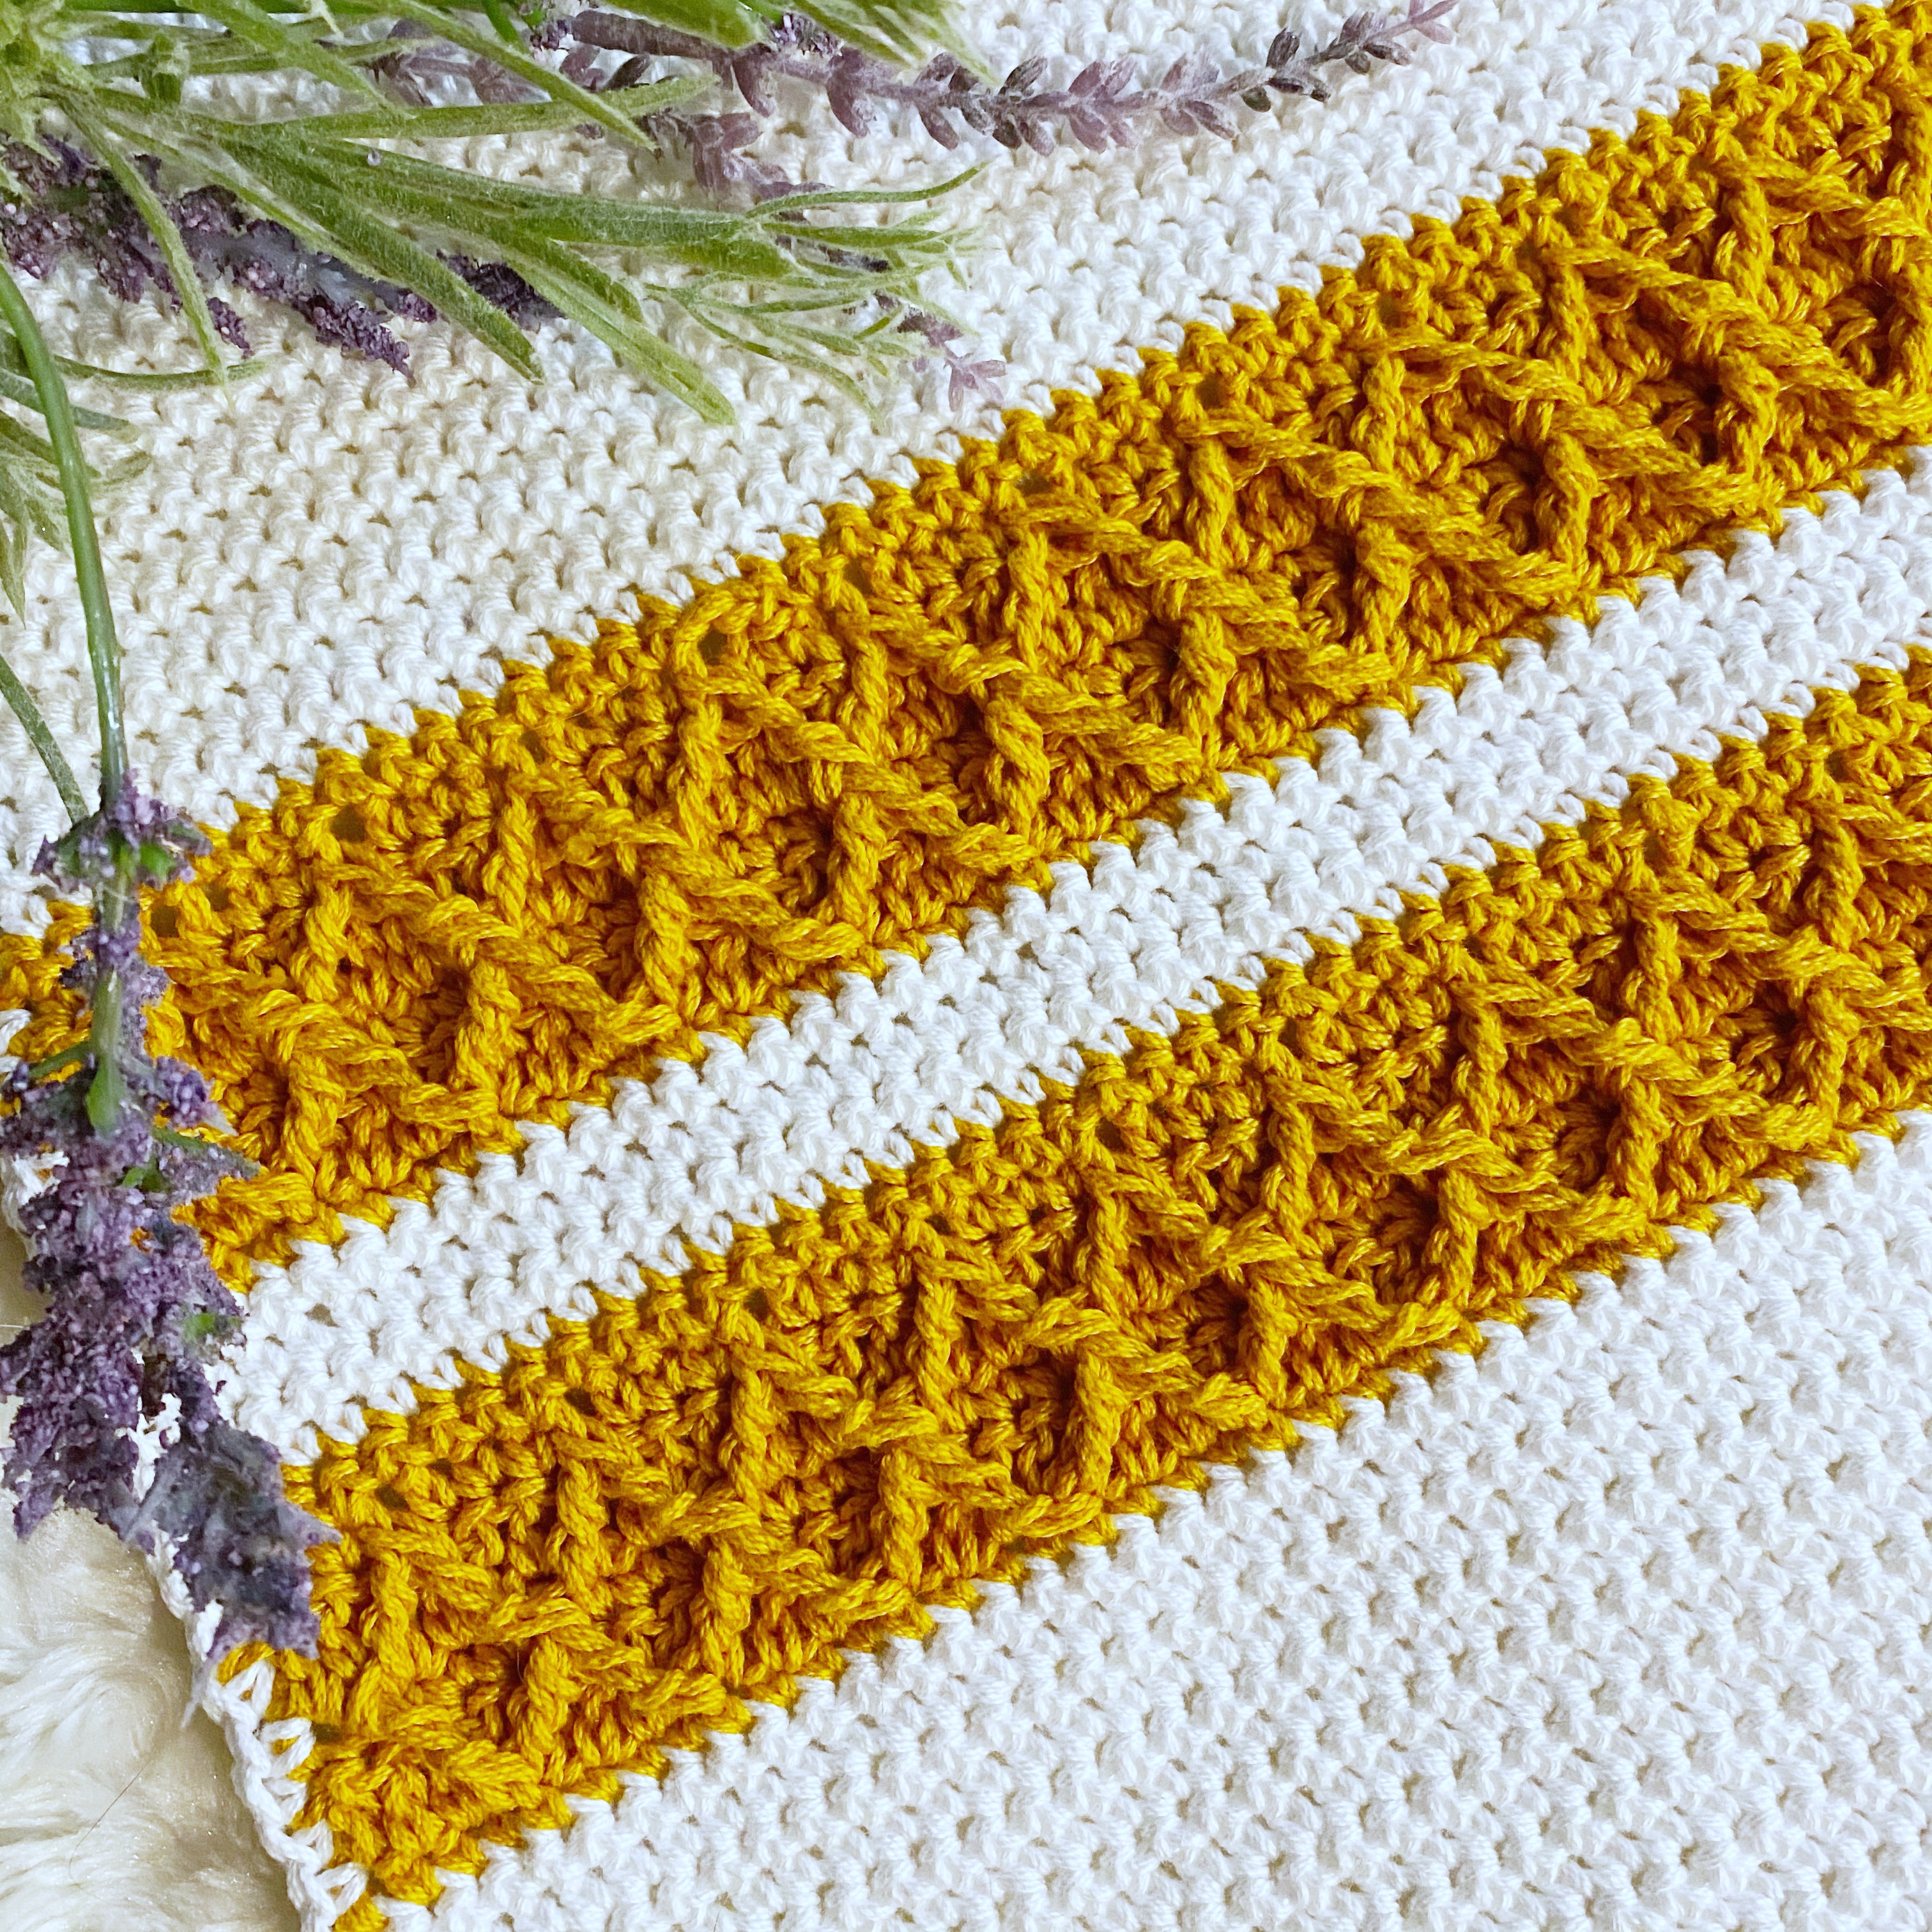
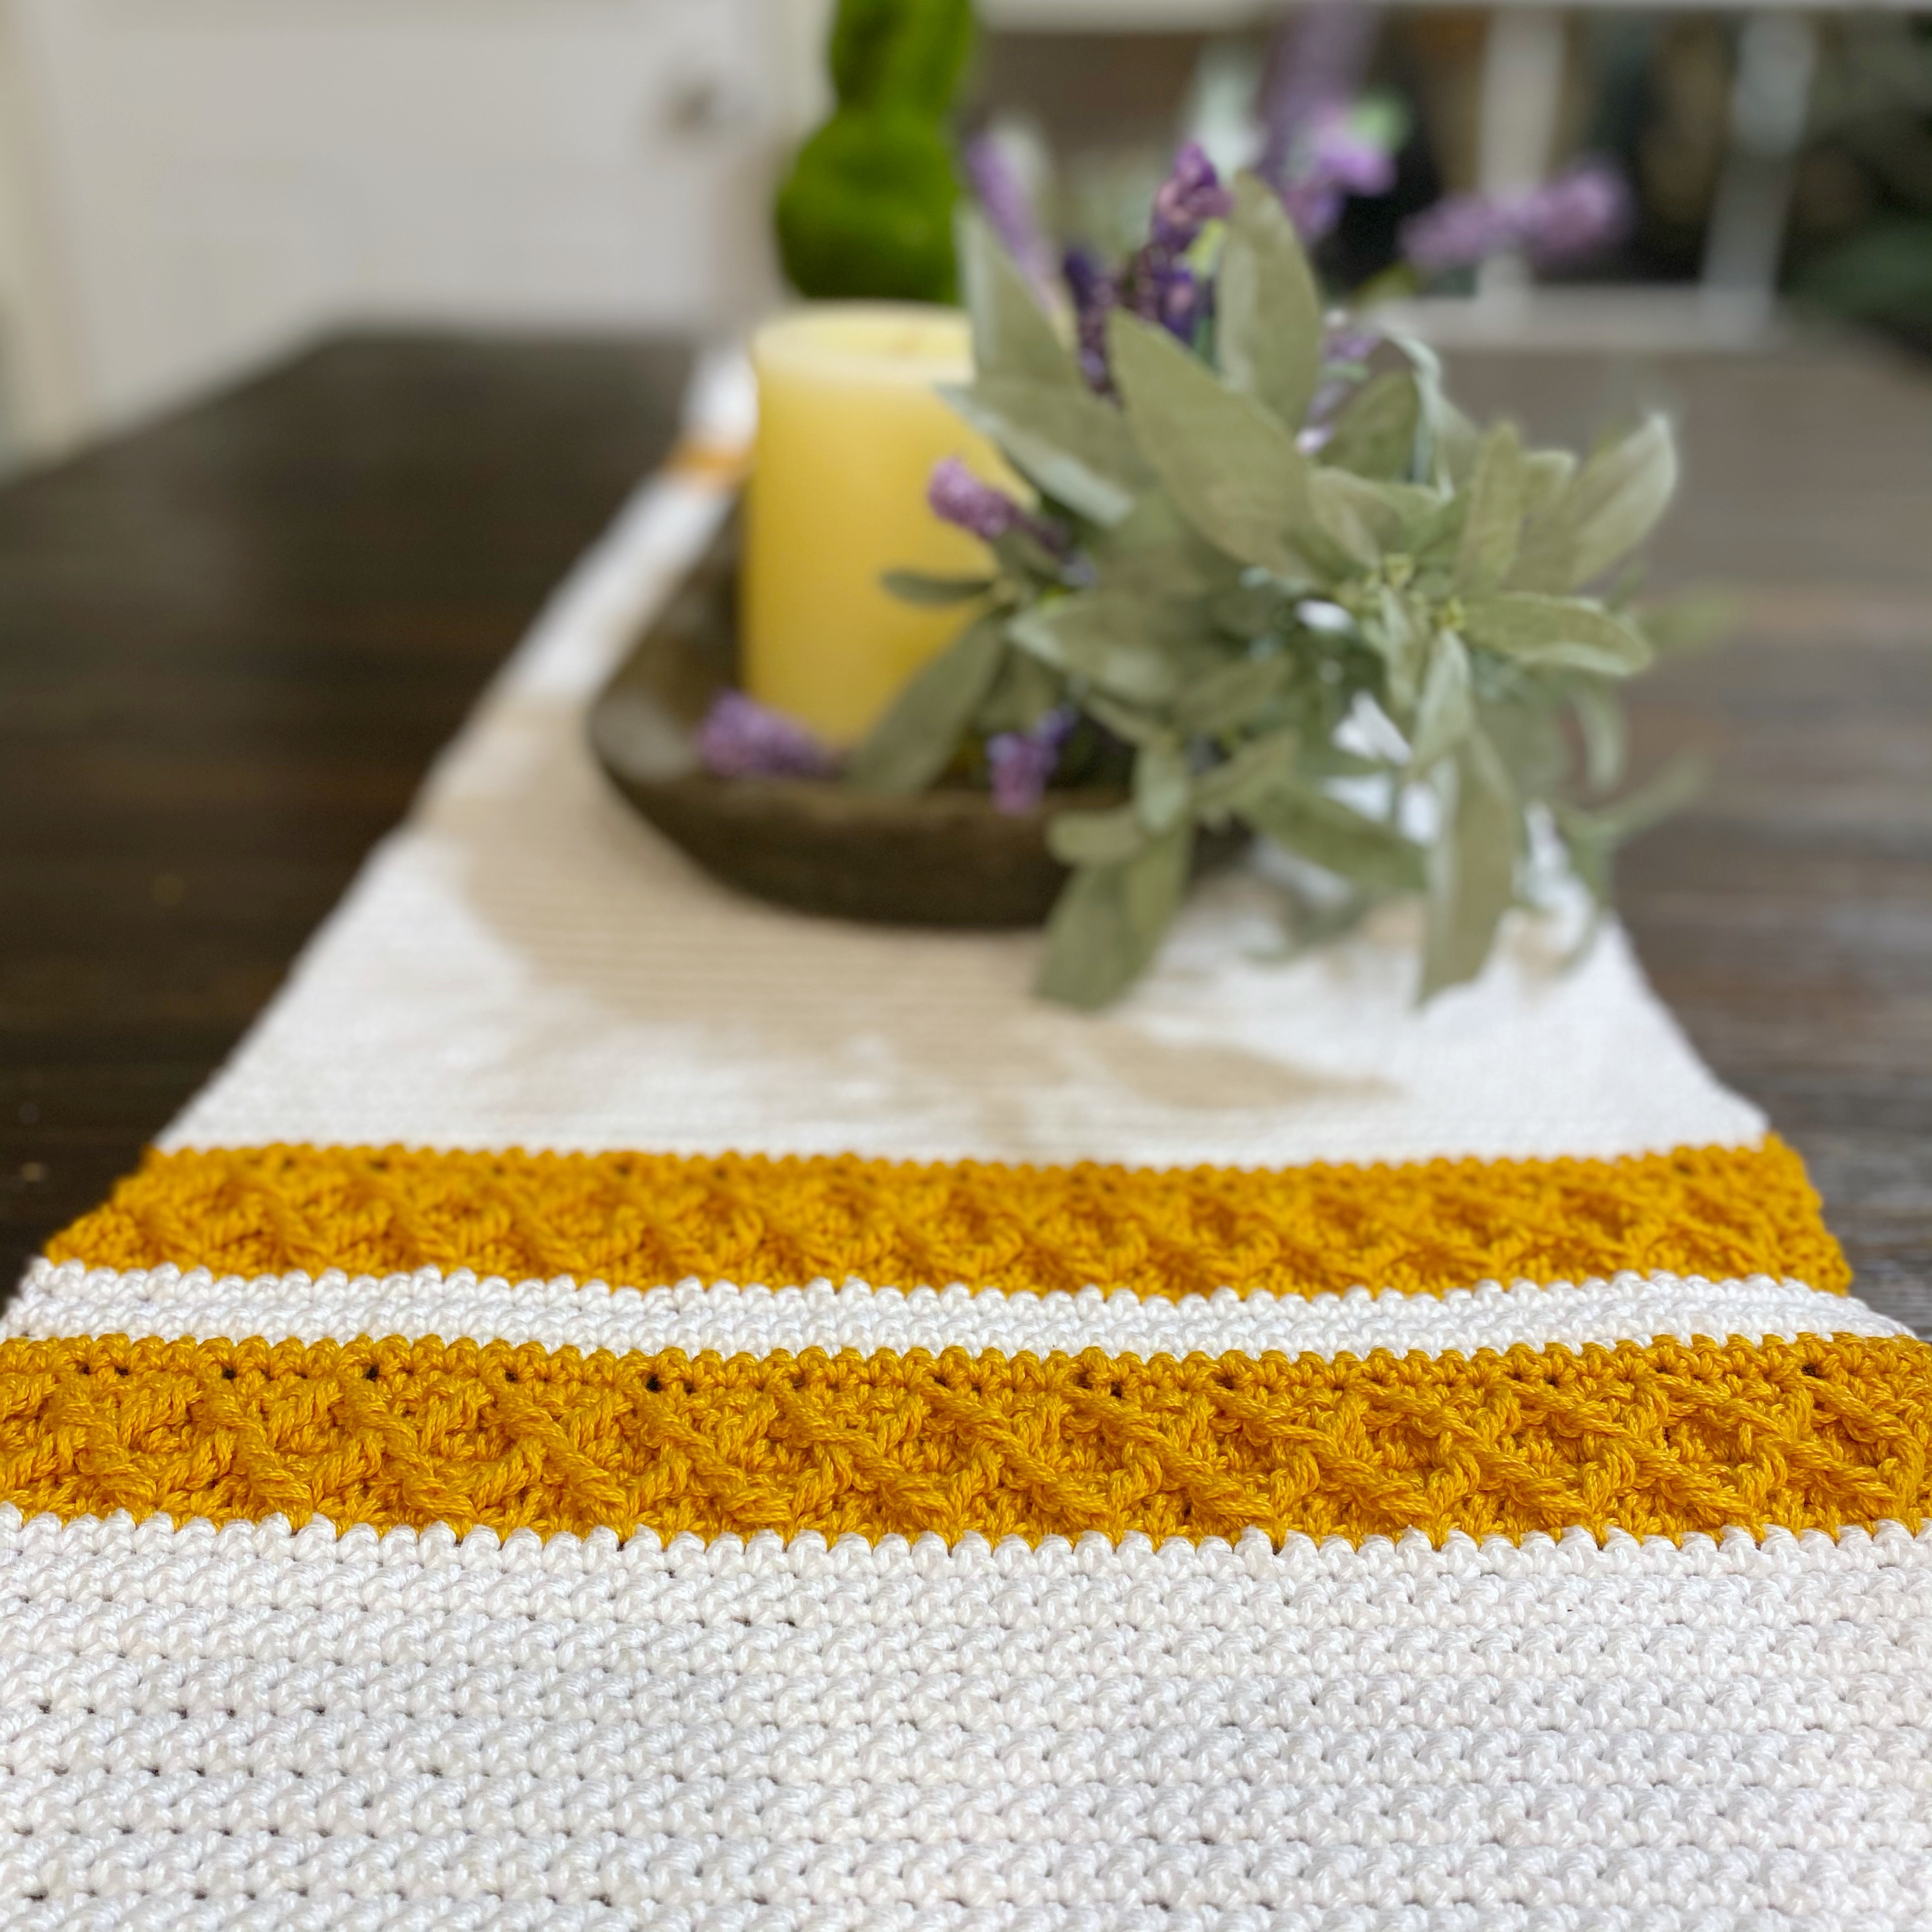
Crochet a simple table runner with minimalistic pops of detail and texture to add a modern farmhouse vibe to your spring kitchen table decor.
“Bloom where you are planted.”
Unknown
When that first bit of warmth from the spring sun touches your soul…
I’m going to be quite honest with you. Me. No. Like. Winter. AT. ALL. It’s cold and dreary and cold and depressing with snow and cold and ice everywhere and cold wind attacking your face…and IT’S COLD! So, you can imagine the feeling that washes over me when I feel the warmth of the sun on my skin for the FIRST TIME IN FOREVER come springtime. I’m instantly happier. It’s a total game changer. I’m motivated. I want to get off the couch and accomplish things. I want to sit outside and soak it in. Even my kids and my dog are happier. They run around and explore all kinds of new territory in the backyard that they haven’t seen in a while. The dog rolls around in the grass. It’s just. pure. happiness.
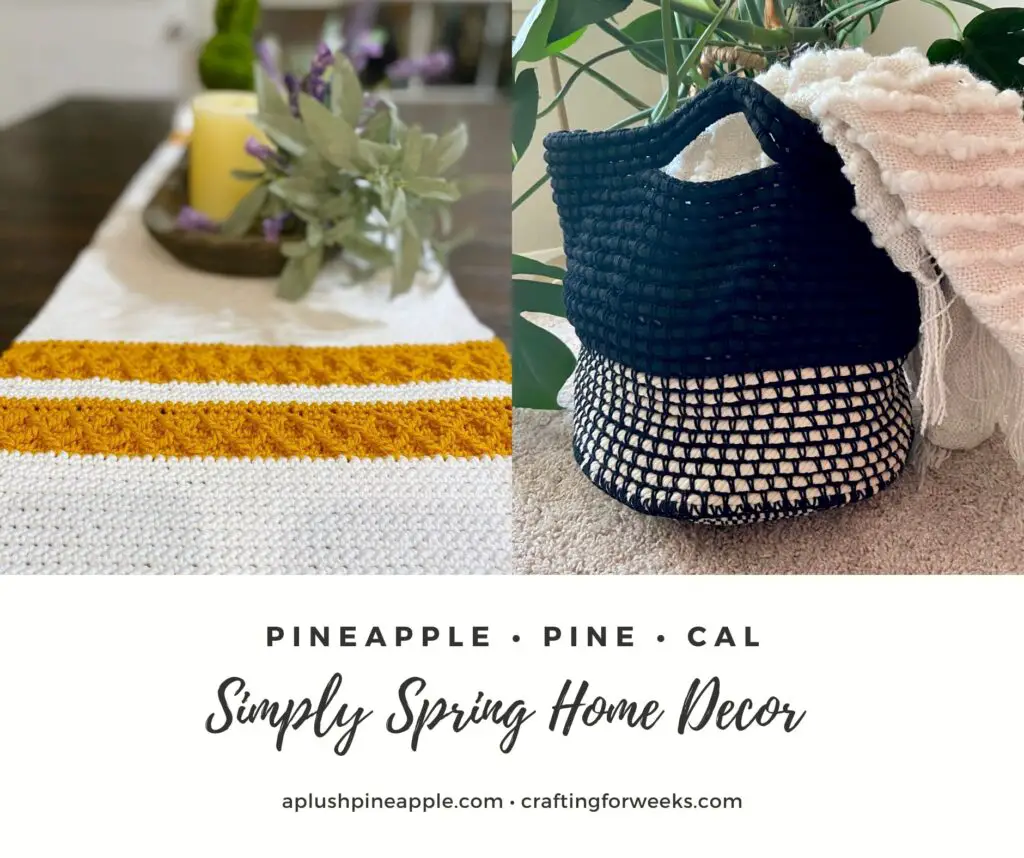
When Kelsie of Crafting for Weeks and I started brainstorming ideas for this next CAL, we knew that we wanted it to give off those same fresh, invigorating vibes. So we put together some home decor projects that will add a new vibrant touch to your space. They are modern and minimalistic so they will look beautiful in practically any color combo and among any style of home decor whether it be farmhouse, bohemian, rustic, or minimalistic.
The Designs
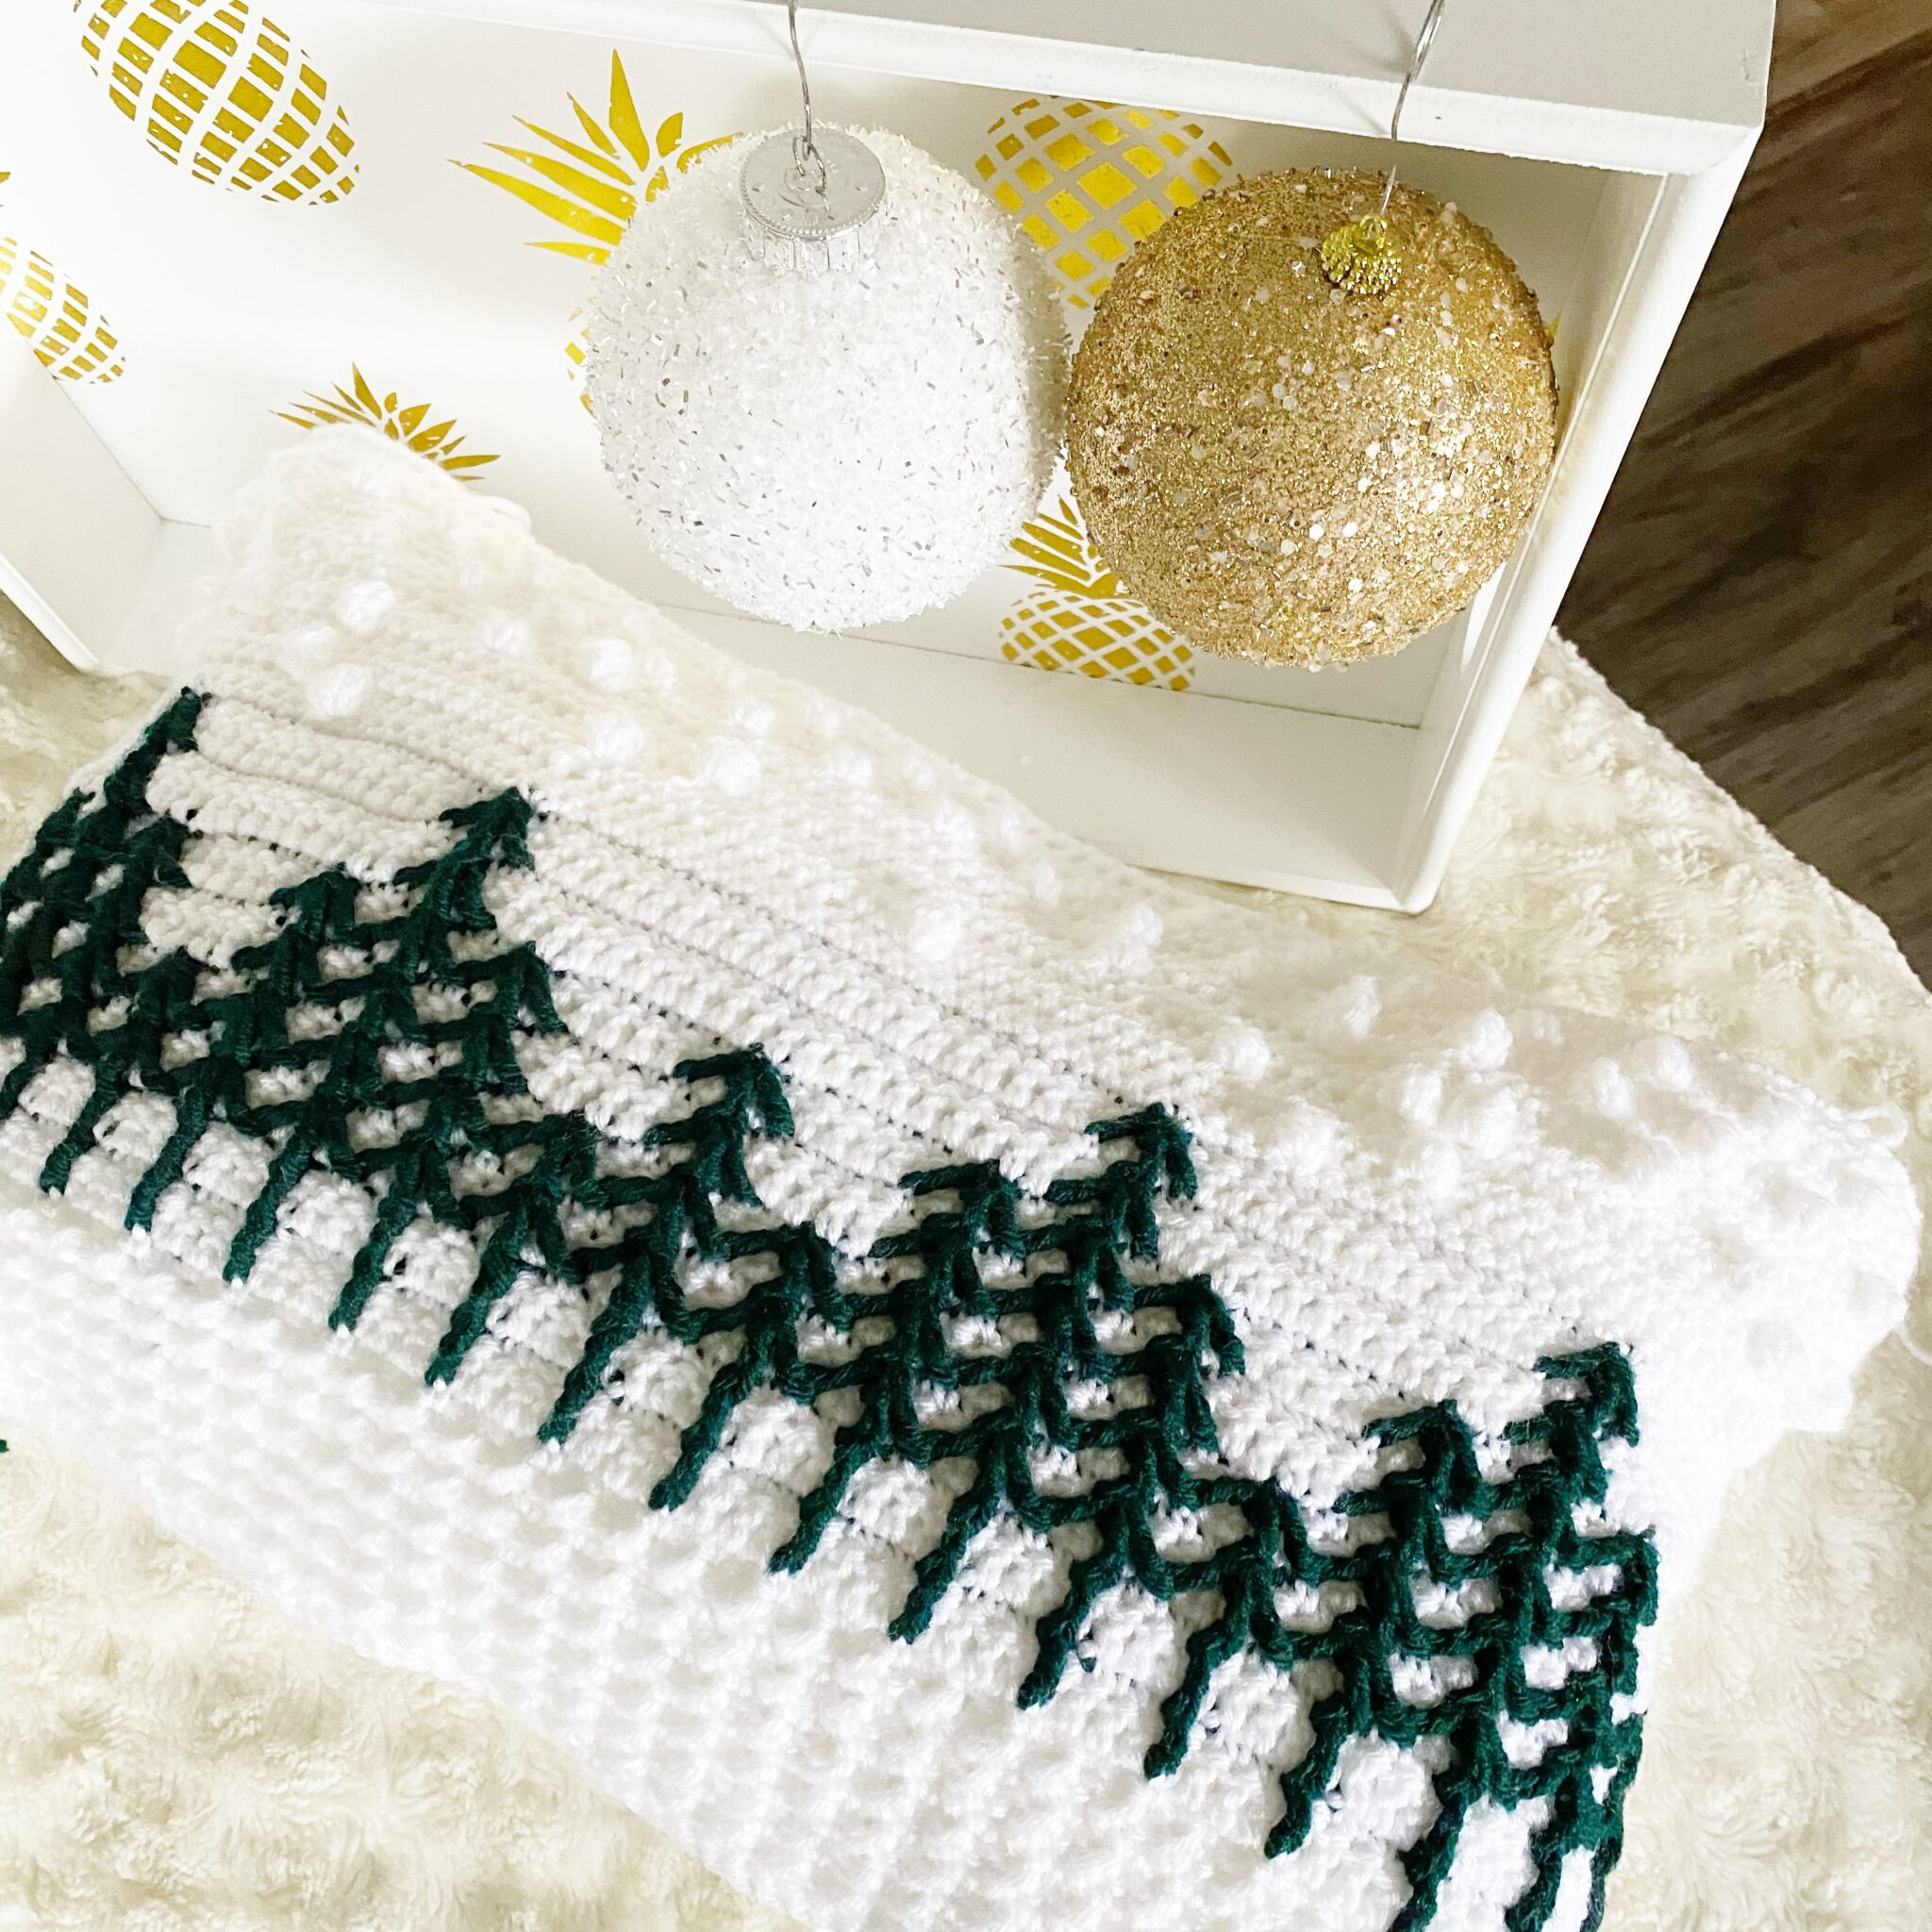
I decided to design a crochet table runner because I have really been into updating my home decor seasonally over the past year, and I’ve especially enjoyed decorating my dining table with all of the things. I’ve been switching out the placemats and napkins, using cute napkin rings, and setting out a new centerpiece atop a matching table runner. I have been wanting to make my own crochet pieces for my dining table for quite some time now, and I’m so excited to have made my first piece!
Kelsie has designed an adorable basket for this CAL that checks all the boxes for spring home decor. It comes in four sizes, so it can be used as a plant cozy, storage basket, or even a tote for going on picnics or day trips! You can find more information on her design by tapping the link below!
We hope that you will enjoy making these new home decor items as you experience this new spring season! So grab your crochet hook and supplies all up in a tray, set up a chair outside, and…
…live simply spring!

PDF Version
If you would like to purchase the ad-free PDF version of the pattern, you can tap either link below to snag a copy on Etsy or Ravelry!
Spring Pattern Bundle
You can also purchase the PDF of this pattern along with FIVE other designs in a special limited time bundle! The bundle includes:
- The Simply Spring Table Runner + BONUS placemat mod that is not included in this post
- The Pineapple Kitchen Dish Towel and Washcloth set
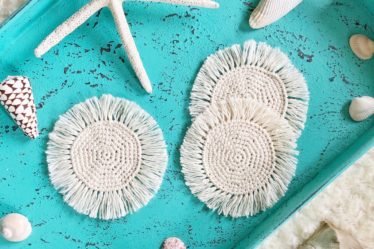
- The Onyx Nesting Baskets (by Kelsie of Crafting for Weeks)
- The Ocean’s Breath Wall Hanging (by Kelsie of Crafting for Weeks)
This bundle will only be available for a limited time, so be sure to snag it before it’s gone forever!
CAL Schedule
- Week One – April 5-11
- Week Two – April 12-18
- Week Three – April 19-25
- Week Four – April 26-May 2
Skill Level – Intermediate
Materials
Disclaimer: This post contains affiliate links to the products used in this project. If you make a purchase through any of these links, we will get a small commission at no additional cost to you.
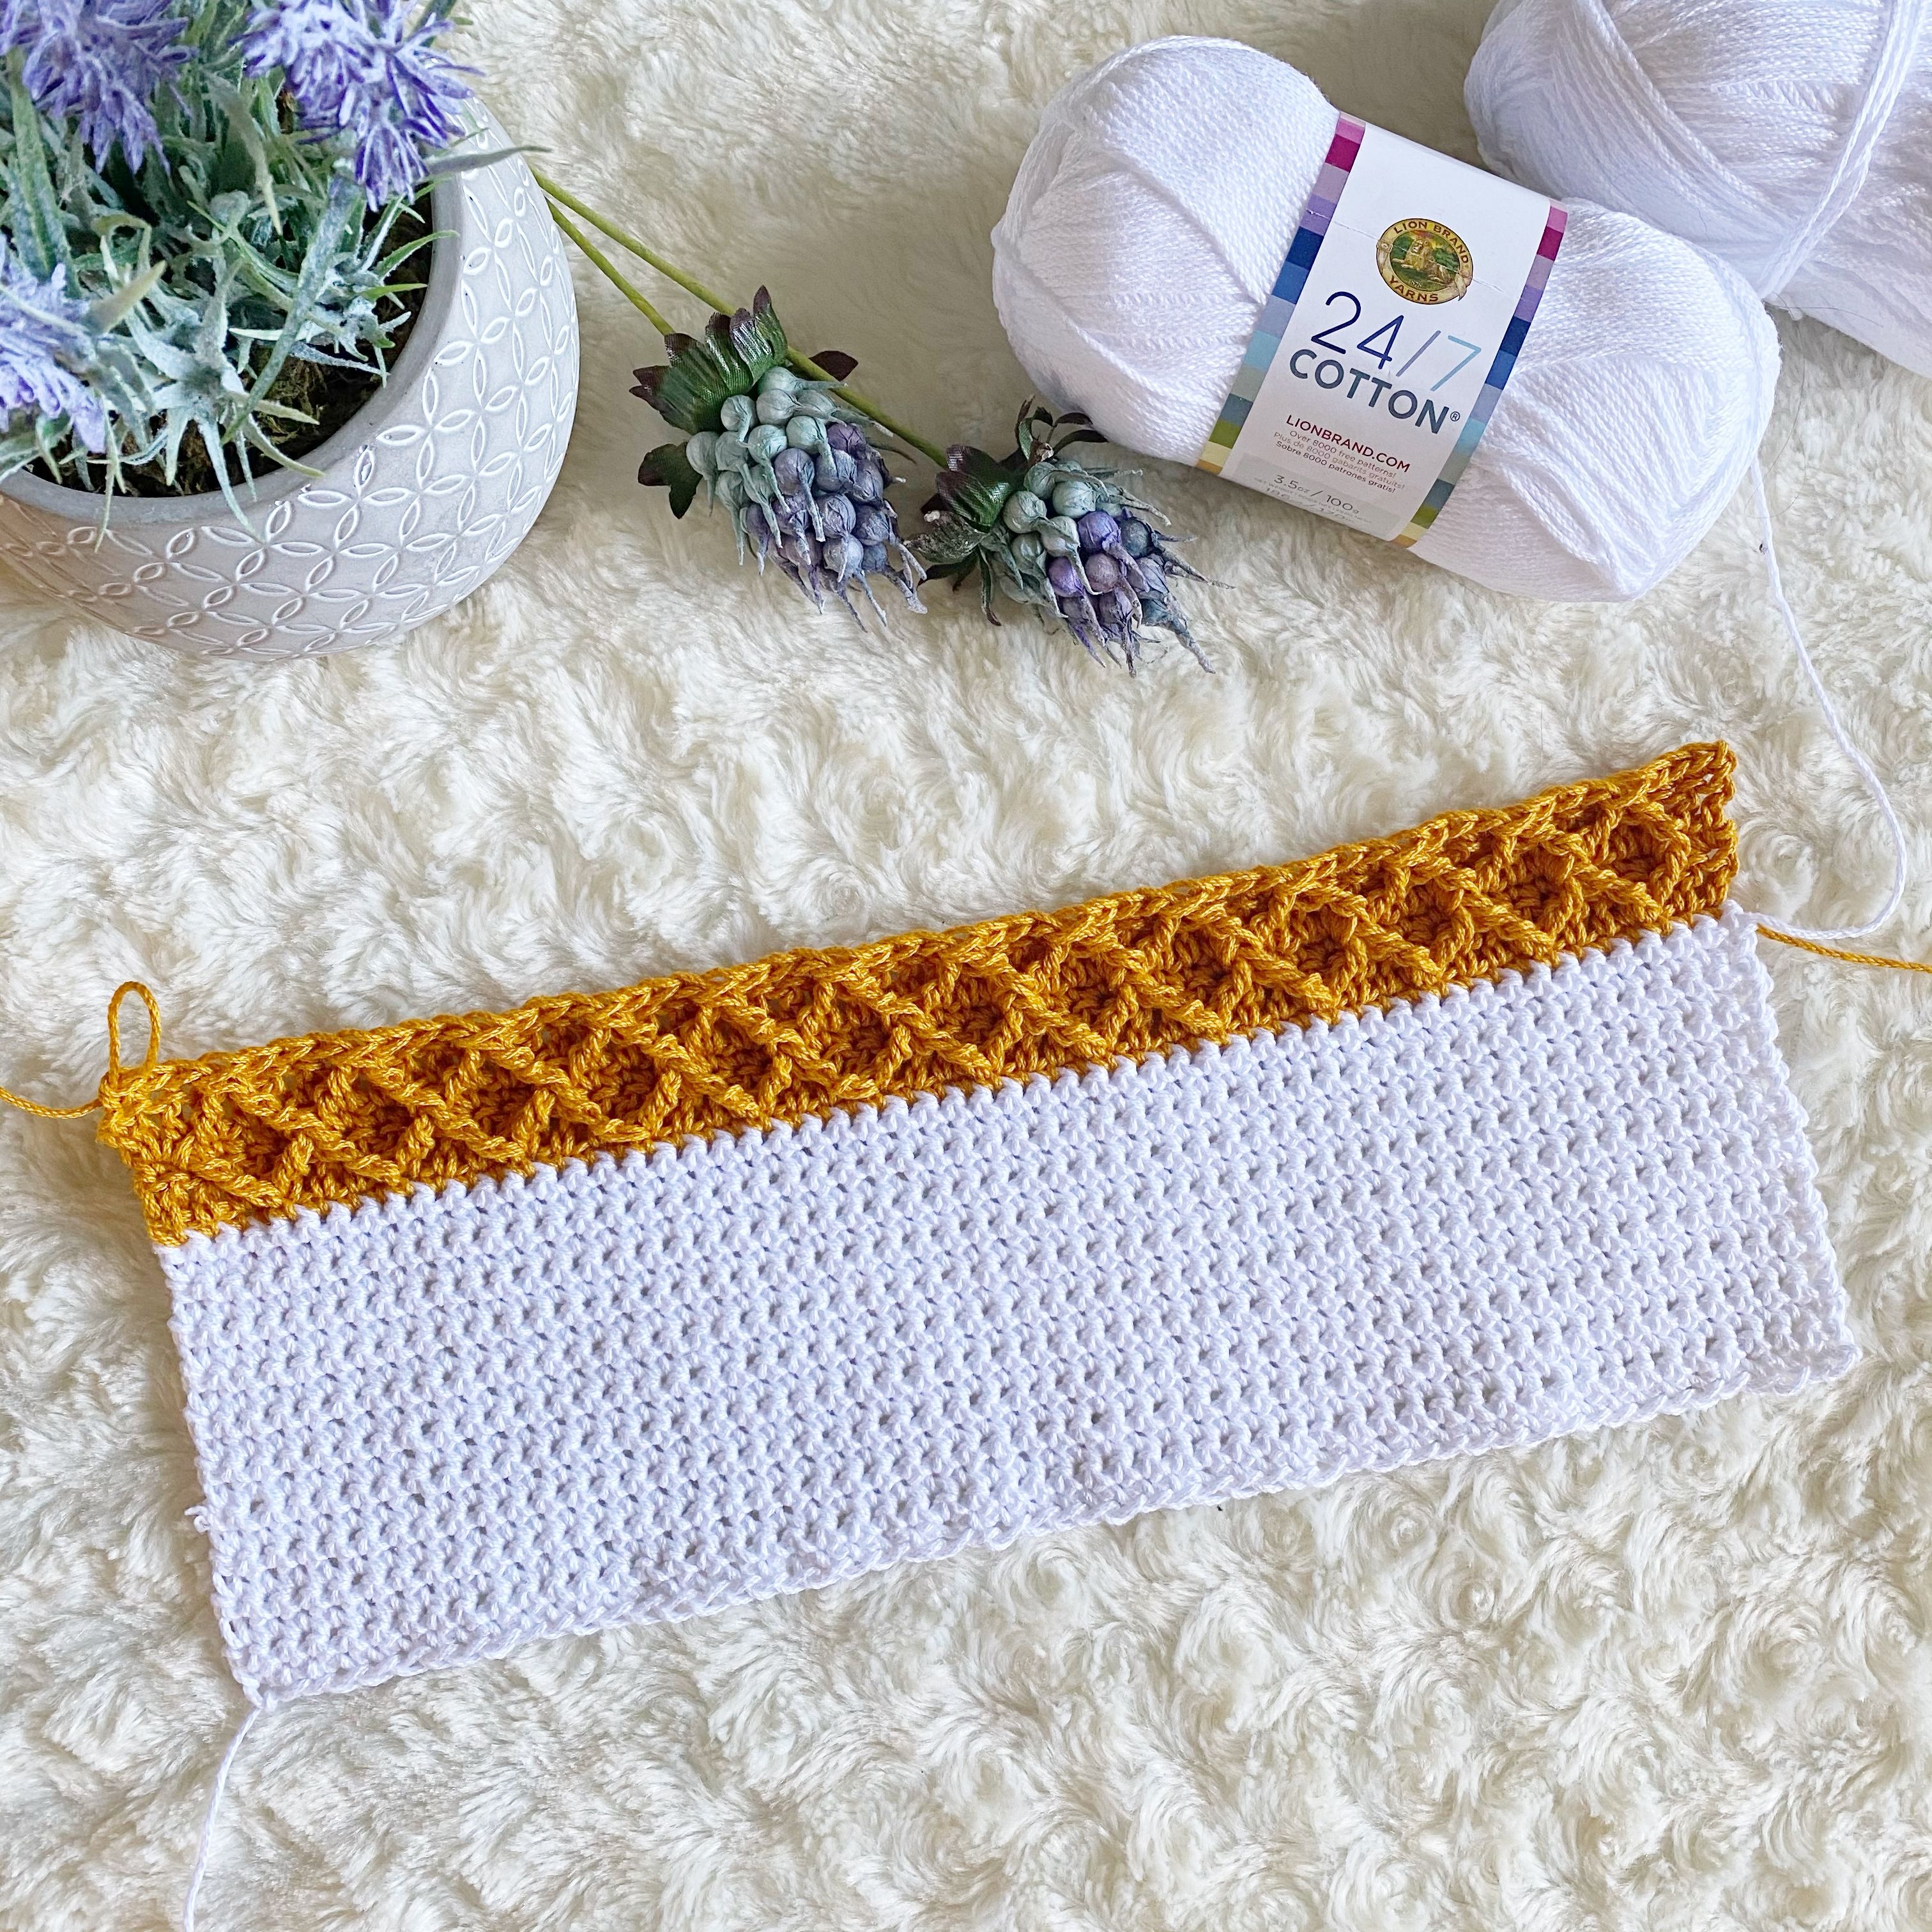
- Worsted (4) weight cotton yarn – Yarn pictured is 24/7 Cotton by Lion Brand
- US 7/4.50mm crochet hook (or hook necessary to obtain gauge)
- Tapestry needle
- Scissors
- Measuring tape
Yardage
- Approximately 590 yards of main color
- Approximately 130 yards of contrasting color
Abbreviations
- CH – Chain
- DC – Double crochet
- FO – Finish off
- FPTR – Front post treble crochet
- FPTR2tog – Front post treble two together
- SC – Single crochet
- SK – Skip
- SL ST – Slip stitch
- TR – Treble crochet
- YO – Yarn over
Measurements
Finished runner is approximately 40″ long x 13″ wide.
Notes
- This crochet table runner is worked flat back and forth in rows. A border is added around the perimeter of the finished piece.
- Beginning CHs do not count as a stitch unless otherwise noted.
- You can adjust the length of the table runner by adding or detracting rows from the SC section in the center of the table runner.
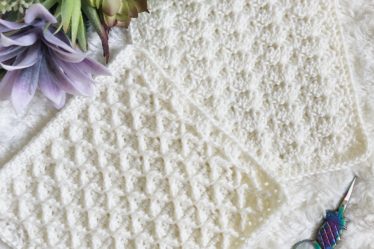
- If you like the texture of this set, I also have patterns for blanket squares, as well as a kitchen towel and washcloth set using the same techniques.
- If you have any difficulty completing this project and would like support, please email me at theplushpineappleshop@gmail.com.
Special Stitches
Diamond Trellis Stitch
- Set up for the Diamond Trellis Stitch by completing a row of SC and then a row of DC.
- To begin the first row of cables for the Diamond Trellis, CH 1, SC, FPTR around the 3nd SC post from the SC row.
- On main row, SK 1 (FPTR counts as that stitch), SC 3, FPTR2tog by working a FPTR back around the last HDC post worked from the SC row, DO NOT pull through the last two loops, SK 3 SC on the SC row, FPTR around next SC post from SC row, complete the stitch.
- Repeat the previous bullet until 5 stitches remain.
- SK 1, SC 3, FPTR back around the last SC post worked from the SC row, SK 1, SC in last stitch on main row.
- Work another setup row of DC.
- CH 1, turn, SC 3.
- FPTR two together by working a FPTR around the last TR from the last cable row, DO NOT pull through the last two loops, FPTR around next TR from the last cable row.
- On main row, SK 1, SC 3.
- Repeat the last two bullets until 3 stitches remain on main row, SK 1, SC 3.
If you have never worked the Diamond Trellis stitch before, here is a stitch tutorial video to assist you.
*Note: This pattern adds an extra stitch to the beginning and end of each cable row which is not shown in the video.*
Pattern
Week One
*Begin with MC*
Row 1: CH 56, working into the back bump of the CH, SC in 2nd CH from hook and in every CH across. (55)
Row 2-20: CH 1, turn, SC in each stitch across. (55)
*Change to CC*
Row 21: CH 1, turn, SC in each stitch across. (55)
Row 22: CH 1, turn, DC in each stitch across. (55)
Row 23: CH 1, turn, SC, FPTR around the 3rd SC post from Row 21, *on main row, SK 1, SC 3, FPTR2tog by working a FPTR back around the last SC post worked from Row 21, DO NOT pull through the last two loops, SK 3 SC on Row 21, FPTR around next SC post from Row 21 and complete the stitch*, repeat from * to * until 6 stitches remain on main row, SK 1, SC 3, FPTR back around the last SC post worked from Row 21, SK 1, SC in last stitch. (26 FPTR, 41 SC)
Row 24: CH 2, turn, DC in each stitch across. (55)
Row 25: CH 1, turn, SC 3, *FPTR2tog by working a FPTR around the last TR post from Row 23, DO NOT pull through the last two loops, FPTR around next TR post from Row 23 and complete the stitch, on main row, SK 1, SC 3*, repeat from * to * until 4 stitches remain on main row, SK 1, SC 3. (26 FPTR, 41 SC)
Row 26: CH 1, turn, SC in each stitch across. (55)
*Change to MC*
Row 27-30: CH 1, turn, SC in each stitch across. (55)
*Change to CC*
Row 31-36: Repeat Rows 21-26.
Week Two
*Change to MC*
Row 37-156: CH 1, turn, SC in each stitch across. (55)
Week Three
*Change to CC*
Row 157-173: Repeat Rows 21-36.
*Change to MC*
Row 174-194: CH 1, turn, SC in each stitch across. (55)
Do not fasten off. Begin border.
Week Four

Border
CH 1, turn, SC across Row 194 (55), *at the corner CH 1, SC in last stitch again, begin working down the long side of the table runner placing a SC in the end of each SC and 2 SC in the end of each DC row (198)*, at the corner CH 1, SC in last stitch again, begin working across the short edge of the table runner placing a SC in each SC across (55), repeat from * to *, at the corner CH 1, join to first SC with a SL ST.
Cut yarn, FO, weave in all ends.
Finishing
Use an iron to press the edges to help them lay flat. Be advised that you can only do this step if you used 100% cotton. Do not iron acrylic yarn.
You’re done! If you choose to share your makes on social media, be sure to tag me @aplushpineapple on Instagram and Facebook and use the hashtag #aplushpineapple so I can see!
Don’t forget to subscribe to our newsletter to get all of our CAL announcements and join our Facebook group so you can share your progress photos! We hope you will join us!

The photographs and pattern contained in this document are the property of A Plush Pineapple. Unauthorized reproduction, in whole or in part, or distribution of this pattern or content is prohibited. ALL FINISHED PRODUCTS created using this pattern may be sold locally or online. If selling finished products online, please give my blog credit for the pattern by posting a link to my website.


[…] Check out the Table Runner here! […]